本文是作者原创,版权归作者所有.若要转载,请注明出处.
本文RocketMQ版本为rocketmq-all-4.7.0,系统为win10.请各位去官网下载,也可以留言,我发安装包
RocketMQ安装
(前置条件为已安装java并配置JAVA_HOME)
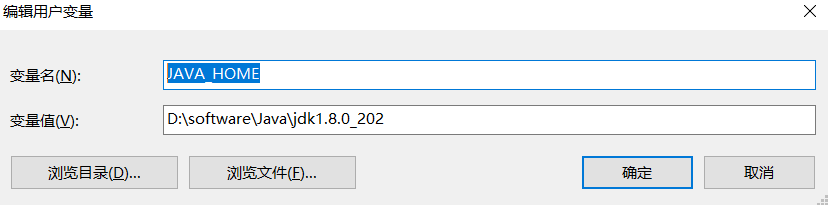
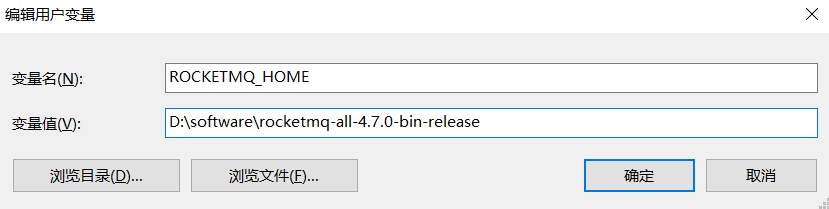
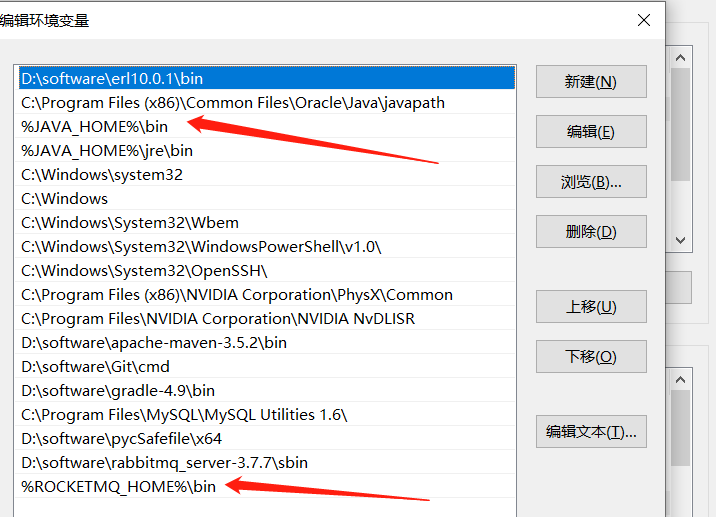
1.配置环境变量
2.切换到安装目录的bin文件夹下,启动mqnamesrv.cmd,如下图
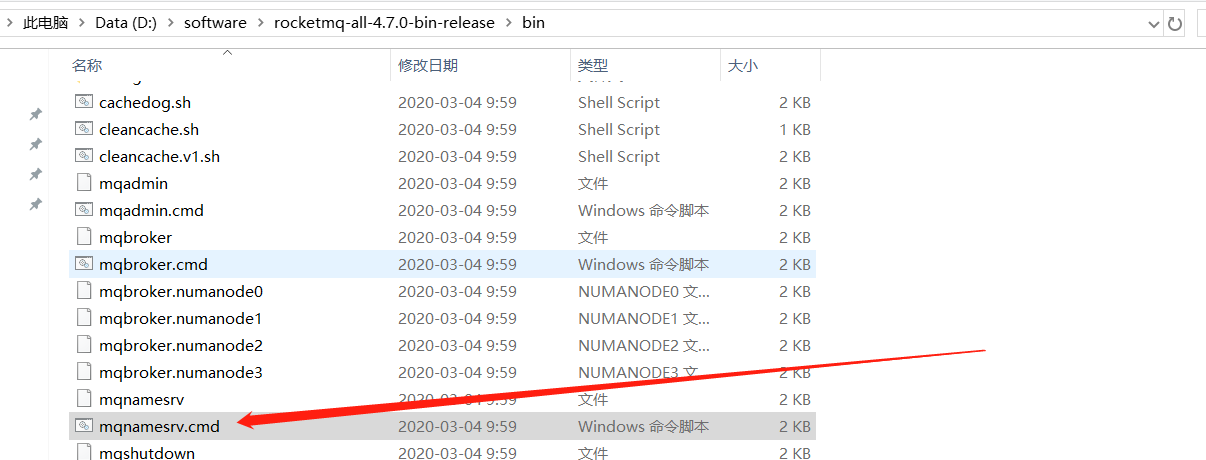
命令
start mqnamesrv.cmd

看到如下窗口表示启动成功

3.启动bin目录下的mqbroker.cmd
命令:
start mqbroker.cmd -n 127.0.0.1:9876 -c ../conf/broker.conf

看到如下窗口表示启动成功

4.RocketMQ管理控制台部署(非必须,可跳过)
下载地址
https://github.com/apache/rocketmq-externals.git
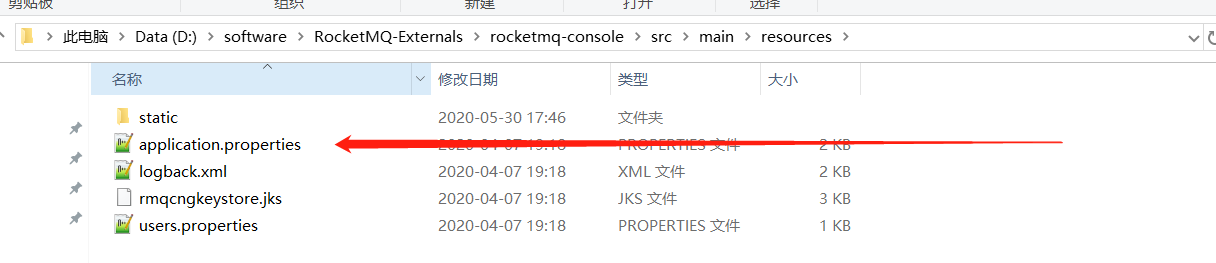
下载完成之后,进入‘rocketmq-externals ocketmq-consolesrcmain esources’文件夹,打开‘application.properties’进行配置,如下
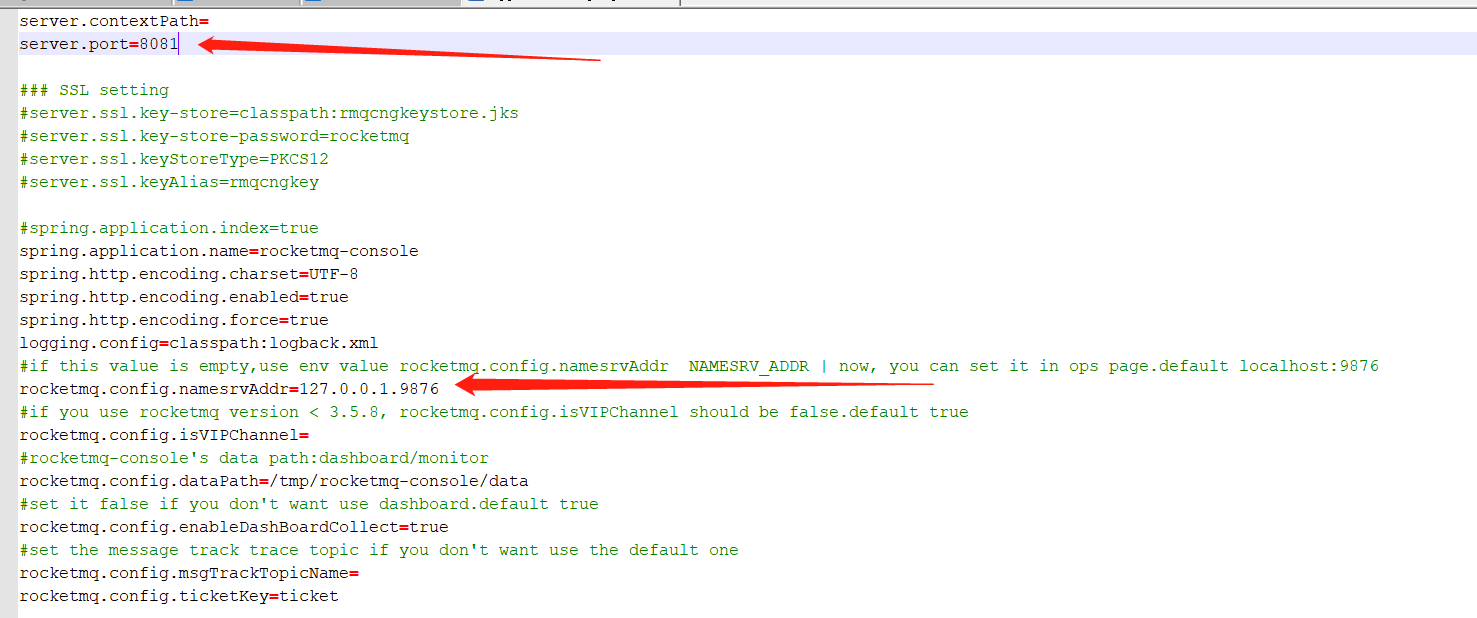
这里将启动端口改成8081,并填配置rocketmq的端口
127.0.0.1.9876

编译该控制台源码
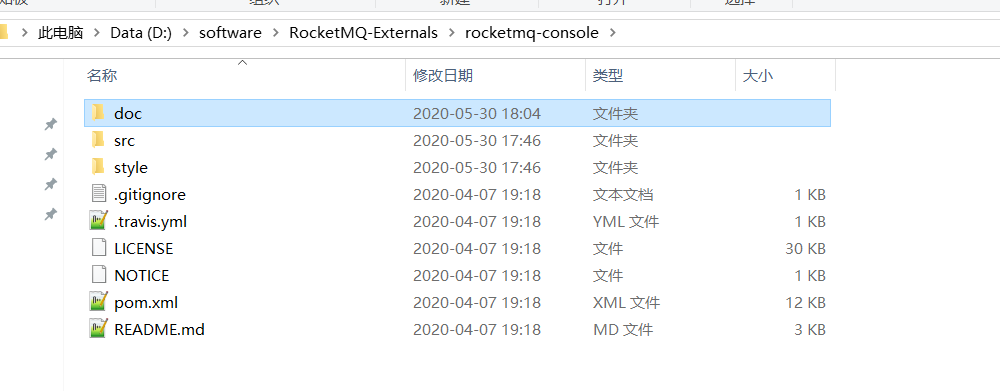
进入‘ ocketmq-externals ocketmq-console’文件夹,
执行下列命令,编译生成jar包
mvn clean package -Dmaven.test.skip=true
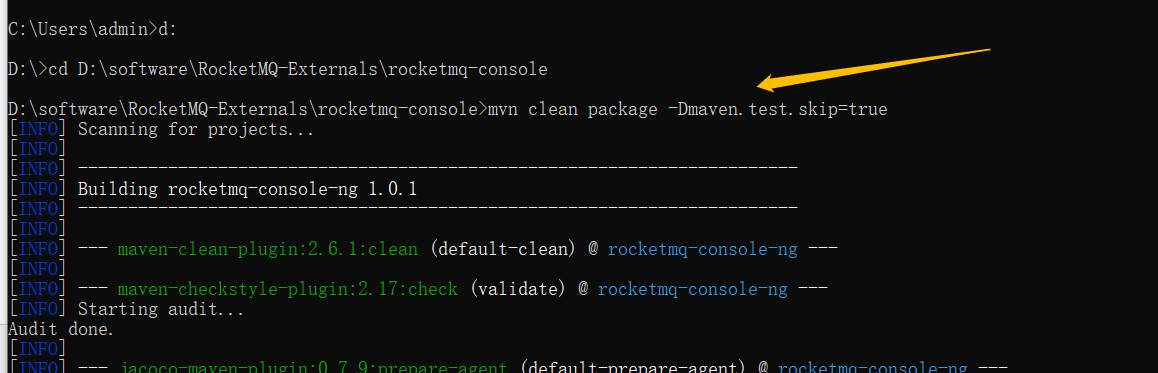
编译成功,看下图

进入‘target’文件夹,执行下列命令.启动jar包
java -jar rocketmq-console-ng-1.0.1.jar
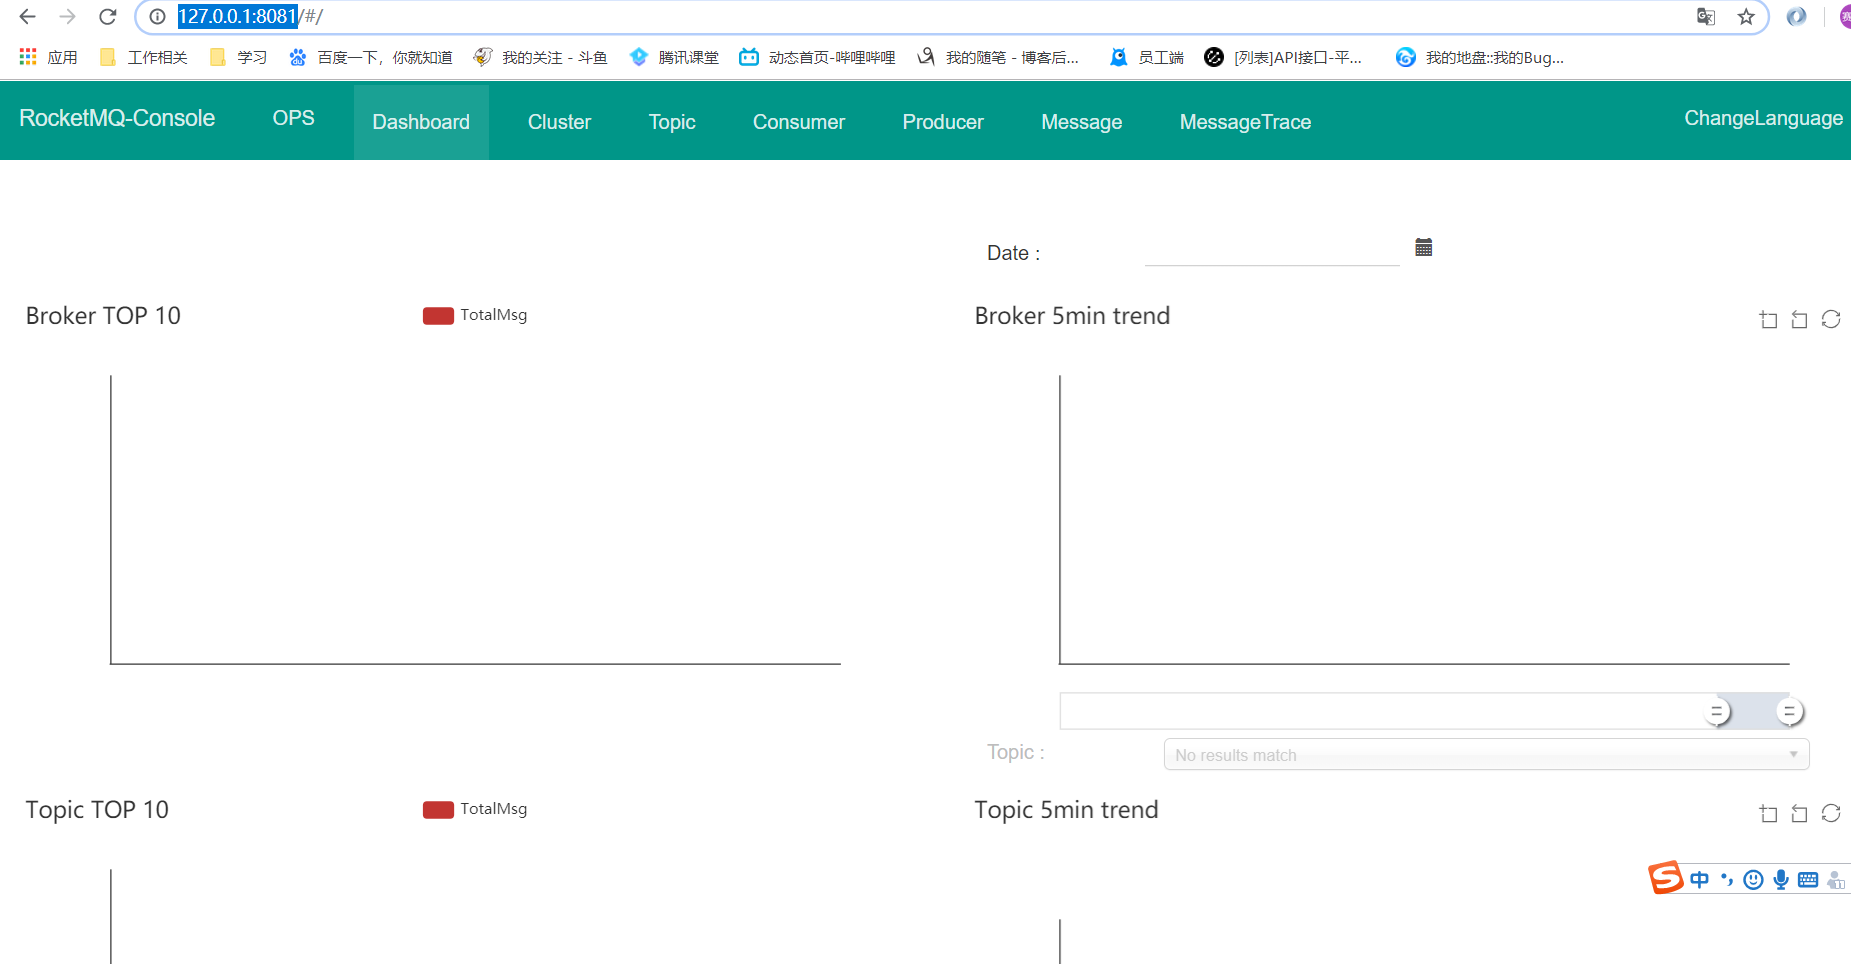
浏览器中输入
http://127.0.0.1:8081/
成功后即可查看。
RocketMQ入门(官网demo)
1.消息消费者consumer
public static void main(String[] args) throws InterruptedException, MQClientException {

        // Instantiate with specified consumer group name.
        DefaultMQPushConsumer consumer = new DefaultMQPushConsumer("please_rename_unique_group_name");

        // Specify name server addresses.
        consumer.setNamesrvAddr("localhost:9876");

        // Subscribe one more more topics to consume.
        consumer.subscribe("TopicTest", "*");
        // Register callback to execute on arrival of messages fetched from brokers.
        consumer.registerMessageListener(new MessageListenerConcurrently() {
            @Override
            public ConsumeConcurrentlyStatus consumeMessage(List<MessageExt> msgs,
                                                            ConsumeConcurrentlyContext context) {
                System.out.printf("%s Receive New Messages: %s %n", Thread.currentThread().getName(), msgs);
                return ConsumeConcurrentlyStatus.CONSUME_SUCCESS;
            }
        });

        //Launch the consumer instance.
        consumer.start();

        System.out.printf("Consumer Started.%n");
    }
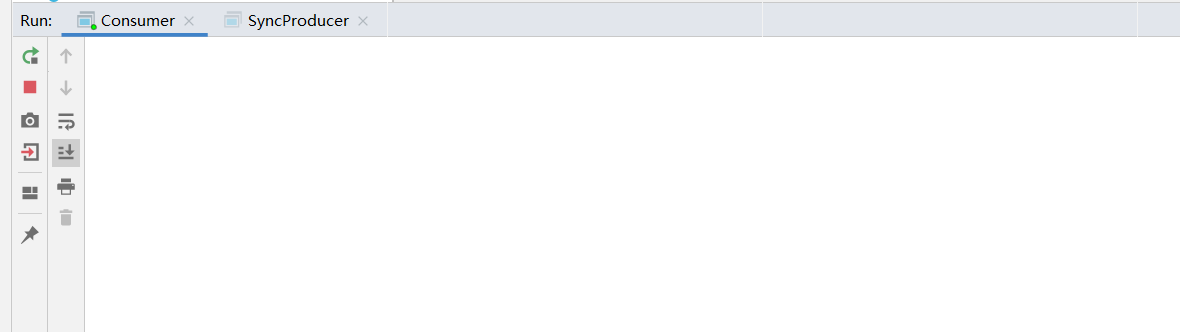
2.消息生产者/制造者
public static void main(String[] args) throws Exception {
        //Instantiate with a producer group name.
        DefaultMQProducer producer = new
                DefaultMQProducer("please_rename_unique_group_name");
        // Specify name server addresses.
        producer.setNamesrvAddr("localhost:9876");
        //Launch the instance.
        producer.start();
        for (int i = 0; i < 10; i++) {
            //Create a message instance, specifying topic, tag and message body.
            Message msg = new Message("TopicTest" /* Topic */,
                    "TagA" /* Tag */,
                    ("Hello RocketMQ " + i).getBytes(RemotingHelper.DEFAULT_CHARSET) /* Message body */
            );
            //Call send message to deliver message to one of brokers.
            SendResult sendResult = producer.send(msg);
            System.out.printf("%s%n", sendResult);
        }
        //Shut down once the producer instance is not longer in use.
        producer.shutdown();
    }
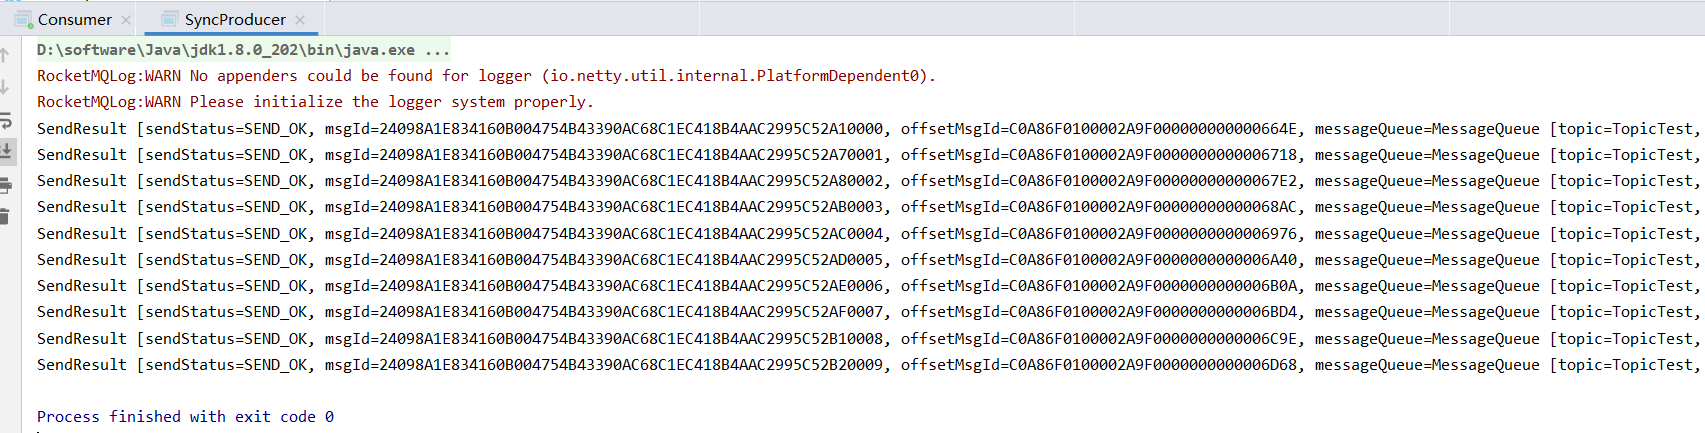
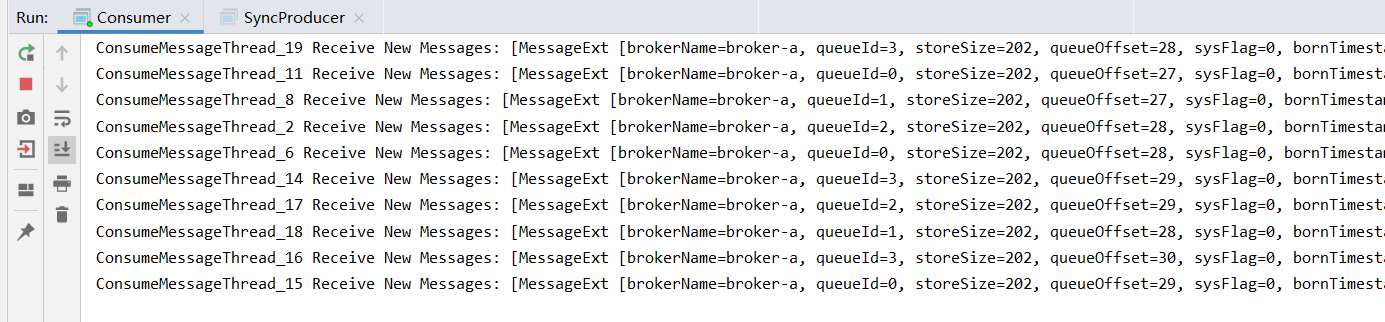
看下消费者的结果