- 下载各种jar包
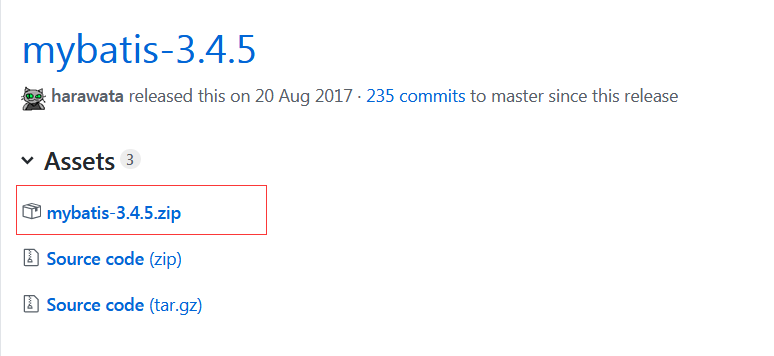
mybatis下载
https://github.com/mybatis/mybatis-3/releases
mysql驱动下载
http://mvnrepository.com/artifact/mysql/mysql-connector-java
spring下载(spring所用到的所有jar包,包括springmvc)
http://repo.spring.io/release/org/springframework/spring/
配合spring使用的工具类收录(开发包大全),最终版本3.0.2,后面就不更新了。
需要用到的jar:
- aopalliance jar包 AOP联盟的API包,里面包含了针对面向切面的接口。 通常Spring等其它具备动态织入功能的框架依赖此包
- aspectjweaver-1.6.11.jar aspectjweaver是spring的切入点表达式需要用的包
链接:https://pan.baidu.com/s/1rCt4z5JV9BW-MZlsOg1cRg 密码:m222
mybatis-spring jar包下载
http://mvnrepository.com/artifact/org.mybatis/mybatis-spring/1.3.2
第三方数据库连接池druid
http://mvnrepository.com/artifact/com.alibaba/druid
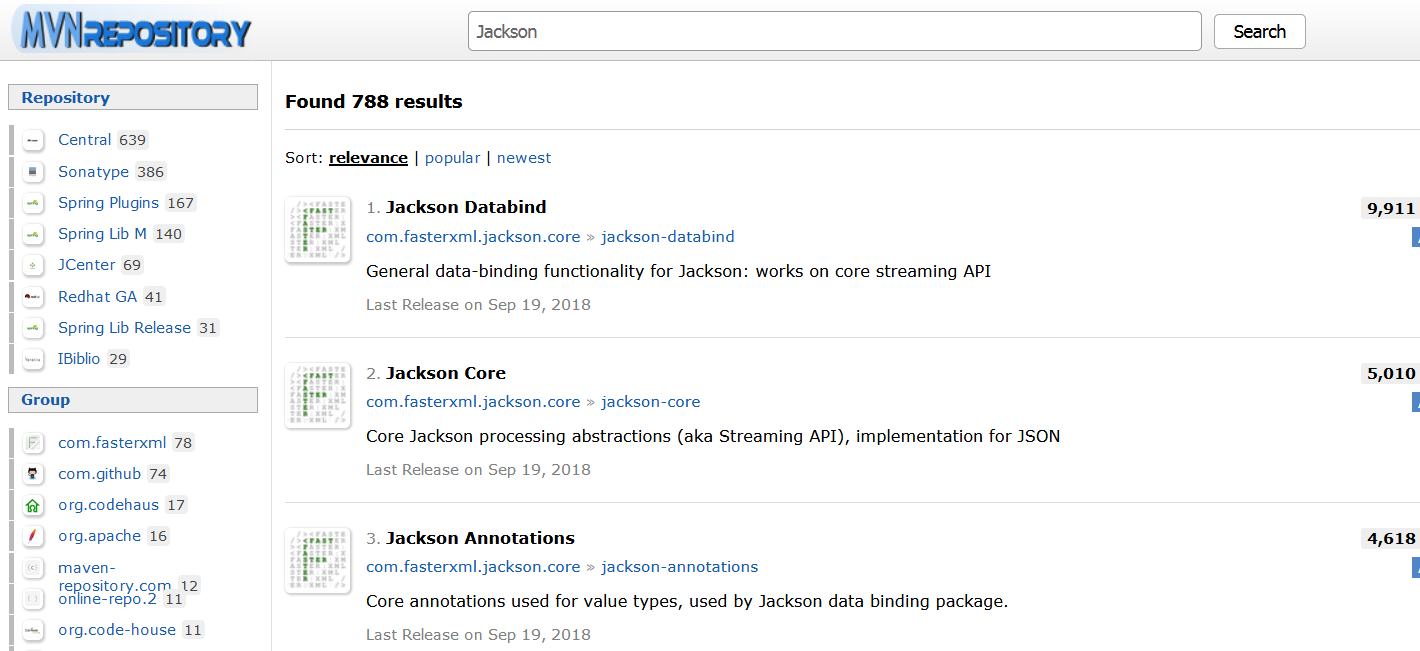
Json依赖包Jackson
junit
http://mvnrepository.com/artifact/junit/junit/4.9
-
各种文件配置
jdbc.properties
jdbc.driver=com.mysql.jdbc.Driver
jdbc.url=jdbc:mysql://localhost:3306/crm?characterEncoding=utf-8
jdbc.username=root
jdbc.password=root
log4j.properties
# Global logging configuration
log4j.rootLogger=DEBUG, stdout
# Console output...
log4j.appender.stdout=org.apache.log4j.ConsoleAppender
log4j.appender.stdout.layout=org.apache.log4j.PatternLayout
log4j.appender.stdout.layout.ConversionPattern=%5p [%t] - %m%n
applicationContext.xml
- 配置 读取properties文件 jdbc.properties
- 通过注解,将Service的生命周期纳入Spring的管理
- 配置数据源
- 注解事务
- 开启注解
<?xml version="1.0" encoding="UTF-8"?>
<beans xmlns="http://www.springframework.org/schema/beans"
       xmlns:context="http://www.springframework.org/schema/context" xmlns:p="http://www.springframework.org/schema/p"
       xmlns:aop="http://www.springframework.org/schema/aop" xmlns:tx="http://www.springframework.org/schema/tx"
       xmlns:xsi="http://www.w3.org/2001/XMLSchema-instance"
       xsi:schemaLocation="http://www.springframework.org/schema/beans http://www.springframework.org/schema/beans/spring-beans-4.0.xsd
    http://www.springframework.org/schema/context http://www.springframework.org/schema/context/spring-context-4.0.xsd
    http://www.springframework.org/schema/aop http://www.springframework.org/schema/aop/spring-aop-4.0.xsd http://www.springframework.org/schema/tx http://www.springframework.org/schema/tx/spring-tx-4.0.xsd
    http://www.springframework.org/schema/util http://www.springframework.org/schema/util/spring-util-4.0.xsd">

    <context:property-placeholder location="classpath:jdbc.properties"/>

    <!--通过注解,将Service的生命周期纳入Spring的管理-->
    <context:annotation-config />
    <context:component-scan base-package="com.ssm.service" />

    <!--配置数据源-->
    <bean id="dataSource" class="com.alibaba.druid.pool.DruidDataSource">
        <property name="driverClassName" value="${jdbc.driver}"/>
        <property name="url" value="${jdbc.url}" />
        <property name="username" value="${jdbc.username}" />
        <property name="password" value="${jdbc.password}" />
    </bean>
    <bean id="sqlSessionFactory" class="org.mybatis.spring.SqlSessionFactoryBean">
        <property name="dataSource" ref="dataSource"/>
        <property name="typeAliasesPackage" value="com.ssm.pojo" />
    </bean>
    <bean class="org.mybatis.spring.mapper.MapperScannerConfigurer">
        <property name="basePackage" value="com.ssm.dao"/>
    </bean>

    <!-- 注解事务 -->
    <bean id="transactionManager" class="org.springframework.jdbc.datasource.DataSourceTransactionManager">
        <property name="dataSource" ref="dataSource"/>
    </bean>
    <!-- 开启注解 -->
    <tx:annotation-driven transaction-manager="transactionManager"/>
</beans>
springmvc.xml
- 配置Controller扫描
- 配置注解驱动
- 视图解释器
- 静态页面,如html,css,js,images可以访问
<?xml version="1.0" encoding="UTF-8"?>
<beans xmlns="http://www.springframework.org/schema/beans"
       xmlns:xsi="http://www.w3.org/2001/XMLSchema-instance" xmlns:p="http://www.springframework.org/schema/p"
       xmlns:context="http://www.springframework.org/schema/context"
       xmlns:mvc="http://www.springframework.org/schema/mvc"
       xsi:schemaLocation="http://www.springframework.org/schema/beans http://www.springframework.org/schema/beans/spring-beans-4.0.xsd
        http://www.springframework.org/schema/mvc http://www.springframework.org/schema/mvc/spring-mvc-4.0.xsd
        http://www.springframework.org/schema/context http://www.springframework.org/schema/context/spring-context-4.0.xsd">
    <!--扫描controller ,service   -->
    <context:component-scan base-package="dx"/>

    <!--静态页面,如html,css,js,images可以访问-->
    <mvc:default-servlet-handler />

    <!--注解驱动,以使得访问路径与方法的匹配可以通过注解配置-->
    <mvc:annotation-driven />
    <!-- 视图解释器 -->
    <bean class="org.springframework.web.servlet.view.InternalResourceViewResolver">
        <property name="prefix" value="/WEB-INF/jsp/"/>
        <property name="suffix" value=".jsp"/>
    </bean>

</be

<?xml version="1.0" encoding="UTF-8"?>
<beans xmlns="http://www.springframework.org/schema/beans"
       xmlns:xsi="http://www.w3.org/2001/XMLSchema-instance" xmlns:p="http://www.springframework.org/schema/p"
       xmlns:context="http://www.springframework.org/schema/context"
       xmlns:mvc="http://www.springframework.org/schema/mvc"
       xsi:schemaLocation="http://www.springframework.org/schema/beans http://www.springframework.org/schema/beans/spring-beans-4.0.xsd
        http://www.springframework.org/schema/mvc http://www.springframework.org/schema/mvc/spring-mvc-4.0.xsd
        http://www.springframework.org/schema/context http://www.springframework.org/schema/context/spring-context-4.0.xsd">
    <!--扫描controller ,service   -->
    <context:component-scan base-package="com.ssm"/>

    <!--静态页面,如html,css,js,images可以访问-->
    <mvc:default-servlet-handler />

    <!--注解驱动,以使得访问路径与方法的匹配可以通过注解配置-->
    <mvc:annotation-driven />
    <!-- 视图解释器 -->
    <bean class="org.springframework.web.servlet.view.InternalResourceViewResolver">
        <property name="prefix" value="/WEB-INF/jsp/"/>
        <property name="suffix" value=".jsp"/>
    </bean>

</beans>
web.xml
- spring的配置文件
- 处理POST提交乱码问题
- 配置SpringMVC前端控制器
<?xml version="1.0" encoding="UTF-8"?>
<web-app xmlns="http://xmlns.jcp.org/xml/ns/javaee"
         xmlns:xsi="http://www.w3.org/2001/XMLSchema-instance"
         xsi:schemaLocation="http://xmlns.jcp.org/xml/ns/javaee http://xmlns.jcp.org/xml/ns/javaee/web-app_4_0.xsd"
         version="3.1">


    <context-param>
        <param-name>contextConfigLocation</param-name>
        <param-value>classpath:applicationContext.xml</param-value>
    </context-param>

    <!-- Spring监听器 -->
    <listener>
        <listener-class>org.springframework.web.context.ContextLoaderListener</listener-class>
    </listener>


    <!-- 处理POST提交乱码问题 -->
    <filter>
        <filter-name>encoding</filter-name>
        <filter-class>org.springframework.web.filter.CharacterEncodingFilter</filter-class>
        <init-param>
            <param-name>encoding</param-name>
            <param-value>UTF-8</param-value>
        </init-param>
    </filter>

    <filter-mapping>
        <filter-name>encoding</filter-name>
        <url-pattern>/</url-pattern>
    </filter-mapping>

    <!-- 配置SpringMVC前端控制器 -->
    <servlet>
        <servlet-name>SSM</servlet-name>
        <servlet-class>org.springframework.web.servlet.DispatcherServlet</servlet-class>
        <!-- 指定SpringMVC配置文件 -->
        <!-- SpringMVC的配置文件的默认路径是/WEB-INF/${servlet-name}-servlet.xml -->
        <init-param>
            <param-name>contextConfigLocation</param-name>
            <param-value>classpath:springmvc.xml</param-value>
        </init-param>
    </servlet>

    <servlet-mapping>
        <servlet-name>SSM</servlet-name>
        <url-pattern>/</url-pattern>
    </servlet-mapping>

</web-app>
- 至此框架就算搭建完成了,然后就是测试环节
新建一个student表
SET FOREIGN_KEY_CHECKS=0;

-- ----------------------------
-- Table structure for `student`
-- ----------------------------
DROP TABLE IF EXISTS `student`;
CREATE TABLE `student` (
  `id` int(11) NOT NULL AUTO_INCREMENT,
  `name` varchar(20) DEFAULT NULL,
  `age` int(11) DEFAULT NULL,
  PRIMARY KEY (`id`)
) ENGINE=InnoDB AUTO_INCREMENT=7 DEFAULT CHARSET=utf8;

-- ----------------------------
-- Records of student
-- ----------------------------
INSERT INTO `student` VALUES ('1', '张三', '18');
INSERT INTO `student` VALUES ('2', '李四', '15');
INSERT INTO `student` VALUES ('3', '王五', '20');
INSERT INTO `student` VALUES ('4', '赵六', '22');
INSERT INTO `student` VALUES ('5', '孙琪', '24');
INSERT INTO `student` VALUES ('6', '路飞', '19');
创建student pojo对象

package com.ssm.pojo;

import java.io.Serializable;

/**
 * Created by ${DX} on 2018/9/28.
 */
public class Student {

    private int id;
    private String name;
    private int age;

    public Student(int id, String name, int age) {
        this.id = id;
        this.name = name;
        this.age = age;
    }

    @Override
    public String toString() {
        return "Student{" +
                "id=" + id +
                ", name='" + name + '\'' +
                ", age=" + age +
                '}';
    }

    public int getId() {
        return id;
    }

    public void setId(int id) {
        this.id = id;
    }

    public String getName() {
        return name;
    }

    public void setName(String name) {
        this.name = name;
    }

    public int getAge() {
        return age;
    }

    public void setAge(int age) {
        this.age = age;
    }
}
StudentDao
package com.ssm.dao;

import com.ssm.pojo.Student;
import org.springframework.stereotype.Repository;

import java.util.List;

/**
 * Created by ${DX} on 2018/9/28.
 */
@Repository
public interface StudentDao {

    List<Student> findAllStudent();
}
StudentDao.xml
<?xml version="1.0" encoding="UTF-8"?>
<!DOCTYPE mapper
        PUBLIC "-//mybatis.org//DTD Mapper 3.0//EN"
        "http://mybatis.org/dtd/mybatis-3-mapper.dtd">
<mapper namespace="com.ssm.dao.StudentDao">
    <select id="findAllStudent" resultType="Student">
        SELECT * FROM student;
    </select>
</mapper>
测试方法StudentDaoTest
package test;

import com.ssm.dao.StudentDao;
import com.ssm.pojo.Student;
import org.junit.Test;
import org.junit.runner.RunWith;
import org.springframework.beans.factory.annotation.Autowired;
import org.springframework.test.context.ContextConfiguration;
import org.springframework.test.context.junit4.SpringJUnit4ClassRunner;

import java.util.List;

/**
 * Created by ${DX} on 2018/9/28.
 */
@RunWith(SpringJUnit4ClassRunner.class)
@ContextConfiguration("classpath:applicationContext.xml")
public class StudentDaoTest {

    @Autowired
    private StudentDao studentDao;

    @Test
    public void test(){


        List<Student> students=studentDao.findAllStudent();
        System.out.println(students.size());

    }

}
测试通过
接下来是service层
StudentService
package com.ssm.service;

import com.ssm.pojo.Student;

import java.util.List;

/**
 * Created by ${DX} on 2018/9/29.
 */
public interface StudentService {

    List<Student> findAllStudent();
}
StudentServiceImpl
package com.ssm.service;

import com.ssm.dao.StudentDao;
import com.ssm.pojo.Student;
import org.springframework.beans.factory.annotation.Autowired;
import org.springframework.stereotype.Service;

import java.util.List;

/**
 * Created by ${DX} on 2018/9/29.
 */
@Service
public class StudentServiceImpl implements  StudentService {

    @Autowired
    private StudentDao studentDao;

    @Override
    public List<Student> findAllStudent() {
        return studentDao.findAllStudent();
    }
}
StudentSeviceTest
package test;

import com.ssm.pojo.Student;
import com.ssm.service.StudentService;
import org.junit.Test;
import org.junit.runner.RunWith;
import org.springframework.beans.factory.annotation.Autowired;
import org.springframework.test.context.ContextConfiguration;
import org.springframework.test.context.junit4.SpringJUnit4ClassRunner;

import java.util.List;

/**
 * Created by ${DX} on 2018/9/29.
 */
@RunWith(SpringJUnit4ClassRunner.class)
@ContextConfiguration("classpath:applicationContext.xml")
public class StudentSeviceTest {

    @Autowired
    private StudentService studentService;

    @Test
    public void test(){
        List<Student> students=studentService.findAllStudent();
        System.out.println(students.size());
    }

}
service层测试通过
最后就是controller层
StudentController
package com.ssm.controller;

import org.springframework.stereotype.Controller;
import org.springframework.web.bind.annotation.RequestMapping;

/**
 * Created by ${DX} on 2018/9/29.
 */

@Controller
@RequestMapping("/student")
public class StudentController {

    @RequestMapping("/index")
    public String index(){
        return "hello";
    }


}
hello.jsp
<%--
  Created by IntelliJ IDEA.
  User: Administrator
  Date: 2018/9/29
  Time: 0:11
  To change this template use File | Settings | File Templates.
--%>
<%@ page contentType="text/html;charset=UTF-8" language="java" %>
<html>
<head>
    <title>Title</title>
</head>
<body>
    HELLO SSM!!!!
</body>
</html>
开启服务器后,页面访问/student/index 就会跳转到hello.jsp 页面
至此 ssm 框架搭建测试完毕!!!