1、创建两个项目。都使其支持rabbitmq
(1)在pom.xml文件中添加支持rabbitmq的jar包
<dependency>
       <groupId>org.springframework.boot</groupId>
       <artifactId>spring-boot-starter-amqp</artifactId>
</dependency>
(2)添加配置文件
#rabbitmq的服务器地址
spring.rabbitmq.host=127.0.0.1
#rabbitmq的服务器端口号
spring.rabbitmq.port=5672
#服务器用户名密码
spring.rabbitmq.username=guest
spring.rabbitmq.password=guest
spring.rabbitmq.publisher-confirms=true
spring.rabbitmq.virtual-host=/
2.搭建发送者的代码
import org.springframework.amqp.core.AmqpTemplate;
import org.springframework.beans.factory.annotation.Autowired;
import org.springframework.stereotype.Component;

import java.util.Date;

@Component
public class HelloSender {

    @Autowired
    private AmqpTemplate rabbitTemplate;
    public void send() {
        String sendMsg = "hello1 " + new Date();
        System.out.println("Sender1 : " + sendMsg);

        // 第一个参数,exchangename:交换机的名称
        // 第二个参数,queue.cc:routingkey名称
        // 第三个参数,sendMsg:发送的内容
        rabbitTemplate.convertAndSend("exchangename","queue.cc",sendMsg);
    }
}
3.搭建消费者的代码
import org.springframework.amqp.rabbit.annotation.RabbitHandler;
import org.springframework.amqp.rabbit.annotation.RabbitListener;
import org.springframework.stereotype.Component;

@Component
// 监听的队列
@RabbitListener(queues = "queuename")
public class HelloReceiver {

    @RabbitHandler
    public void process(String hello) {
        System.out.println("Receiver1  : " + hello);
    }
}
4.在发送消息方创建测试类
import org.springframework.beans.factory.annotation.Autowired;
import org.springframework.web.bind.annotation.PostMapping;
import org.springframework.web.bind.annotation.RequestMapping;
import org.springframework.web.bind.annotation.RestController;
@RestController
@RequestMapping("/rabbit")
public class RabbitTest {
@Autowired
private HelloSender helloSender1;
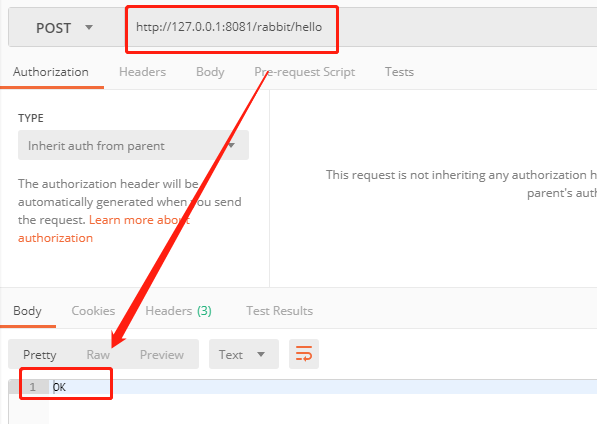
@PostMapping("/hello")
public String hello() {
helloSender1.send();
return "OK";
}
}
5、结果:
发送方打印结果
Sender1 : hello1 Thu Sep 06 16:49:21 CST 2018
消费方打印结果
Receiver1  : hello1 Thu Sep 06 16:49:21 CST 2018
6、拓展
可以根据上面的操作搭建多节点
rabbitmq支持事务,有两种模式:AMQP提供的事务模式和发送者确认模式。参考:https://www.cnblogs.com/vipstone/p/9350075.html