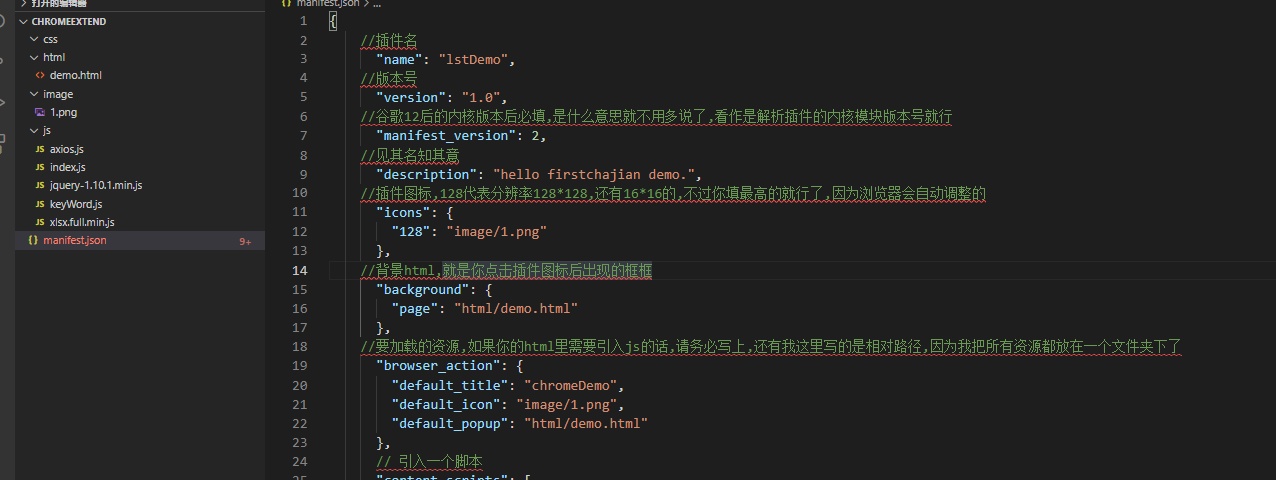
利用js简单实现谷歌插件:
1: 首先,我们需要创建一个文件夹,命名随意
然后,我们需要创建一个manifest.json的文件,命名必须要这个,这个是谷歌内核浏览器的入口类配置文件

{
    //插件名
      "name": "lstDemo",
    //版本号
      "version": "1.0",
    //谷歌12后的内核版本后必填,是什么意思就不用多说了,看作是解析插件的内核模块版本号就行
      "manifest_version": 2,
    //见其名知其意
      "description": "hello firstchajian demo.",
    //插件图标,128代表分辨率128*128,还有16*16的,不过你填最高的就行了,因为浏览器会自动调整的
      "icons": {
        "128": "image/1.png"
      },
    //背景html,就是你点击插件图标后出现的框框
      "background": {
        "page": "html/demo.html"
      },
    //要加载的资源,如果你的html里需要引入js的话,请务必写上,还有我这里写的是相对路径,因为我把所有资源都放在一个文件夹下了
      "browser_action": {
        "default_title": "chromeDemo",
        "default_icon": "image/1.png",
        "default_popup": "html/demo.html"
      },
      // 引入一个脚本
      "content_scripts": [
        {
          "js": ["js/jquery-1.10.1.min.js","js/index.js","js/axios.js"],
          // 在什么情况下使用该脚本
          "matches": [
            "http://*/*",
            "https://*/*"
          ],
          // 什么情况下运行【文档加载开始】
          "run_at": "document_start"
        },
        {
          "js": ["js/jquery-1.10.1.min.js","js/keyWord.js","js/xlsx.full.min.js","js/axios.js"],
          // 在什么情况下使用该脚本
          "matches": [
            "http://*/*",
            "https://*/*"
          ],
          // 什么情况下运行【文档加载开始】
          "run_at": "document_start"
        }
      ],
    // 这是权限,不用我多解释了吧?意思就是你在哪个网页下可以访问的这个插件
      "permissions": [
        "http://*/*",
        "https://*/*"
      ]
    }
2:index.js
$(function(){
    /**
     * just test for run by self
     */
    // let $ =
    let html = '';
    html +='<div class="sendInfoMsg" style="display: inline-block;  60px;  height: 60px; border: 1px solid #999;  text-align: center; line-height: 60px; position: fixed; top: 100px; right: 33px; border-radius: 200px; cursor: pointer; background-color: #333; color: #fff;" >发送</div>'
    $('body').append(html);
    console.log('begin');
    let autherId = window.location.pathname.split('/')[2]
        console.log('string')
        return ;
});
3:目录结构

4:打开 chrome://extensions/ 地址 ;使用开发者模式 将文件夹上传就可以使用了

