vim /etc/yum.repos.d/gitlab-ce.reposudo yum makecache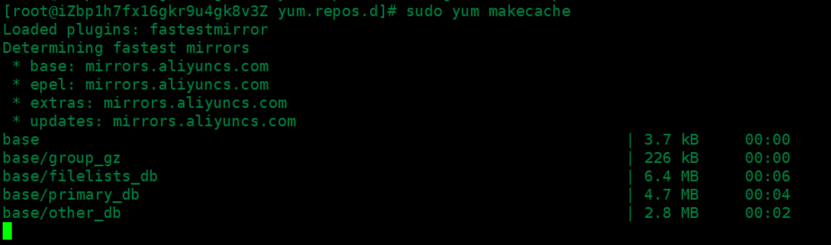
sudo yum install gitlab-ce        #自动安装最新版
sudo yum install gitlab-ce-x.x.x    #安装指定版本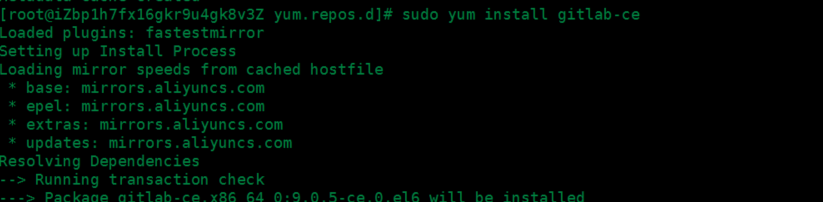
sudo gitlab-ctl start    # 启动所有 gitlab 组件;
sudo gitlab-ctl stop        # 停止所有 gitlab 组件;
sudo gitlab-ctl restart        # 重启所有 gitlab 组件;
sudo gitlab-ctl status        # 查看服务状态;
sudo gitlab-ctl reconfigure        # 启动服务;
sudo vim /etc/gitlab/gitlab.rb        # 修改默认的配置文件;
gitlab-rake gitlab:check SANITIZE=true --trace    # 检查gitlab;
sudo gitlab-ctl tail        # 查看日志;

二 手动安装
1. 安装配置依赖项
如想使用Postfix来发送邮件,在安装期间请选择’Internet Site’. 您也可以用sendmai或者 配置SMTP服务 并 使用SMTP发送邮件.
在 Centos 6 系统上, 下面的命令将在系统防火墙里面开放HTTP和SSH端口.
- sudo yum install curl openssh-server openssh-clients postfix cronie -y
- sudo service postfix start
- sudo chkconfig postfix on
- sudo lokkit -s http -s ssh
2. 添加GitLab仓库,并安装到服务器上
- curl -sS http://packages.gitlab.cc/install/gitlab-ce/script.rpm.sh | sudo bash
- sudo yum install gitlab-ce
如果你不习惯使用命令管道的安装方式, 你可以在这里下载 安装脚本 或者 手动下载您使用的系统相应的安装包(RPM/Deb) 然后安装
- wget https://mirrors.tuna.tsinghua.edu.cn/gitlab-ce/yum/el7/gitlab-ce-XXX.rpm
- rpm -ivh gitlab-ce-XXX.rpm
说明:个人平时喜欢采用如上方式的rpm安装
centos (内核7.x)https://mirrors.tuna.tsinghua.edu.cn/gitlab-ce/yum/el7
centos (内核6.x)https://mirrors.tuna.tsinghua.edu.cn/gitlab-ce/yum/el6,选择需要的版本进行安装。
老版本用习惯了,用的是一种情怀,有些功能新版本不是很喜欢用,请根据自己个人喜好来安装。
四 注意事项以及异常故障排查:
1,按照该方式,我安装了一个确实没问题,只不过是英文版。没有经过汉化(汉化请参考后边的教程)。
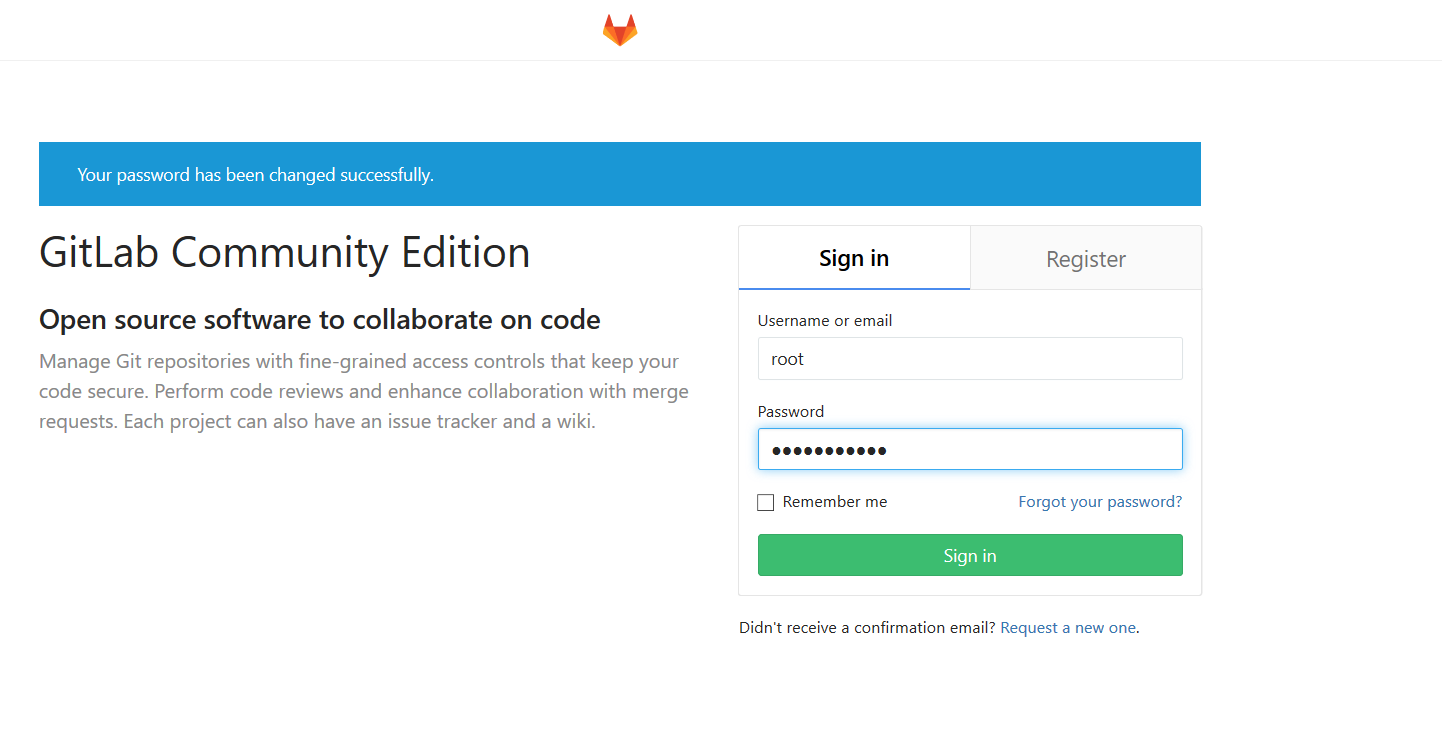
2,默认安装登录需要重置root密码。可以自己单独设置一个复杂密码后登录。
3,gitlab本身采用gitlab.example.com:80端口,如安装前服务器有启用80,安装完访问会报错。需更改gitlab的默认端口。
修改vim /etc/gitlab/gitlab.rb:external_url 'http://localhost:90
如果就想用80端口,那没问题。如果更改了端口,后边可以自行调整nginx配置文件进行nginx反向代理设置。
4,这里可以绑定自己的gitlab的域名或者公网、内网IP替换localhost进行公网访问,具体根据自己的实际情况。安全起见,一般会将gitlab部署于内网。具体部署到哪里,请根据自己的实际情况来定。(基于安全原因,这里不建议设置公网IP进行暴露,可以通过nginx设置IP绑定进行return或者其他规则进行IP回避访问。)
本站测试gitlab地址域名为:gitlab.21yunwei.com
5,unicorn本身采用8080端口,如果你那里没有8080使用,可以后边不用修改了。如安装前服务器有启用8080,安装完访问会报错。需更改unicorn的默认端口:
修改 /etc/gitlab/gitlab.rb:
- unicorn['listen'] = '127.0.0.1'
- unicorn['port'] = 3000
每次重新配置,都需要执行sudo gitlab-ctl reconfigure 使之生效。
6,日志位置:/var/log/gitlab 可以进去查看访问日志以及报错日志等,供访问查看以及异常排查。
gitlab-ctl tail #查看所有日志
gitlab-ctl tail nginx/gitlab_access.log #查看nginx访问日志
yum install git
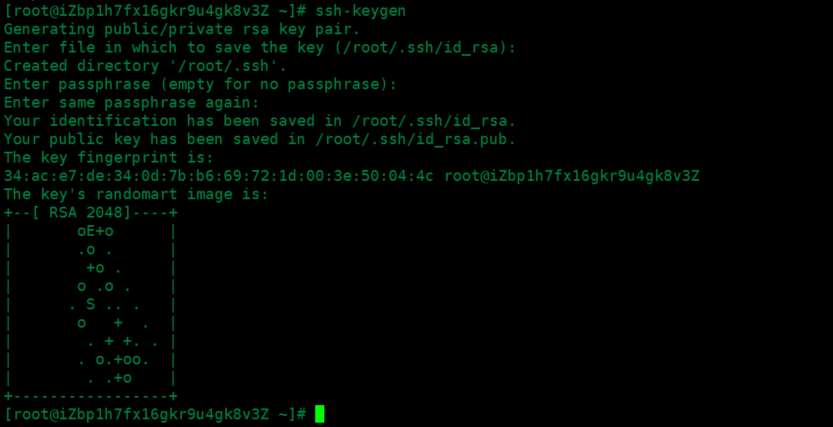


git config --global user.name "上海驻云" git config --global user.email "support@jiagouyun.com"
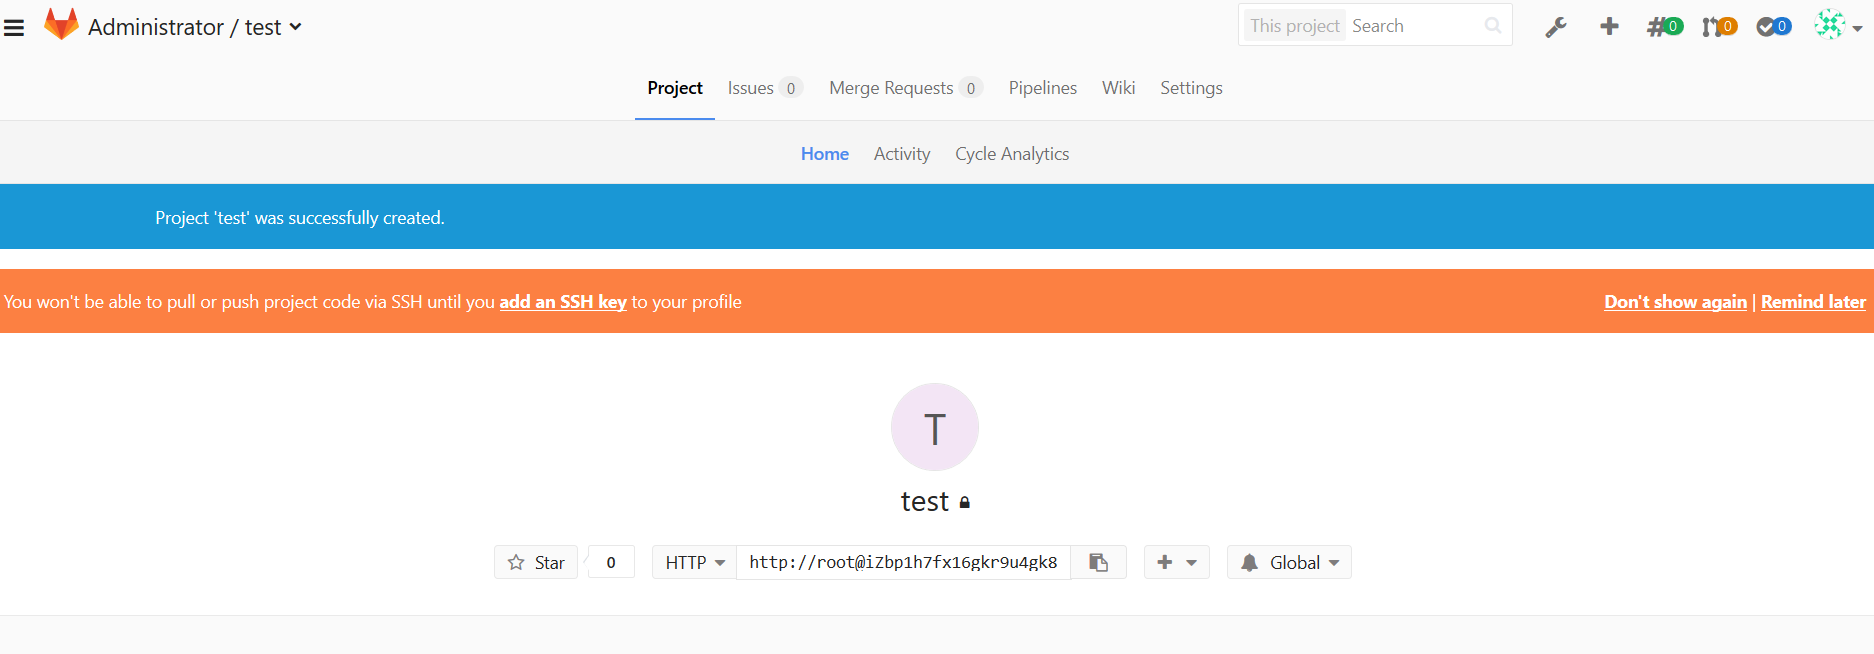
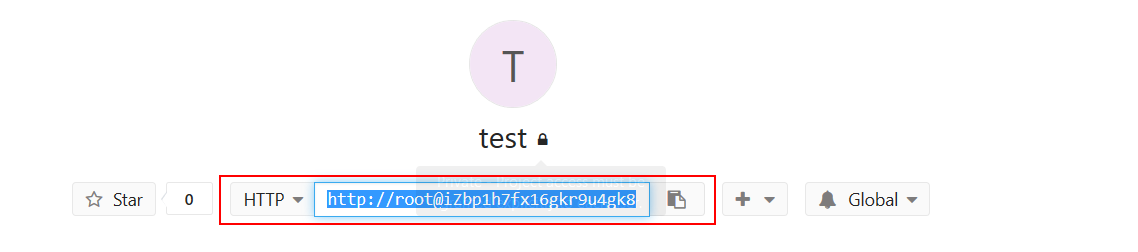
git clone git@iZbp1h7fx16gkr9u4gk8v3Z:root/test.git

cd test/ echo “test” > /root/test.shcp /root/test.sh ./ 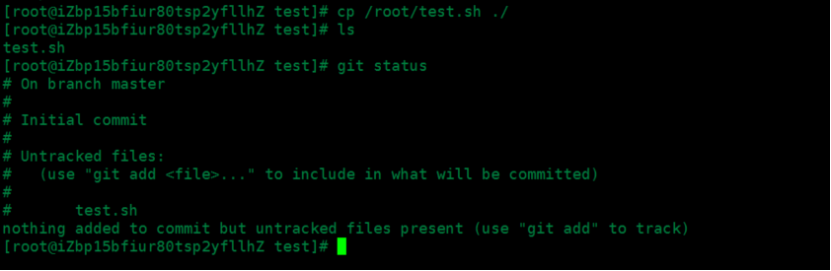
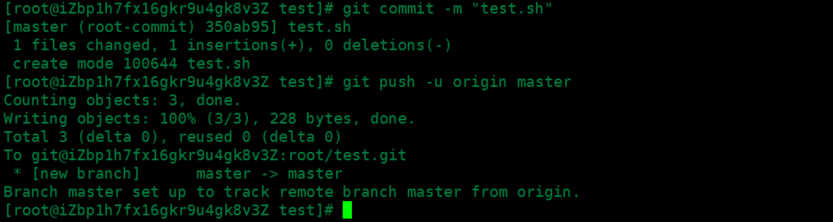
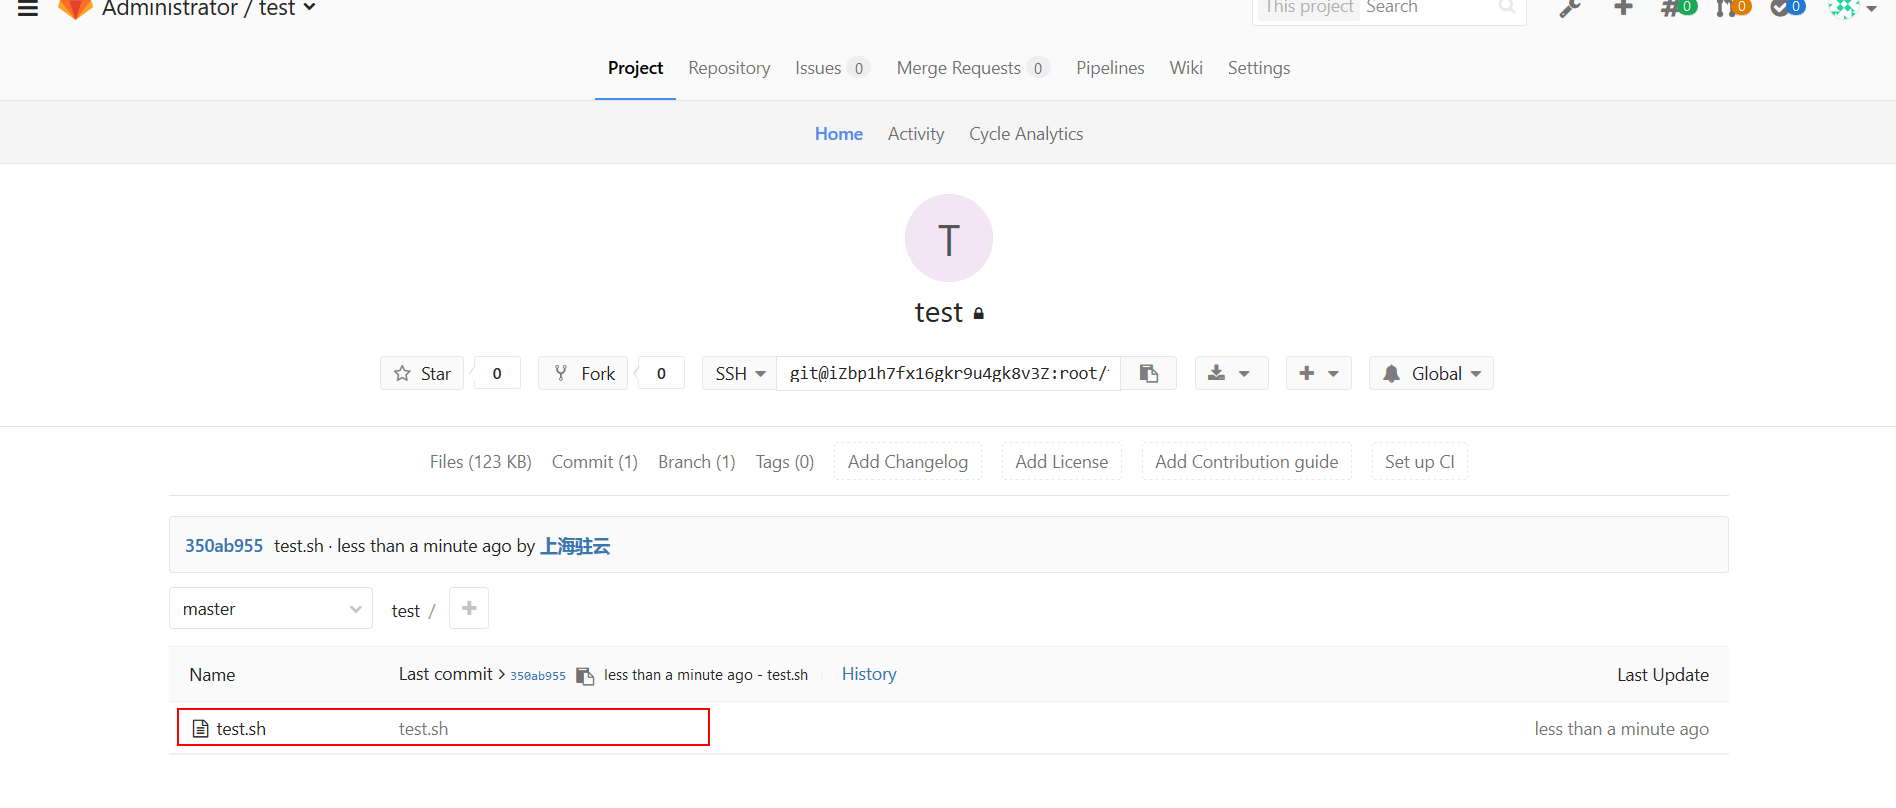
git add test.sh git commit -m “test.sh”git push -u origin master
六 gitlab中文汉化【如不清楚gitlab版本以及git,请不要操作,否则gitlab瘫痪!建议运维人员或者对gitlab比较熟悉的人操作】
(1)centos 6.x汉化步骤。【centos 7.x请查看(2)步骤)】
1,克隆gitLab汉化仓库
首先我们要确认下当前我们gitlab的版本,查看版本命令如下:
- [root@21yunwei src]# cat /opt/gitlab/embedded/service/gitlab-rails/VERSION
- 8.8.5
比如我安装的gitlab版本是8.8.5,那么我就需要下载这个版本的补丁。
克隆汉化仓库地址(这个比较全,可以自己切换对应分支):
- git clone https://gitlab.com/larryli/gitlab.git
下载完以后进入gitlab查看补丁版本:
- [root@21yunwei src]# cat gitlab/VERSION
- 8.8.5
版本正确,后边可以正式操作了。
PS:有很多朋友安装了或旧或老版本,不同版本的地址可以到https://gitlab.com/larryli/gitlab/tags 进行下载,这里的版本很全,基本可以满足下载使用,仅仅版本不一样而已,其他后续操作都是一样的。
2,汉化操作
停止当前gitlab运行。
- gitlab-ctl stop
执行如下操作:
- cd /usr/local/src/gitlab #说明:这个就是刚才我们git clone以后的目录,需要进入到这个仓库进行操作。
- git diff origin/8-8-stable origin/8-8-zh > /tmp/8.8.diff
说明:8-8-stable是英文稳定版,8-8-zh是中文版,两个仓库git diff结果便是汉化补丁了。
3,应用汉化。
- cd /opt/gitlab/embedded/service/gitlab-rails
- git apply /tmp/8.8.diff
启动gitlab:
- gitlab-ctl start
汉化效果(演示地址gitlab.21yunwei.com):
(2)centos 7.x汉化步骤。
1,下载补丁。这个没有采用larryli的,而是另外一个安装包。larrili测试在centos7有报错。
- git clone https://git.oschina.net/qiai365/gitlab-L-zh.git
2,切换分支。这里centos7测试的是8.5.4低版本,需要进行切换。
- cd gitlab-L-zh
- git checkout -b 8-5-zh origin/8-5-zh
- cp -r /opt/gitlab/embedded/service/gitlab-rails{,.ori}
3,汉化操作
首先停止gitlab:
- gitlab-ctl stop
汉化操作:
- yes|cp -rf ../gitlab-L-zh/* /opt/gitlab/embedded/service/gitlab-rails/
4,启动,查看效果
- gitlab-ctl start

低版本gitlab默认用户名和密码:root/5iveL!fe