Features
Role based access control: Users and repositories are organized via 'projects' and a user can have different permission for images under a project.
Policy based image replication: Images can be replicated (synchronized) between multiple registry instances, with auto-retry on errors. Great for load balancing, high availability, multi-datacenter, hybrid and multi-cloud scenarios.
Vulnerability Scanning: Harbor scans images regularly and warns users of vulnerabilities.
LDAP/AD support: Harbor integrates with existing enterprise LDAP/AD for user authentication and management.
Image deletion & garbage collection: Images can be deleted and their space can be recycled.
Notary: Image authenticity can be ensured.
Graphical user portal: User can easily browse, search repositories and manage projects.
Auditing: All the operations to the repositories are tracked.
RESTful API: RlESTfu APIs for most administrative operations, easy to integrate with external systems.
Easy deployment: Provide both an online and offline installer.
首先我们需要将docker升级到最新版本;
1.查看python版本,安装软件;
[root@vlnx251104 ~]# python -V
Python 2.7.5

[root@vlnx251104 ~]# yum install epel-release
[root@vlnx251104 ~]# yum install docker docker-compose
[root@vlnx251104 ~]# systemctl start docker

[root@vlnx251104 ~]# wget https://github.com/vmware/harbor/releases/download/v1.2.0/harbor-offline-installer-v1.2.0.tgz
2.解压Harbor压缩包,并修改配置文件;
[root@sxb-7 ~]# tar xf harbor-offline-installer-v1.8.1.tar
[root@sxb-7 ~]# cd harbor/
[root@sxb-7 harbor]# ls
common              harbor.v1.8.1.tar.gz  install.sh  prepare
docker-compose.yml  harbor.yml            LICENSE
[root@sxb-7 harbor]# vim harbor.yml

 hostname: 192.168.88.107
3.启动Harbor;
[root@sxb-7 harbor]# ./install.sh
✔ ----Harbor has been installed and started successfully.----

Now you should be able to visit the admin portal at http://192.168.88.128.
For more details, please visit https://github.com/goharbor/harbor .
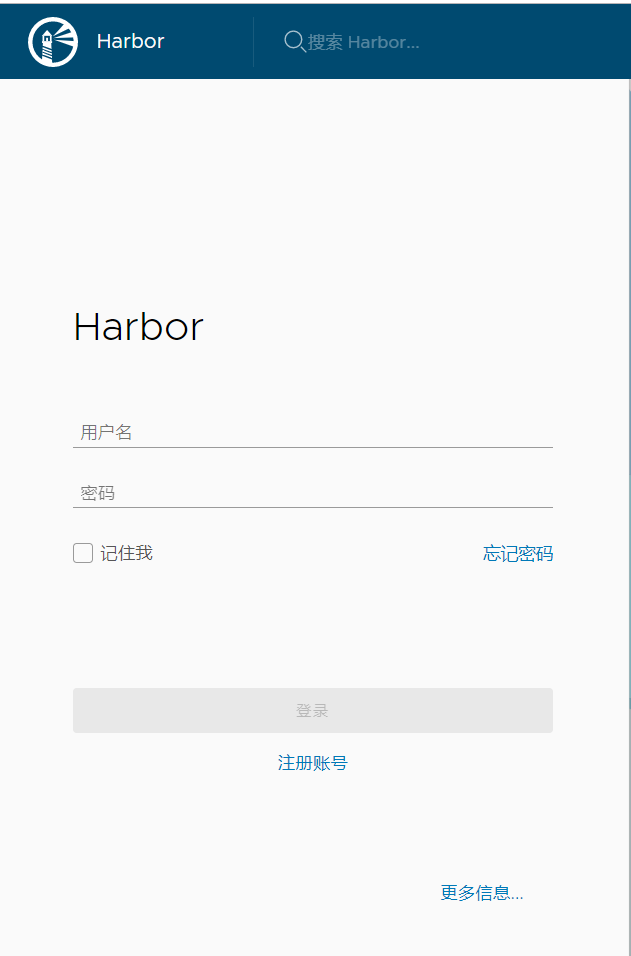
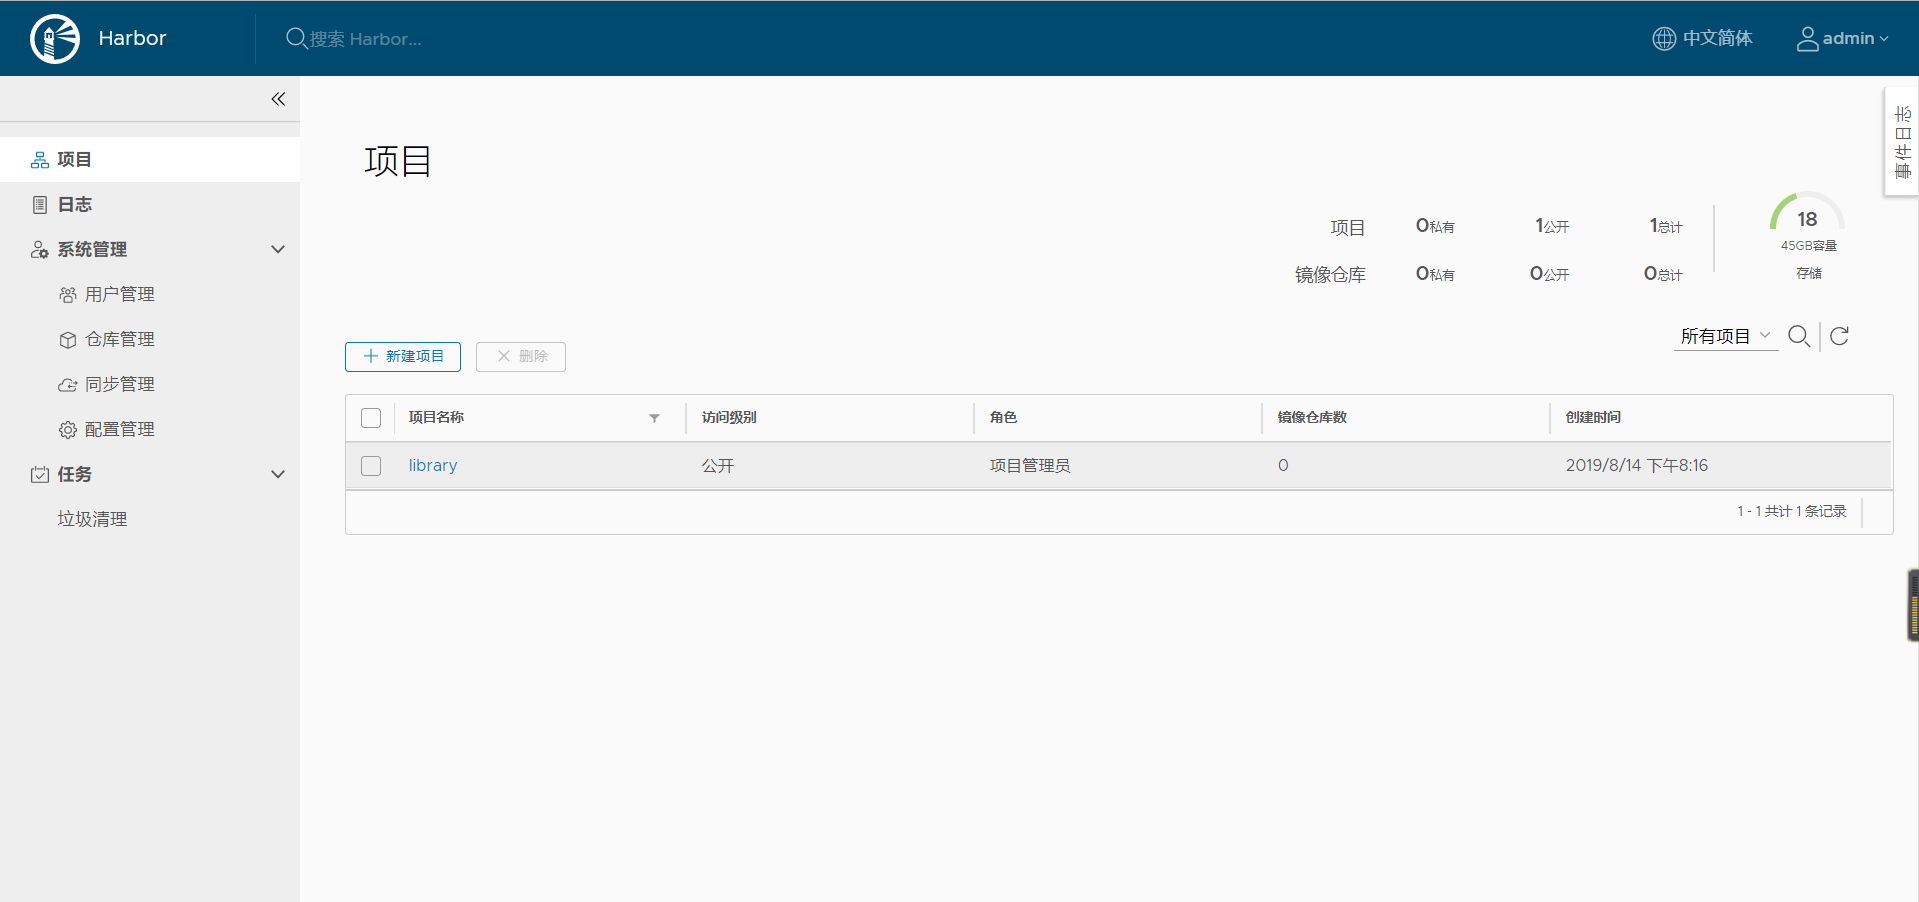
4.登录HarborWeb页面账户为admin,密码:Harbor2345;


我们的Harbor就部署完成了;
接下来我们来解决https的问题;
当我们用命令行登录Harbor时,使用的是https登录,我们需要设置忽略;
1.修改docker服务文件;
[root@localhost ~]# vim /usr/lib/systemd/system/docker.service

EnvironmentFile=-/etc/sysconfig/docker
ExecStart=/usr/bin/dockerd -H fd:// --containerd=/run/containerd/containerd.sock $OPTIONS
2.创建一个docker文件;
[root@localhost ~]# vim /etc/sysconfig/docker

OPTIONS='--insecure-registry 192.168.88.128'
3.重启docker服务;
[root@sxb-7 ~]# systemctl restart docker
Warning: docker.service changed on disk. Run 'systemctl daemon-reload' to reload units.

[root@localhost ~]# systemctl daemon-reload^C
[root@localhost ~]# systemctl restart docker^C
4.登录Harbor;
[root@localhost ~]# docker login 192.168.88.128
Authenticating with existing credentials...
WARNING! Your password will be stored unencrypted in /root/.docker/config.json.
Configure a credential helper to remove this warning. See
https://docs.docker.com/engine/reference/commandline/login/#credentials-store

Login Succeeded
登陆成功,我们就可以将自己的镜像上传到Harbor上了,但要注意的是别人进行下载是同样会出现https的问题;
[root@sxb-7 ~]# vim /etc/docker/daemon.json

{ "insecure-registries":["192.168.88.128"] }
重启服务就可以正常下载了;