培训第二周学习了父子组件,今天考试,经过了第二次培训考试,终于稍微理解了父子组件通信的代码。
1.首先定义一个父组件,创建了father.vue项目
代码如下:
 1 <template>
 2     <div>
 3         <p>父组件</p>
 4         <!-- 以父亲藏私房钱为例,
 5         孩子给父亲钱
 6         父亲藏到小金库里 -->
 7         <span>父亲的私房钱{{fatherbank}}</span>
 8     </div>
 9
10 </template>
11
12 <script>
13 export default {
14     data(){
15         return{
16             // 定义父亲的小金库
17             fatherbank:3000,
18         }
19     }
20 }
21 </script>
22
23 <style>
24
25 </style>
定义子组件,son.vue
 1 <template>
 2   <div>
 3       <p>子组件</p>
 4       <span>儿子给父亲的钱:{{son_givemoney}}</span>
 5   </div>
 6 </template>
 7
 8 <script>
 9 export default {
10     data(){
11         return{
12             son_givemoney:1000,
13         }
14     }
15 }
16 </script>
17
18 <style>
19
20 </style>
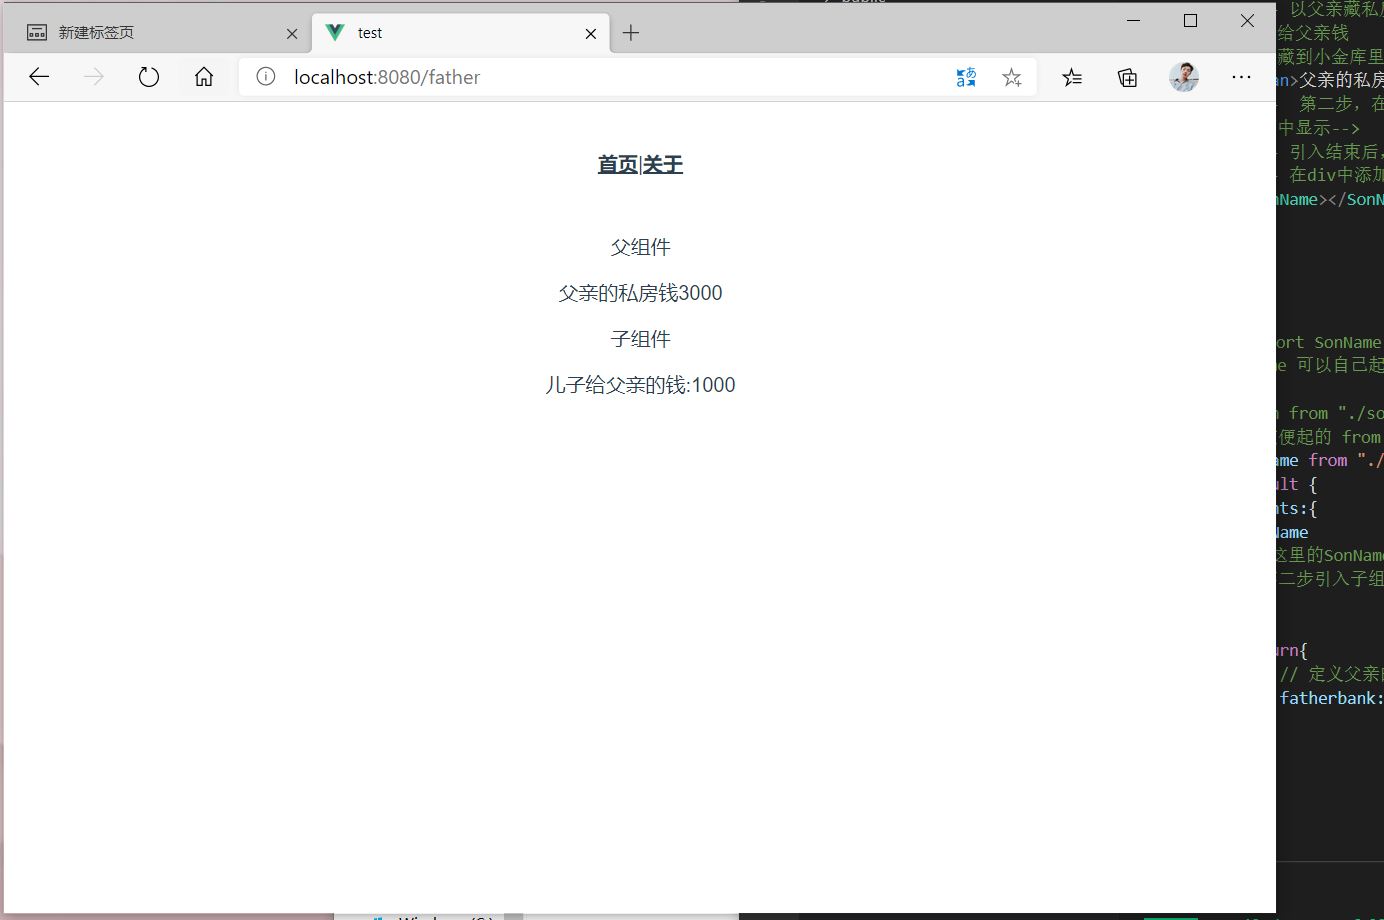
2,在父组件中,声明引入子组件,使得子组件可以显示在父组件的页面上
 1 <template>
 2     <div>
 3         <p>父组件</p>
 4         <!-- 以父亲藏私房钱为例,
 5         孩子给父亲钱
 6         父亲藏到小金库里 -->
 7         <span>父亲的私房钱{{fatherbank}}</span>
 8         <!--  第二步,在父组件中导入子组件,使得子组件可以在父组件
 9         页面中显示-->
10         <!-- 引入结束后,在div中加入子组件显示 -->
11         <!-- 在div中添加 引入子组件的名称,作为一个标签 -->
12         <SonName></SonName>
13     </div>
14
15 </template>
16
17 <script>
18 // 其中,import SonName from "./son"
19 //中的SonName 可以自己起名,只要保证 from后的路径正确即可
20 //如
21 //import Son from "./son"
22 // import 随便起的 from "./son"
23 import SonName from "./son"
24 export default {
25     components:{
26         SonName
27         // 这里的SonName 必须和上面自己起的名字保持一致
28         //第二步引入子组件结束
29     },
30     data(){
31         return{
32             // 定义父亲的小金库
33             fatherbank:3000,
34         }
35     }
36 }
37 </script>
38
39 <style>
40
41 </style>
父组件的显示结果如下图:
3,父组件通过v-bind绑定,将小金库的值传递给子组件,并且在子组件中显示父组件的金库金额
 1 <template>
 2     <div>
 3         <p>父组件</p>
 4         <!-- 以父亲藏私房钱为例,
 5         孩子给父亲钱
 6         父亲藏到小金库里 -->
 7         <span>父亲的私房钱{{fatherbank}}</span>
 8         <!--  第二步,在父组件中导入子组件,使得子组件可以在父组件
 9         页面中显示-->
10         <!-- 引入结束后,在div中加入子组件显示 -->
11         <!-- 在div中添加 引入子组件的名称,作为一个标签 -->
12
13         <!-- 第三步,通过v-bind绑定父组件传值给子组件 -->
14         <!--这里,<SonName :fathertoson="fatherbank"></SonName>
15         中的    fathertoson  名称 自己任意填写,只需保证子组件中,props
16         接受的值一样即可
17         而fathertoson=“” 冒号中的值,是根据你想传递的值来的
18         我们这里传递给子组件,fatherbank的值
19         测试test值,放在下面  -->
20         <SonName :fathertoson="fatherbank"></SonName>
21         <!--
22             <SonName :suibianqide="fatherbank"></SonName>
23          -->
24     </div>
25
26 </template>
27
28 <script>
29 // 其中,import SonName from "./son"
30 //中的SonName 可以自己起名,只要保证 from后的路径正确即可
31 //如
32 //import Son from "./son"
33 // import suibianqide from "./son"
34 import SonName from "./son"
35 export default {
36     components:{
37         SonName
38         //suibianqide
39         // 这里的SonName 必须和上面自己起的名字保持一致
40         //第二步引入子组件结束
41     },
42     data(){
43         return{
44             // 定义父亲的小金库
45             fatherbank:3000,
46             test:100,
47         }
48     }
49 }
50 </script>
51
52 <style>
53
54 </style>
第三部分已完成,下面写 子组件 接受到父组件传值的代码
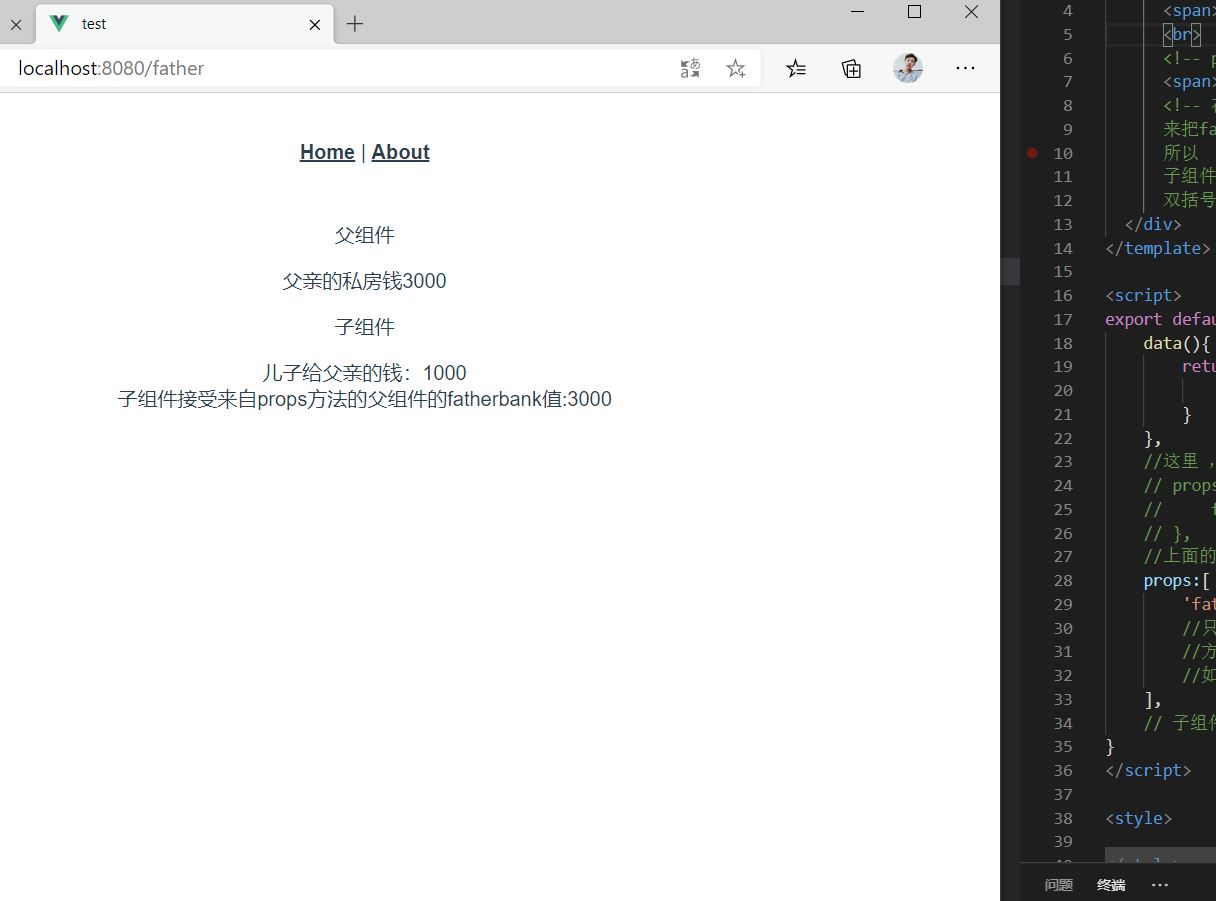
4,子组件通过props方法接受父组件传递来的值;
代码如下:
 1 <template>
 2   <div>
 3       <p>子组件</p>
 4       <span>儿子给父亲的钱:{{son_givemoney}}</span>
 5       <br>
 6       <!-- props方法定义完毕,在子组件中展示接收到的值 -->
 7       <span>子组件接受来自props方法的父组件的fatherbank值:{{fathertoson}}</span>
 8       <!-- 在这里,由于父组件通过定义了fathertoson方法
 9       来把fatherbank的值传递过来,
10       所以
11       子组件接受父组件的值时{{}}
12       双括号中应该写方法,而不是fatherbank-->
13   </div>
14 </template>
15
16 <script>
17 export default {
18     data(){
19         return{
20             son_givemoney:1000,
21         }
22     },
23     //这里 ,有两种写法,均正确
24     // props:{
25     //     fathertoson:Number
26     // },
27     //上面的写法也正确,可以试一下的
28     props:[
29         'fathertoson'
30         //只需保证 props[中的'必须和父组件里的第三步定义的
31         //方法名一致']
32         //如  'suibianqide'  这样写也可以
33     ],
34     // 子组件接收到父组件的值后,在div中展示一下
35 }
36 </script>
37
38 <style>
39
40 </style>
如图:
5,子组件接受后,通过this.$emit方法,修改父组件的金库值
通过v-on方法
代码如下:
 1 <template>
 2   <div>
 3       <p>子组件</p>
 4       <span>儿子给父亲的钱:{{son_givemoney}}</span>
 5       <br>
 6       <!-- props方法定义完毕,在子组件中展示接收到的值 -->
 7       <span>子组件接受来自props方法的父组件的fatherbank值:{{fathertoson}}</span>
 8       <!-- 在这里,由于父组件通过定义了fathertoson方法
 9       来把fatherbank的值传递过来,
10       所以
11       子组件接受父组件的值时{{}}
12       双括号中应该写方法,而不是fatherbank-->
13       <p></p>
14       <br>
15       <!-- 添加button按钮,并使用v-on绑定,
16       点击button按钮时,运行son_change_father方法 -->
17       <!-- 其中, @click="son_change_father
18       中“”引号里的方法名是自己随便起的,z
19         只要保证,methods方法中的名字一致即可 -->
20         <!-- 亦可写成
21         <button @click="suibianqide"></button>
22         -->
23         <!-- 通过v-on绑定后,写methods方法 -->
24       <button @click="son_change_father"></button>
25   </div>
26 </template>
27
28 <script>
29 export default {
30     data(){
31         return{
32             son_givemoney:1000,
33         }
34     },
35     //这里 ,有两种写法,均正确
36     // props:{
37     //     fathertoson:Number
38     // },
39     //上面的写法也正确,可以试一下的
40     props:[
41         'fathertoson'
42         //只需保证 props[中的'必须和父组件里的第三步定义的
43         //方法名一致']
44         //如  'suibianqide'  这样写也可以
45     ],
46     // 子组件接收到父组件的值后,在div中展示一下
47     methods:{
48         son_change_father(){
49             this.$emit("addfatherbank",this.fartherbankchanged)
50         }
51     },
52     // 需要写一个computed函数
53     //父组件收到儿子的前后的值
54     father_now_bank(){
55         return this.fathertoson+1000;
56     }
57 }
58 </script>
59
60 <style>
61
62 </style>
6.子组件通过this.emit方法修改值后,父组件通过v-on接受修改值
 1 <template>
 2     <div>
 3         <p>父组件</p>
 4         <!-- 以父亲藏私房钱为例,
 5         孩子给父亲钱
 6         父亲藏到小金库里 -->
 7         <span>父亲的私房钱{{fatherbank}}</span>
 8         <!--  第二步,在父组件中导入子组件,使得子组件可以在父组件
 9         页面中显示-->
10         <!-- 引入结束后,在div中加入子组件显示 -->
11         <!-- 在div中添加 引入子组件的名称,作为一个标签 -->
12
13         <!-- 第三步,通过v-bind绑定父组件传值给子组件 -->
14         <!--这里,<SonName :fathertoson="fatherbank"></SonName>
15         中的    fathertoson  名称 自己任意填写,只需保证子组件中,props
16         接受的值一样即可
17         而fathertoson=“” 冒号中的值,是根据你想传递的值来的
18         我们这里传递给子组件,fatherbank的值
19         测试test值,放在下面  -->
20         <SonName :fathertoson="fatherbank"
21         @addfatherbank="changebank"></SonName>
22         <!--
23             <SonName :suibianqide="fatherbank"></SonName>
24          -->
25          <!-- @后须保持 子组件在this.emit中起的名字,保持一致 -->
26         <span>通过v-on监听到了子组件的传值:实际金库{{fatherbank}}</span>
27     </div>
28
29 </template>
30
31 <script>
32 // 其中,import SonName from "./son"
33 //中的SonName 可以自己起名,只要保证 from后的路径正确即可
34 //如
35 //import Son from "./son"
36 // import suibianqide from "./son"
37 import SonName from "./son"
38 export default {
39     components:{
40         SonName
41         //suibianqide
42         // 这里的SonName 必须和上面自己起的名字保持一致
43         //第二步引入子组件结束
44     },
45     data(){
46         return{
47             // 定义父亲的小金库
48             fatherbank:3000,
49             test:100,
50         }
51     },
52     methods:{
53         changebank(val){
54             consele.log("收到钱后的值",val)
55         }
56     }
57 }
58 </script>
59
60 <style>
61
62 </style>