一. 实现的效果类似微博的截图分享
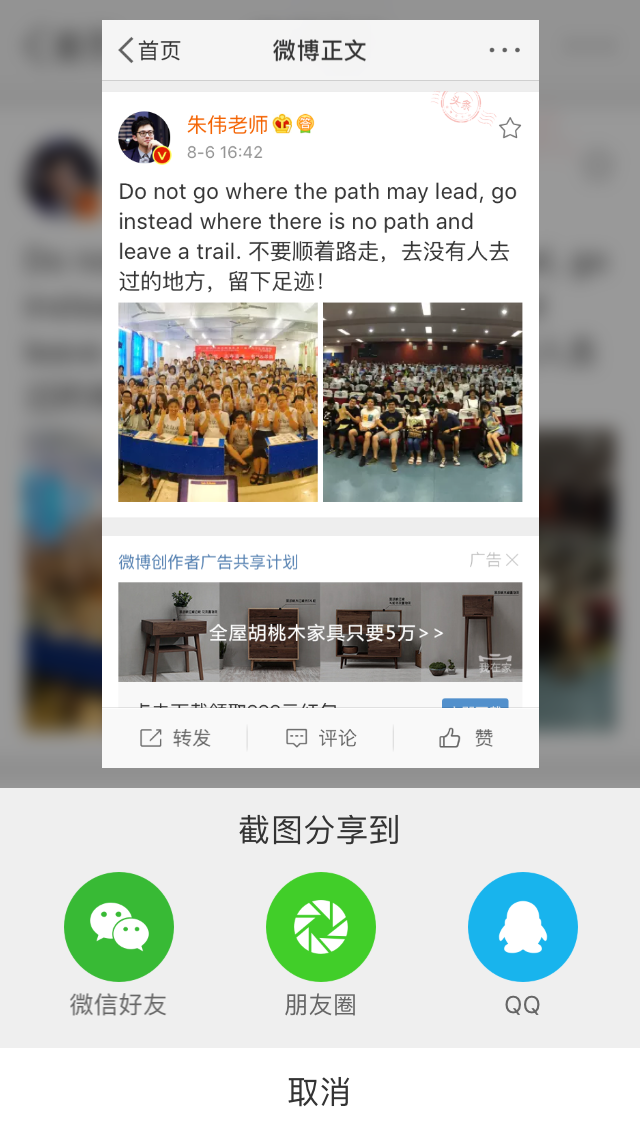

不仅截图分享的时候还进行图片的修改,增加自己的二维码
二.实现方式
苹果在ios7之后提供了一个新的通知类型:UIApplicationUserDidTakeScreenshotNotification,
这个通知会告知注册了此通知的对象已经发生了截屏事件,然后我们就可以在这个事件中实现自己的逻辑
1.注册通知
- (void)viewDidLoad {
    [super viewDidLoad];
    //注册用户的截屏操作通知
    [[NSNotificationCenter defaultCenter] addObserver:self
                                             selector:@selector(userDidTakeScreenshot:)
                                                 name:UIApplicationUserDidTakeScreenshotNotification object:nil];
}
2.接收通知 (获取截图并修改的图片,并展示,展示UI,可以自己修改)
//截屏响应
- (void)userDidTakeScreenshot:(NSNotification *)notification
{
    NSLog(@"检测到截屏");

    //人为截屏, 模拟用户截屏行为, 获取所截图片
    _testImg = [self imageWithScreenshot];


//    //添加显示
    UIImageView *imgvPhoto = [[UIImageView alloc]initWithImage:_testImg];
    imgvPhoto.frame = CGRectMake(0, WIN_HEIGHT/2, WIN_WIDTH/2, WIN_HEIGHT/2);
    imgvPhoto.backgroundColor = [UIColor orangeColor];
    imgvPhoto.userInteractionEnabled = YES;
    //添加边框
    CALayer * layer = [imgvPhoto layer];
    layer.borderColor = [[UIColor whiteColor] CGColor];
    layer.borderWidth = 5.0f;
    //添加四个边阴影
    imgvPhoto.layer.shadowColor = [UIColor blackColor].CGColor;
    imgvPhoto.layer.shadowOffset = CGSizeMake(0, 0);
    imgvPhoto.layer.shadowOpacity = 0.5;
    imgvPhoto.layer.shadowRadius = 10.0;
    //添加两个边阴影
    imgvPhoto.layer.shadowColor = [UIColor blackColor].CGColor;
    imgvPhoto.layer.shadowOffset = CGSizeMake(4, 4);
    imgvPhoto.layer.shadowOpacity = 0.5;
    imgvPhoto.layer.shadowRadius = 2.0;

    [self.view  addSubview:imgvPhoto];

    // 添加手势
    UITapGestureRecognizer *tap = [[UITapGestureRecognizer alloc]initWithTarget:self action:@selector(tapImgView:)];
    [imgvPhoto addGestureRecognizer:tap];
}
3. 截图并修改图片
/**
 *  截取当前屏幕 并修改
 *
 *  @return NSData *
 */
- (UIImage *)imageWithScreenshot
{
    CGSize imageSize = CGSizeZero;
    UIInterfaceOrientation orientation = [UIApplication sharedApplication].statusBarOrientation;
    if (UIInterfaceOrientationIsPortrait(orientation))
        imageSize = [UIScreen mainScreen].bounds.size;
    else
        imageSize = CGSizeMake([UIScreen mainScreen].bounds.size.height, [UIScreen mainScreen].bounds.size.width);

    UIGraphicsBeginImageContextWithOptions(imageSize, NO, 0);
    CGContextRef context = UIGraphicsGetCurrentContext();
    for (UIWindow *window in [[UIApplication sharedApplication] windows])
    {
        CGContextSaveGState(context);
        CGContextTranslateCTM(context, window.center.x, window.center.y);
        CGContextConcatCTM(context, window.transform);
        CGContextTranslateCTM(context, -window.bounds.size.width * window.layer.anchorPoint.x, -window.bounds.size.height * window.layer.anchorPoint.y);
        if (orientation == UIInterfaceOrientationLandscapeLeft)
        {
            CGContextRotateCTM(context, M_PI_2);
            CGContextTranslateCTM(context, 0, -imageSize.width);
        }else if (orientation == UIInterfaceOrientationLandscapeRight)
        {
            CGContextRotateCTM(context, -M_PI_2);
            CGContextTranslateCTM(context, -imageSize.height, 0);
        } else if (orientation == UIInterfaceOrientationPortraitUpsideDown) {
            CGContextRotateCTM(context, M_PI);
            CGContextTranslateCTM(context, -imageSize.width, -imageSize.height);
        }
        if ([window respondsToSelector:@selector(drawViewHierarchyInRect:afterScreenUpdates:)])
        {
            [window drawViewHierarchyInRect:window.bounds afterScreenUpdates:YES];
        }
        else
        {
            [window.layer renderInContext:context];
        }
        CGContextRestoreGState(context);
    }

    UIImage *image = UIGraphicsGetImageFromCurrentImageContext();
    UIGraphicsEndImageContext();

    // 修改图片
    NSData *imageData = UIImagePNGRepresentation(image);
    UIImage *LastImage = [UIImage imageWithData:imageData];

    UIImage *img = [UIImage imageNamed:@"ico_nursery.png"];
    CGImageRef imgRef = img.CGImage;
    CGFloat w = CGImageGetWidth(imgRef);
    CGFloat h = CGImageGetHeight(imgRef);

    //以1.png的图大小为底图
    UIImage *img1 = LastImage;
    CGImageRef imgRef1 = img1.CGImage;
    CGFloat w1 = CGImageGetWidth(imgRef1);
    CGFloat h1 = CGImageGetHeight(imgRef1);

    //以1.png的图大小为画布创建上下文
    UIGraphicsBeginImageContext(CGSizeMake(w1, h1 + 100));
    [img1 drawInRect:CGRectMake(0, 0, w1, h1)];//先把1.png 画到上下文中
    [img drawInRect:CGRectMake(10, h1 + 10, 80, 80)];//再把小图放在上下文中
    UIImage *resultImg = UIGraphicsGetImageFromCurrentImageContext();//从当前上下文中获得最终图片
    UIGraphicsEndImageContext();//关闭上下文

    return  resultImg;
}
4.根据添加的事件进行分享 分享自己也可封装
// 点击图片改变imageView位置,打印图片信息  分享自己也可封装
- (void)tapImgView: (UITapGestureRecognizer *)tap {

    NSLog(@"点击了图片...");
 // 微信
    [MyAPIClient mobEvent:@"wechat"];
//  [Helper shareImageName:_testImg type:SSDKPlatformSubTypeWechatSession];//  微信好友
    [Helper shareImageName:_testImg type:SSDKPlatformSubTypeWechatTimeline];// 微信朋友圈
// QQ
//    [MyAPIClient mobEvent:@"QQ"];
//    [Helper shareImageName:_testImg type:SSDKPlatformTypeQQ];// QQ

}
5. 移除通知
- (void)dealloc
{
    [[NSNotificationCenter defaultCenter]removeObserver:self];
}
这样就可以了.展示一下测试
自身截图
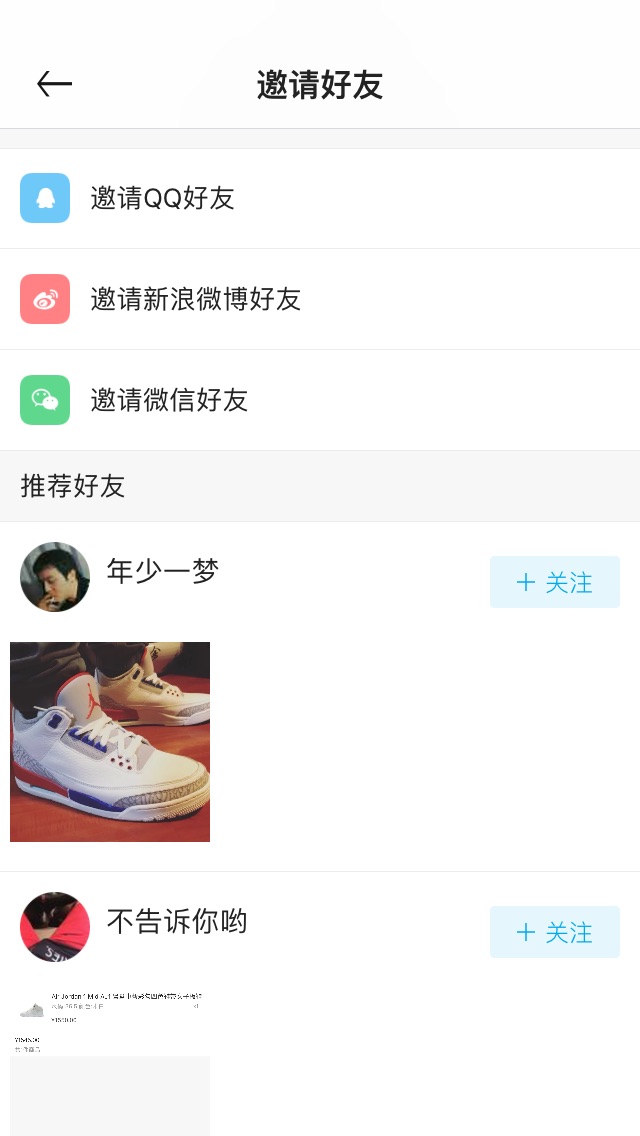
截图修改分享图

ok,结束,需要补充的,欢迎大家留言讨论!