Auto和*效果
Auto 表示自动适应显示内容的宽度, 控件有多大,就显示多大。
* 则表示按比例来分配宽度。
话不多说,直接上例子理解
例子1

代码:
  <Grid ShowGridLines="True">
        <Grid.RowDefinitions>
            <RowDefinition Height="Auto"/>
            <RowDefinition Height="*"/>
            <RowDefinition Height="Auto"/>
            <RowDefinition Height="*"/>
        </Grid.RowDefinitions>

        <!--控件-->
        <Button Grid.Row="0" Content="Auto按钮"/>
        <Button Grid.Row="1" Content="*按钮"/>
        <Button Grid.Row="2" Content="Auto按钮"/>
        <Button Grid.Row="3" Content="*按钮"/>
    </Grid>
可以看出,Auto表示自动适应控件的宽度,按钮默认多大就显示多大,而剩余的区域则由*去分配,由此可能导致出现一个问题,看下面这个例子。
例子2

代码:
//XAML部分代码:
<Grid ShowGridLines="True">
        <Grid.RowDefinitions>
            <RowDefinition Height="Auto"/>
            <RowDefinition Height="Auto"/>
            <RowDefinition Height="Auto"/>
            <RowDefinition Height="Auto"/>
        </Grid.RowDefinitions>

        <!--控件-->
        <Button Grid.Row="0" Content="Auto按钮"/>
        <Button Grid.Row="1" Content="Auto按钮"/>
        <Image Grid.Row="2" Name="Imagebox"></Image>
        <Button Grid.Row="3" Content="Auto按钮"/>
</Grid>


//后台部分
public MainWindow()
{
      InitializeComponent();
      var image1 = new System.Windows.Media.Imaging.BitmapImage();
      image1.BeginInit();
      image1.UriSource = new Uri(@"F:测试图片	estIMG10201.jpg", UriKind.Absolute);
      image1.EndInit();
      Imagebox.Source = image1;
}
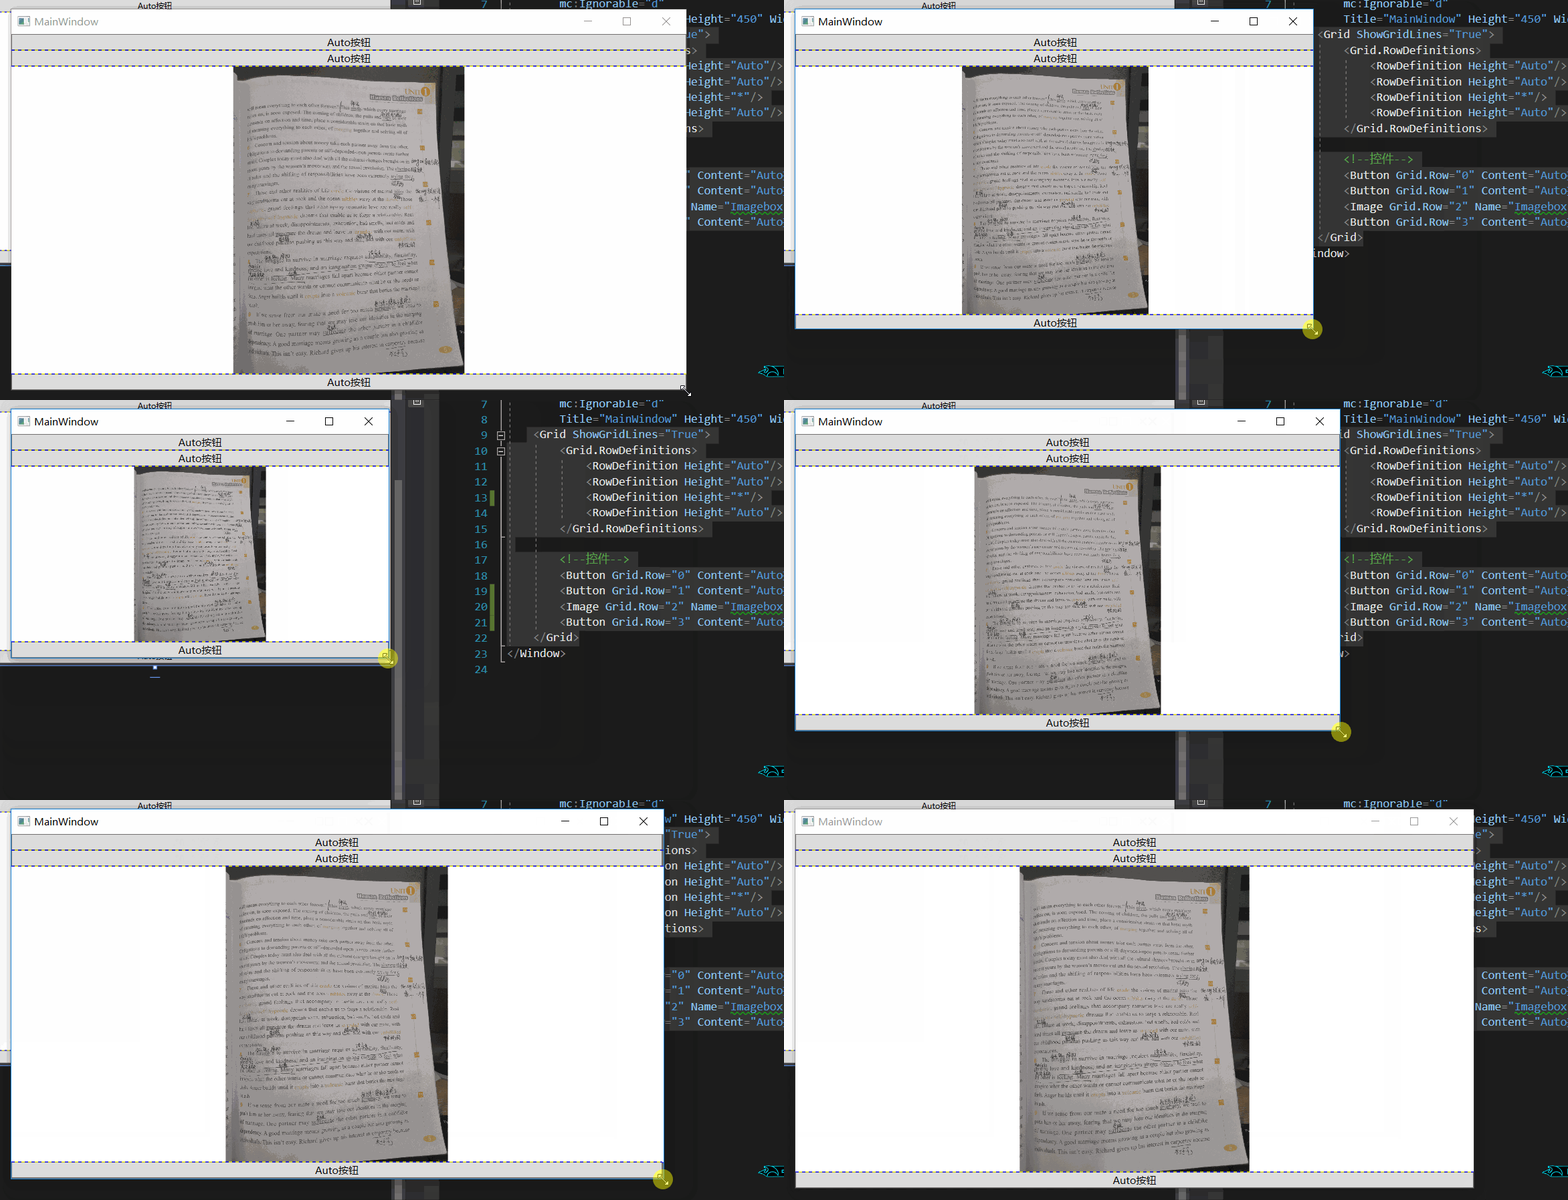
可以看出,全部用Auto的话,从上往下渲染,Image的尺寸过大,程序已经显示不下了,把后面的按钮也抵消掉了,这里我们就需要换一种思路,改成下面这种:

代码:
//XAML代码
 <Grid ShowGridLines="True">
        <Grid.RowDefinitions>
            <RowDefinition Height="Auto"/>
            <RowDefinition Height="Auto"/>
            <RowDefinition Height="*"/>
            <RowDefinition Height="Auto"/>
        </Grid.RowDefinitions>

        <!--控件-->
        <Button Grid.Row="0" Content="Auto按钮"/>
        <Button Grid.Row="1" Content="Auto按钮"/>
        <Image Grid.Row="2" Name="Imagebox"></Image>
        <Button Grid.Row="3" Content="Auto按钮"/>
</Grid>

//后台代码和上面一样不变,这里就不写了
GIF效果图:

我们会发现在三个使用了Auto的Grid中,会先自动按照控件的大小进行分配高度,分配完成之后剩下的部分就由使用了*的部分去分配高度。
当然,具体问题具体分析,项目有不同的需求的话也需要尝试各种布局规则。
总而言之,先分配Auto,最后分配*,Auto有多大就显示多大,也不会管存在显示不下的问题,需要自行解决