JdbcTemplate是Spring框架自带的对JDBC操作的封装,目的是提供统一的模板方法使对数据库的操作更加方便、友好,效率也不错。
整合使用JdbcTemplate实现对图书的添加功能小案例
采用springboot2.0.0版本
1.导入所需依赖jar包
<!--web应用-->
        <dependency>
            <groupId>org.springframework.boot</groupId>
            <artifactId>spring-boot-starter-web</artifactId>
        </dependency>

        <!--单测-->
        <dependency>
            <groupId>org.springframework.boot</groupId>
            <artifactId>spring-boot-starter-test</artifactId>
            <scope>test</scope>
        </dependency>

        <!--jdbc -->
        <dependency>
            <groupId>org.springframework.boot</groupId>
            <artifactId>spring-boot-starter-jdbc</artifactId>
        </dependency>

        <!-- mysql驱动 -->
        <dependency>
            <groupId>mysql</groupId>
            <artifactId>mysql-connector-java</artifactId>
        </dependency>
2.application.properties中的配置
1 spring.datasource.url=jdbc:mysql://localhost:3306/bookshop
2 spring.datasource.username=root
3 spring.datasource.password=123
4 spring.datasource.driver-class-name=com.mysql.jdbc.Driver
3.entity层
 1 @Entity(name = "book") 3 public class Book {
 4     @Id
 5     @GeneratedValue
 6     private Integer bookid;
 7     @Column
 8     private String bookname;
 9     @Column
10     private Integer bookprice;
11
12    get  set方法省略。。
13 }
4.service层
 1 @Service
 2 public class BookService {
 3     @Autowired
 4     private JdbcTemplate jdbcTemplate;
 5     public void createUser(Integer booid,String bookname,Integer bookprice){
 6         System.out.println("createUser");
 7         jdbcTemplate.update("insert into book values(?,?,?);",booid,bookname,bookprice);
 8         System.out.println("图书添加成功!!");
 9     }
10
11 }
5.controller层
 1 @Controller
 2 public class BookController {
 3     @Autowired
 4     private BookService userService;
 5
 6
 7     @RequestMapping("/createUser")
 8     public String createUser(Integer booid,String bookname,Integer bookprice){
 9         userService.createUser(booid,bookname,bookprice);
10        return "success";
11     }
12 }
6.success.ftl
 1 <!DOCTYPE html>
 2 <html xmlns="http://www.w3.org/1999/xhtml" xmlns:th="http://www.thymeleaf.org"
 3       xmlns:sec="http://www.thymeleaf.org/thymeleaf-extras-springsecurity3">
 4 <head>
 5     <title>Hello World!</title>
 6 </head>
 7 <body>
 8 <h1>success</h1>
 9 </body>
10 </html>
7.启动项目
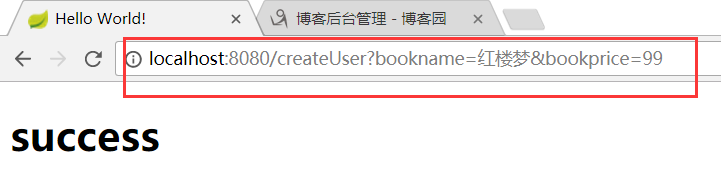
控制台打印
