1、系统
[root@localhost ~]# cat /etc/redhat-release
Red Hat Enterprise Linux release 8.5 (Ootpa)

2、进入/etc/sysconfig/network-scripts/目录,编辑目录下网卡配置文件:
[root@localhost ~]# cd /etc/sysconfig/network-scripts/      ## 进入该目录
[root@localhost network-scripts]# ls                        ## 列出网卡配置文件
ifcfg-ens160

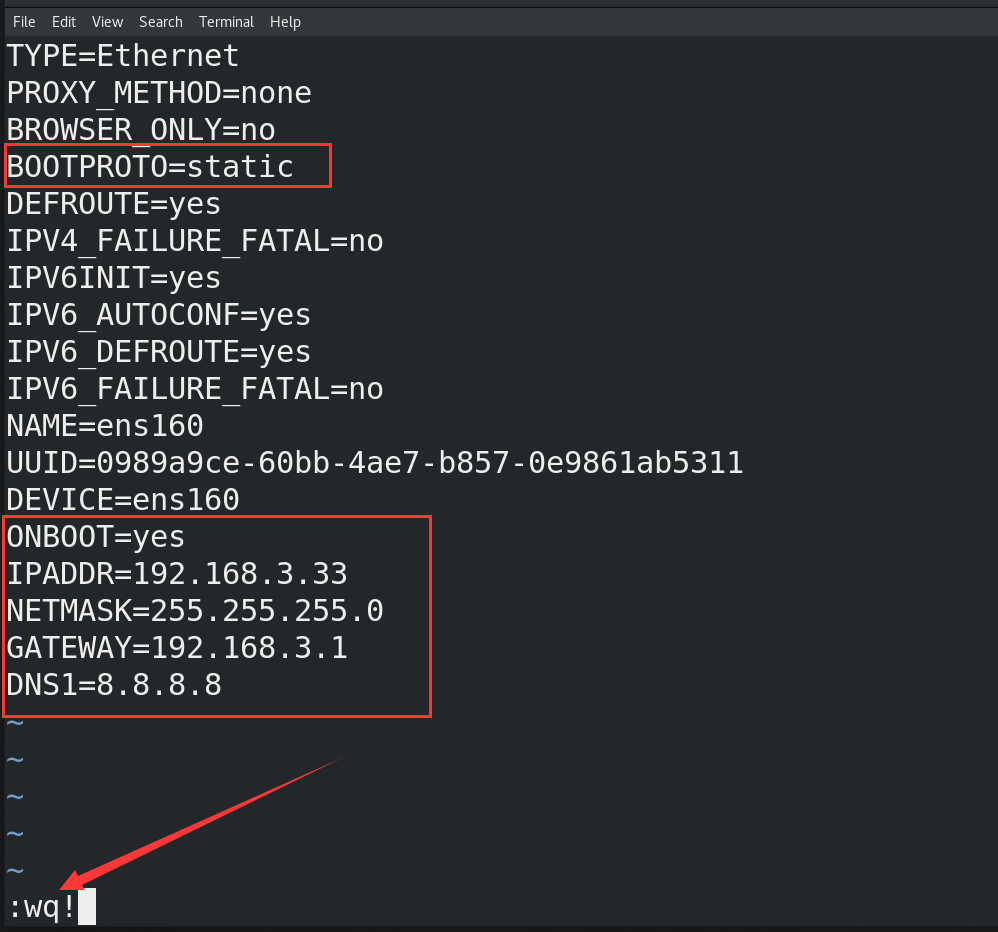
3、使用vim编辑器编辑网卡配置文件,保存退出:
[root@localhost network-scripts]# vim ifcfg-ens160
TYPE=Ethernet
PROXY_METHOD=none
BROWSER_ONLY=no
BOOTPROTO=static                ## 由dhcp改为static
DEFROUTE=yes
IPV4_FAILURE_FATAL=no
IPV6INIT=yes
IPV6_AUTOCONF=yes
IPV6_DEFROUTE=yes
IPV6_FAILURE_FATAL=no
NAME=ens160
UUID=0989a9ce-60bb-4ae7-b857-0e9861ab5311
DEVICE=ens160
ONBOOT=yes                     ## 改为yes
IPADDR=192.168.3.33            ## ip
NETMASK=255.255.255.0          ## 子网掩码
GATEWAY=192.168.3.1            ## 网关
DNS1=8.8.8.8                   ## DNS服务

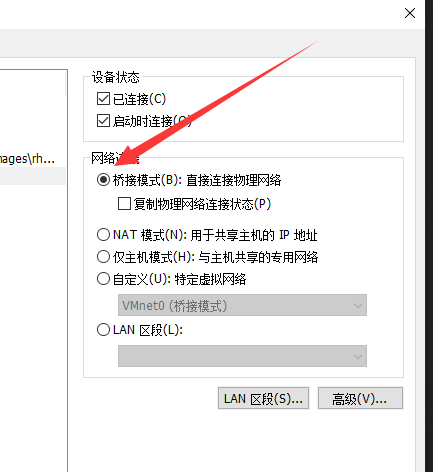
4、将网络模式调整为桥接模式

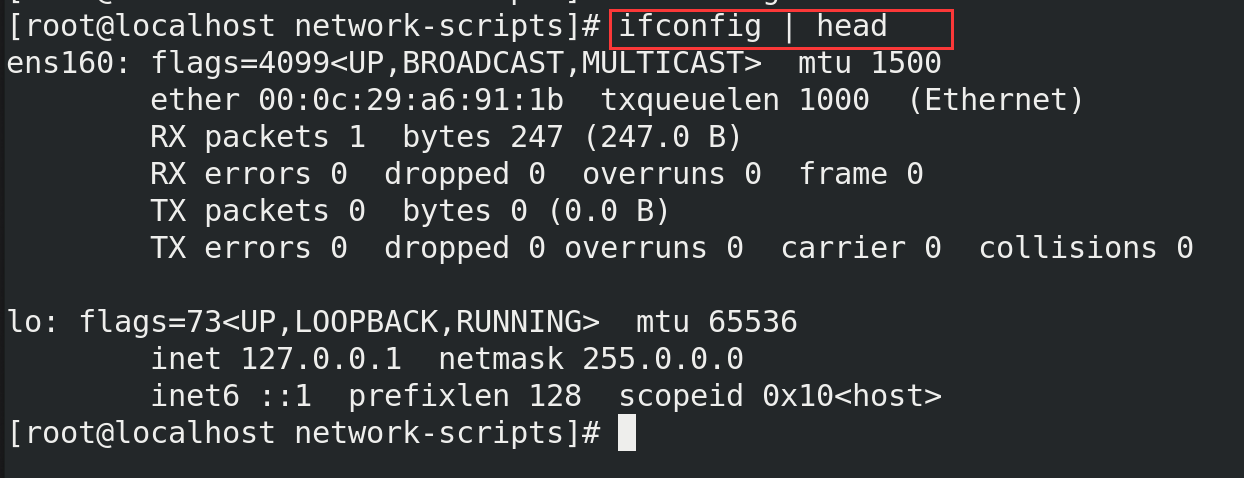
5、查看当前网络配置
[root@localhost network-scripts]# ifconfig | head
ens160: flags=4099<UP,BROADCAST,MULTICAST>  mtu 1500
        ether 00:0c:29:a6:91:1b  txqueuelen 1000  (Ethernet)
        RX packets 1  bytes 247 (247.0 B)
        RX errors 0  dropped 0  overruns 0  frame 0
        TX packets 0  bytes 0 (0.0 B)
        TX errors 0  dropped 0 overruns 0  carrier 0  collisions 0

lo: flags=73<UP,LOOPBACK,RUNNING>  mtu 65536
        inet 127.0.0.1  netmask 255.0.0.0
        inet6 ::1  prefixlen 128  scopeid 0x10<host>

6、重启网络服务
[root@localhost network-scripts]# nmcli c reload
[root@localhost network-scripts]# nmcli c up ens160
Connection successfully activated (D-Bus active path: /org/freedesktop/NetworkManager/ActiveConnection/4)
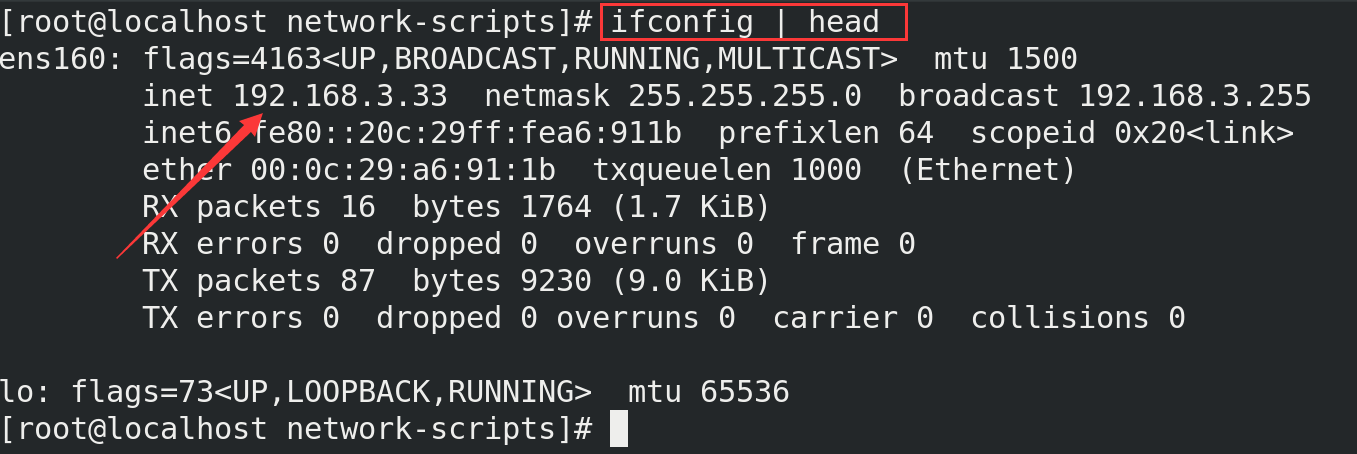
7、查看网络,IP已经生效
[root@localhost network-scripts]# ifconfig | head
