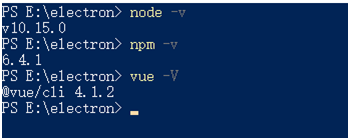
1.配置环境说明

2.创建项目 并编写hello world

在ele-project 根目录下面创建index.html、 main.js
index.html
1 <!DOCTYPE html>
2 <html>
3   <head>
4     <title>Hello World!</title>
5   </head>
6   <body>
7     <h1>Hello World!</h1>
8   </body>
9 </html>
main.js
 1 const {app, BrowserWindow} = require('electron')
 2
 3 let  mainWindow = null
 4
 5 function createWindow () {
 6     // Create the browser window.
 7     mainWindow = new BrowserWindow({
 8        800,
 9       height: 600
10     })
11
12     // and load the index.html of the app.
13     mainWindow.loadFile('index.html')
14
15     // Open the DevTools.
16     // mainWindow.webContents.openDevTools()
17
18     // Emitted when the window is closed.
19     mainWindow.on('closed', function () {
20       // Dereference the window object, usually you would store windows
21       // in an array if your app supports multi windows, this is the time
22       // when you should delete the corresponding element.
23       mainWindow = null
24     })
25   }
26
27   // This method will be called when Electron has finished
28   // initialization and is ready to create browser windows.
29   // Some APIs can only be used after this event occurs.
30   app.on('ready', createWindow)
31
32   // Quit when all windows are closed.
33   app.on('window-all-closed', function () {
34     // On macOS it is common for applications and their menu bar
35     // to stay active until the user quits explicitly with Cmd + Q
36     if (process.platform !== 'darwin') app.quit()
37   })
38
39   app.on('activate', function () {
40     // On macOS it's common to re-create a window in the app when the
41     // dock icon is clicked and there are no other windows open.
42     if (mainWindow === null) createWindow()
43   })
3.安装electron 7.1.7
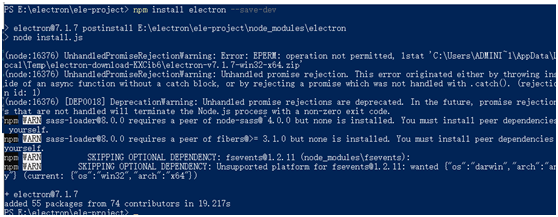
备注: 这个是下载路径问题
直接下载 electron-v7.1.7-win32-x64.zip 解压到项目 ode_moduleselectrondist 下如果没有文件夹需创建 :如我的E:electronele-project ode_moduleselectrondist
在node_moduleselectron 目录下新建 path.txt ,内容为electron.exe
或:

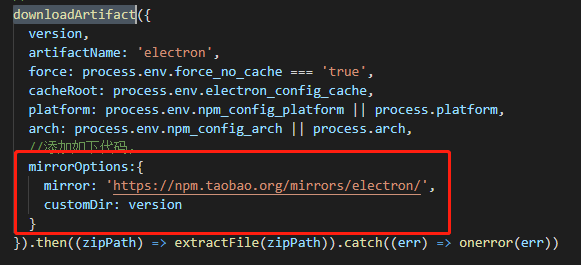
然后在 node_moduleselectron 运行 node install.js
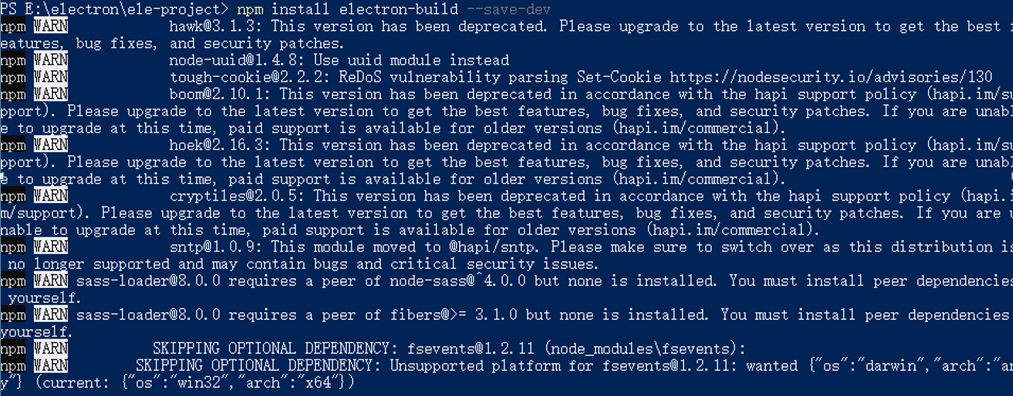
3.运行electron 并安装 electron-builder

在package.json 中添加相关配置
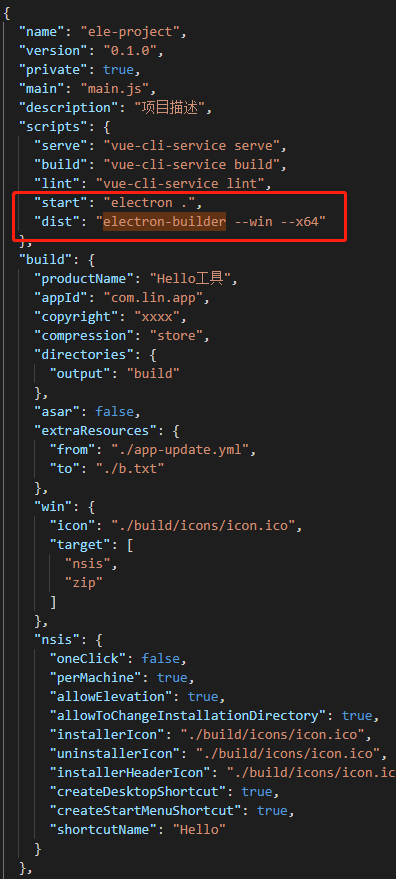
4.编译electron 程序
运行 npm run dist

备注下载出错,自己下载 配置
当前用户的缓存文件 我的:C:UsersAdministratorAppDataLocal

备注:electron 可以下载成功 也可以提前下载解压


重新运行npm run dist

5.运行编译文件
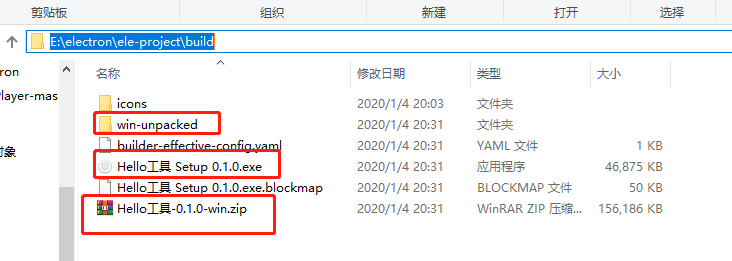
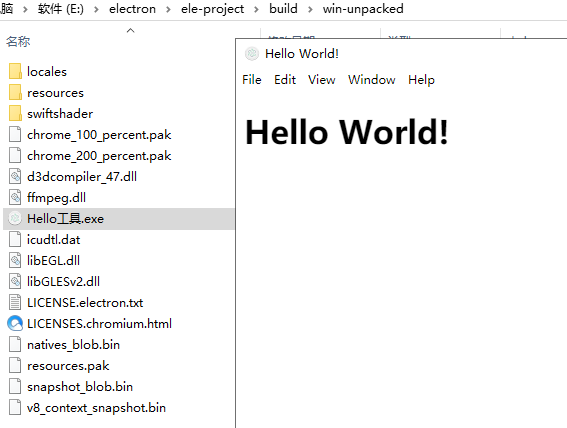
测试win-unpacked
