有时候我们项目,在执行某个操作后,会生成一些数据结果,如报表一类的东西,我们需要对结果进行保存,甚至是生成word文档。
那么首先获取到控件快照就最基本的条件。
生成快照的静态方法类
using System;
using System.Collections.Generic;
using System.Drawing;
using System.Drawing.Imaging;
using System.IO;
using System.Linq;
using System.Text;
using System.Threading.Tasks;
using System.Windows;
using System.Windows.Media.Imaging;

namespace MvvmFuncationApp.Model
{
    public static class ToBitmapTool
    {
        /// <summary>
        /// 截图转换成bitmap
        /// </summary>
        /// <param name="element"></param>
        /// <param name="width">默认控件宽度</param>
        /// <param name="height">默认控件高度</param>
        /// <param name="x">默认0</param>
        /// <param name="y">默认0</param>
        /// <returns></returns>
        public static Bitmap ToBitmap(this FrameworkElement element, int width = 0, int height = 0, int x = 0, int y = 0)
        {
            if (width == 0) width = (int)element.ActualWidth;
            if (height == 0) height = (int)element.ActualHeight;

            var rtb = new RenderTargetBitmap(width, height, x, y, System.Windows.Media.PixelFormats.Default);
            rtb.Render(element);
            var bit = BitmapSourceToBitmap(rtb);

            //测试代码
            DirectoryInfo d = new DirectoryInfo(System.IO.Path.Combine(Directory.GetCurrentDirectory(), "Cache"));
            if (!d.Exists) d.Create();
            bit.Save(System.IO.Path.Combine(d.FullName, "控件截图.png"));

            return bit;
        }

        /// <summary>
        /// BitmapSource转Bitmap
        /// </summary>
        /// <param name="source"></param>
        /// <returns></returns>
        public static Bitmap BitmapSourceToBitmap(this BitmapSource source)
        {
            return BitmapSourceToBitmap(source, source.PixelWidth, source.PixelHeight);
        }

        /// <summary>
        /// Convert BitmapSource to Bitmap
        /// </summary>
        /// <param name="source"></param>
        /// <returns></returns>
        public static Bitmap BitmapSourceToBitmap(this BitmapSource source, int width, int height)
        {
            Bitmap bmp = null;
            try
            {
                PixelFormat format = PixelFormat.Format24bppRgb;
                /*set the translate type according to the in param(source)*/
                switch (source.Format.ToString())
                {
                    case "Rgb24":
                    case "Bgr24": format = PixelFormat.Format24bppRgb; break;
                    case "Bgra32": format = PixelFormat.Format32bppPArgb; break;
                    case "Bgr32": format = PixelFormat.Format32bppRgb; break;
                    case "Pbgra32": format = PixelFormat.Format32bppArgb; break;
                }
                bmp = new Bitmap(width, height, format);
                BitmapData data = bmp.LockBits(new System.Drawing.Rectangle(System.Drawing.Point.Empty, bmp.Size),
                    ImageLockMode.WriteOnly,
                    format);
                source.CopyPixels(Int32Rect.Empty, data.Scan0, data.Height * data.Stride, data.Stride);
                bmp.UnlockBits(data);
            }
            catch
            {
                if (bmp != null)
                {
                    bmp.Dispose();
                    bmp = null;
                }
            }

            return bmp;
        }
    }
}
添加按钮事件:
        private void BitMapBtn_Click(object sender, RoutedEventArgs e)
        {
       // StudentInfoGrid =======>控件的名称
        ToBitmapTool.ToBitmap(StudentInfoGrid); }
      }
前台代码:
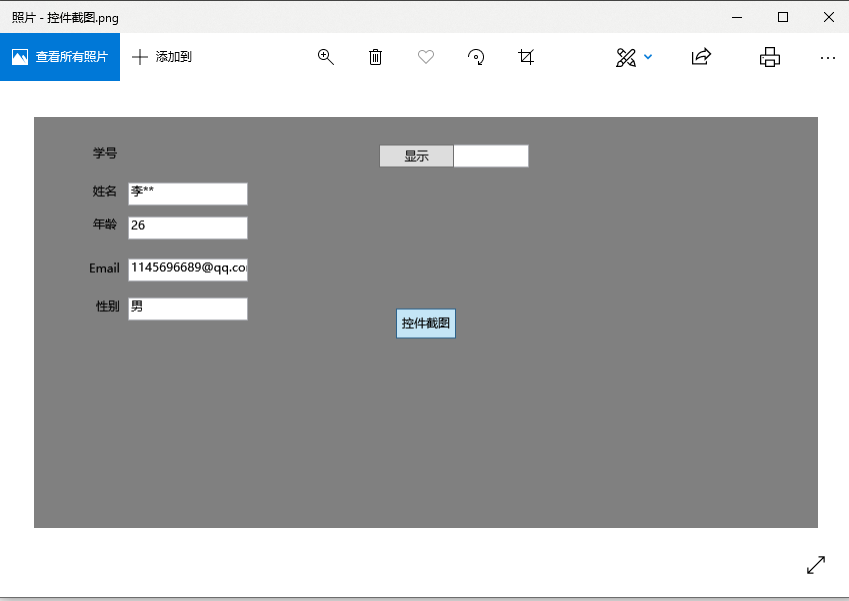
 <Grid Background="Gray" Name="StudentInfoGrid">
        <Label Content="学号" Height="28" HorizontalAlignment="Left" Margin="54,23,0,0" Name="labelStudentId" VerticalAlignment="Top" />
        <TextBox Text="{Binding Student.StudentId}" IsReadOnly="True" Height="23" HorizontalAlignment="Right" Margin="0,27,289,0" Name="textBoxStudentId" VerticalAlignment="Top" Width="120" />
        <Label Content="姓名" Height="28" HorizontalAlignment="Left" Margin="54,61,0,0" Name="labelStudentName" VerticalAlignment="Top" />
        <TextBox Text="{Binding Student.StudentName}" IsReadOnly="True" Height="23" HorizontalAlignment="Left" Margin="94,65,0,0" Name="textBoxStudentName" VerticalAlignment="Top" Width="120" />
        <Label Content="年龄" Height="28" HorizontalAlignment="Left" Margin="54,94,0,0" Name="labelStudentAge" VerticalAlignment="Top" />
        <TextBox Text="{Binding Student.StudentAge}" IsReadOnly="True" Height="23" HorizontalAlignment="Left" Margin="94,99,0,0" Name="textBoxStudentAge" VerticalAlignment="Top" Width="120" />
        <Label Content="Email" Height="28" HorizontalAlignment="Left" Margin="50,138,0,0" Name="labelStudentEmail" VerticalAlignment="Top" />
        <TextBox Text="{Binding Student.StudentEmail}" IsReadOnly="True" Height="23" HorizontalAlignment="Left" Margin="94,141,0,0" Name="textBoxStudentEmail" VerticalAlignment="Top" Width="120" />
        <Label Content="性别" Height="28" HorizontalAlignment="Left" Margin="57,176,0,0" Name="labelStudentSex" VerticalAlignment="Top" />
        <TextBox Text="{Binding Student.StudentSex}" IsReadOnly="True" Height="23" HorizontalAlignment="Left" Margin="94,180,0,0" Name="textBoxStudentSex" VerticalAlignment="Top" Width="120" />
        <Button Command="{Binding ShowCommand}" Content="显示" Height="23" HorizontalAlignment="Left" Margin="345,27,0,0" Name="buttonShow" VerticalAlignment="Top" Width="75" />
        <Button Content="控件截图" Name="BitMapBtn" Click="BitMapBtn_Click"
                Width="60" Height="30" Margin="0,30"></Button>
    </Grid>
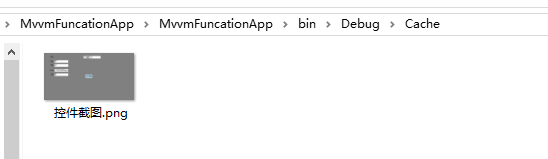
运行程序 ==》进入项目的debug目录下