PHP 连接 Memcached 服务
在前面章节中我们已经介绍了如何安装 Memcached 服务,接下来我们为大家介绍 PHP 如何使用 Memcached 服务。
PHP Memcache 扩展安装
PHP Memcache 扩展包下载地址:http://pecl.php.net/package/memcache,你可以下载最新稳定包(stable)。
wget http://pecl.php.net/get/memcache-2.2.7.tgz
tar -zxvf memcache-2.2.7.tgz
cd memcache-2.2.7
/usr/local/php/bin/phpize
./configure --with-php-config=/usr/local/php/bin/php-config
make && make install
如果你是 PHP7 版本,则需要下载指定分支:
git clone -b php7 https://github.com/php-memcached-dev/php-memcached.git如果你的系统还未编译 libmemcached,则下载编译它:https://launchpad.net/libmemcached/+download
注意:/usr/local/php/ 为php的安装路径,需要根据你安装的实际目录调整。
安装成功后会显示你的memcache.so扩展的位置,比如我的:
Installing shared extensions: /usr/local/php/lib/php/extensions/no-debug-non-zts-20090626/
最后我们需要把这个扩展添加到php中,打开你的php.ini文件在最后添加以下内容:
[Memcache]
extension_dir = "/usr/local/php/lib/php/extensions/no-debug-non-zts-20090626/"
extension = memcache.so
添加完后 重新启动php,我使用的是nginx+php-fpm进程所以命令如下:
kill -USR2 `cat /usr/local/php/var/run/php-fpm.pid`
如果是apache的使用以下命令:
/usr/local/apache2/bin/apachectl restart
检查安装结果
/usr/local/php/bin/php -m | grep memcache
安装成功会输出:memcache。
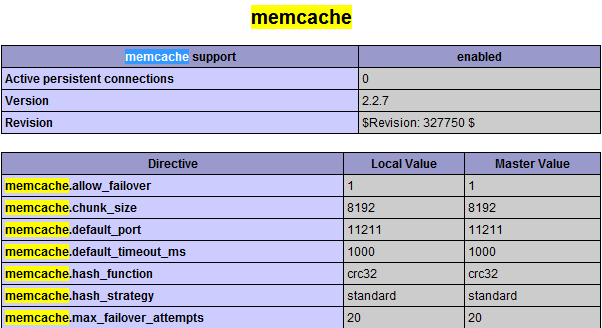
或者通过浏览器访问 phpinfo() 函数来查看,如下图:
PHP 连接 Memcached
<?php
$memcache = new Memcache;             //创建一个memcache对象
$memcache->connect('localhost', 11211) or die ("Could not connect"); //连接Memcached服务器
$memcache->set('key', 'test');        //设置一个变量到内存中,名称是key 值是test
$get_value = $memcache->get('key');   //从内存中取出key的值
echo $get_value;
?>