本示列Linux系统为CentOS 7.9
nginx安装包下载地址:http://nginx.org/en/download.html,注意下载Stable version
1. 下载源码包nginx-1.20.2.tar.gz
2. 上传源码包到Linux系统
先 cd /usr/local 创建一个文件夹 mkdir nginx
将源码包上传到 /usr/local/nginx 目录下
3. 解压源码包
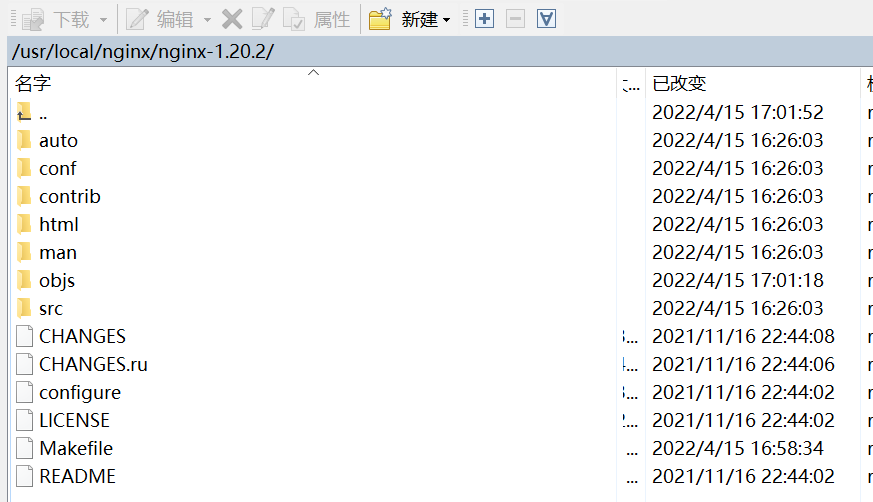
进入nginx目录 cd /usr/local/nginx
执行命令:tar -zxvf nginx-1.20.2.tar.gz

4. 编译安装nginx
进入nginx目录 cd /usr/local/nginx/nginx-1.20.2
a. 配置基本信息
执行命令(推荐):./configure --prefix=/usr/local/nginx
执行命令:./configure --prefix=/usr/local/nginx --with-http_ssl_module --with-http_stub_status_module --with-pcre
##配置configure --prefix 代表编译安装的路径, --with-http_ssl_module 安装支持https,--with-http_stub_status_module 支持nginx状态查询,
--with-pcre 为了支持rewrite重写功能,必须制定pcre
编译如果提示./configure: error: the HTTP rewrite module requires the PCRE library. 则执行yum -y install pcre-devel后重新编译。
提示./configure: error: the HTTP gzip module requires the zlib library. 则执行yum install -y zlib-devel后重新编译。
提示./configure: error: the HTTP cache module requires md5 functions from OpenSSL library. You can either disable the module by using
–without-http-cache option, or install the OpenSSL library into the system, or build the OpenSSL library statically from the source with nginx by using
–with-http_ssl_module –with-openssl= options. 则执行yum -y install openssl openssl-devel后重新编译。

b. 编译
执行命令:make
c. 安装
执行命令:make install


5. 配置修改nginx.conf
先cd /usr/local/nginx目录
#打开配置文件
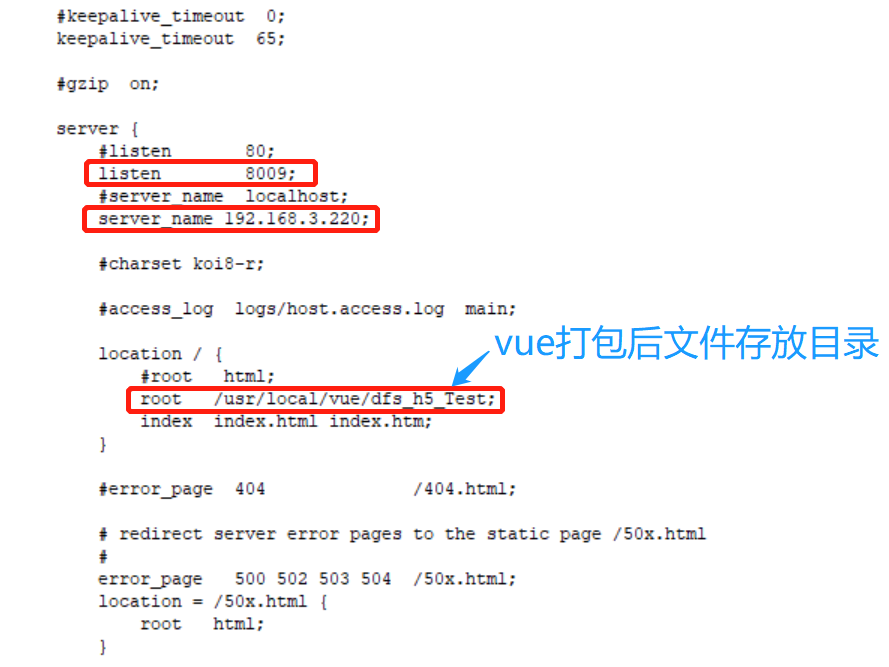
vim /usr/local/nginx/conf/nginx.conf
将默认端口号改成8009,因为可能80端口已被占用了,我们选择修改nginx默认端口,localhost修改为你服务器ip地址。
按 i 进入编辑,编辑后按 Esc 键退出,然后输入 :wq 保存。
注:修改配置文件后需要重启nginx服务才能生效。
6. 启动nginx
进入sbin文件夹下,cd /usr/local/nginx/sbin
执行命令:./nginx
注:后面设置nginx开机自动启动服务后,通过服务来启动就不要用这种方式启动了。
如果出现报错:nginx: [error] open() "/usr/local/nginx/logs/nginx.pid" failed
则需要指定nginx配置文件启动方式,运行: /usr/local/nginx/sbin/nginx -c /usr/local/nginx/conf/nginx.conf
再次启动即可!我这里没出现上述错误,所以可以忽略

7. 查看nginx进程是否启动
执行命令:ps -ef|grep nginx
如上图出现master主进程和worker进程则启动成功
#查看本机监听端口
netstat -tunlp|grep nginx
8. 关闭nginx 命令
(强制杀死进程-9)kill -9 181922(进程号 上面的master) 则关闭nginx
9. 停止nginx
进入sbin文件夹下,cd /usr/local/nginx/sbin
执行命令:./nginx -s stop
疑问,我发现执行停止命令后nginx还能访问,还需要将下面的worker进程也杀掉才行,不知道为啥!!
(强制杀死进程-9)kill -9 181923(进程号 上面的worker) 则停止nginx
10. 重启nginx
进入sbin文件夹下,cd /usr/local/nginx/sbin
执行命令:./nginx -s reload
11. 防火墙开放nginx端口号:
#查看防火墙状态
firewall-cmd --state
#开放端口
firewall-cmd --zone=public --add-port=8009/tcp --permanent
#重启防火墙
firewall-cmd --reload
#查看防火墙开放的端口
firewall-cmd --list-ports
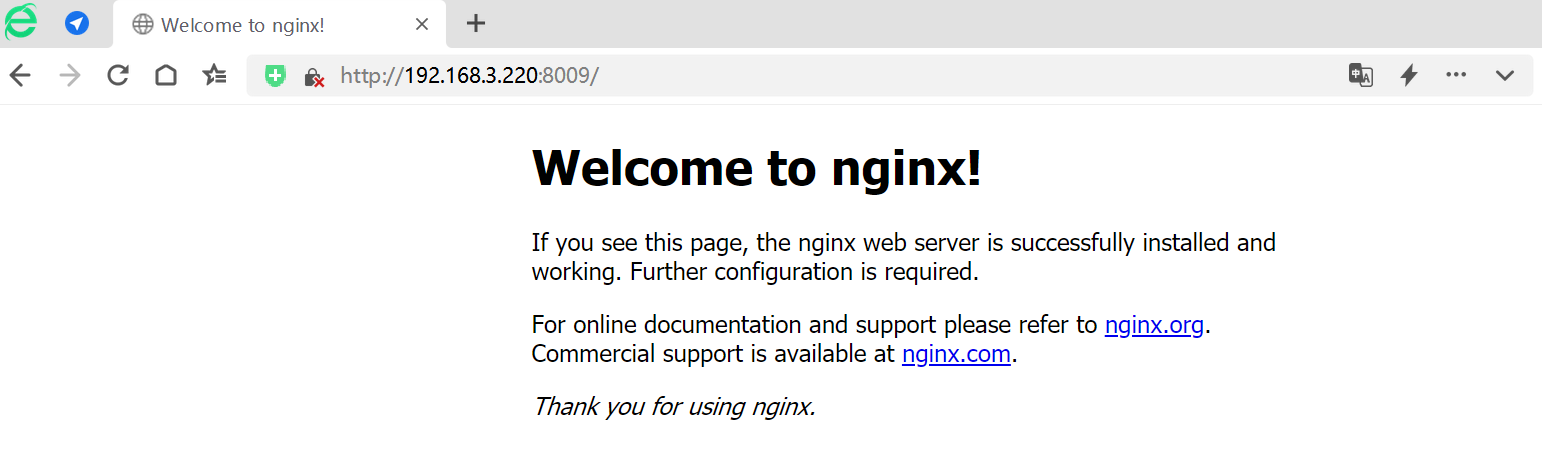
12.访问服务器ip查看
安装完成一般常用命令
进入安装目录中,
执行命令: cd /usr/local/nginx/sbin
启动,关闭,重启,命令:
./nginx 启动
./nginx -s stop 关闭(推荐)
./nginx -s quit 退出
./nginx -s reload 重启
设置nginx开机自动启动
##文件不存在,则会自动创建此文件
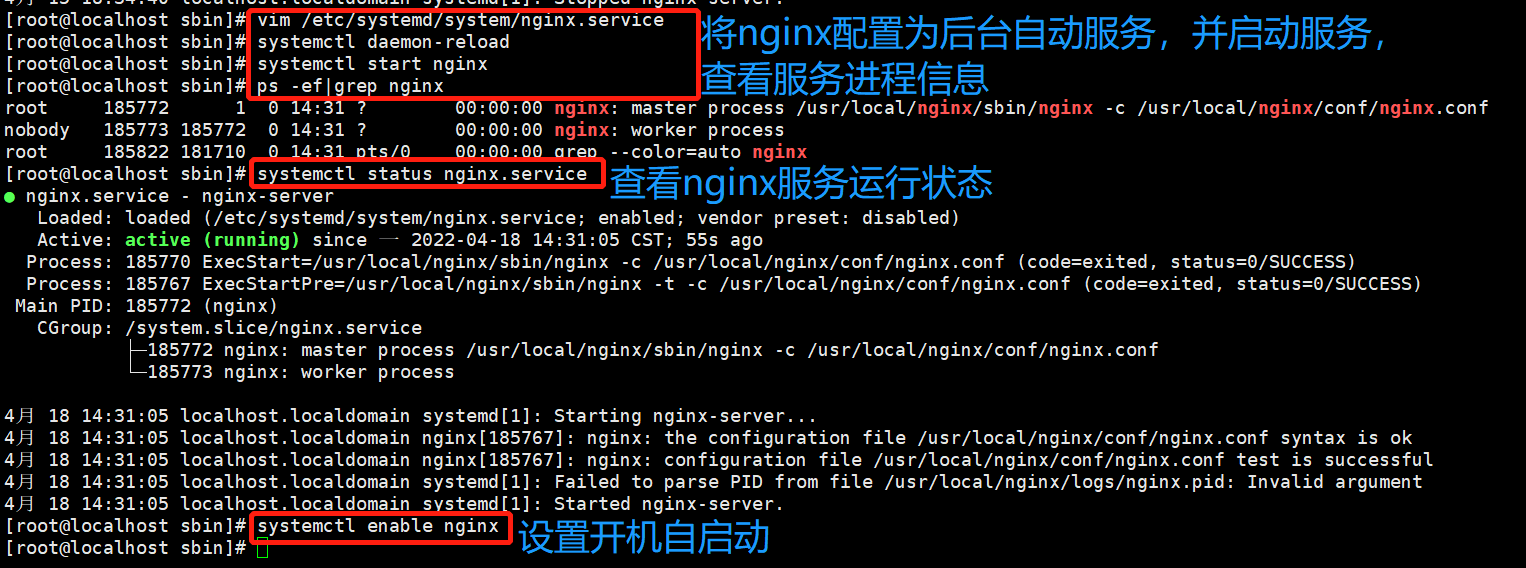
vim /etc/systemd/system/nginx.service
再添加如下内容:
[Unit]
Description=nginx-server
After=syslog.target network.target remote-fs.target nss-lookup.target

[Service]
Type=forking
PIDFile=/usr/local/nginx/logs/nginx.pid
ExecStartPre=/usr/local/nginx/sbin/nginx -t -c /usr/local/nginx/conf/nginx.conf
ExecStart=/usr/local/nginx/sbin/nginx -c /usr/local/nginx/conf/nginx.conf
ExecReload=/bin/kill -s HUP $MAINPID
ExecStop=/bin/kill -s QUIT $MAINPID
PrivateTmp=true

[Install]
WantedBy=multi-user.target
注意:一定要注意脚本中的nginx的路径是不是安装后的nginx的路径!!!
配置完脚本文件之后,重新加载一下系统服务:
systemctl daemon-reload
启动nginx服务:
systemctl start nginx.service
设置开机自启动:
systemctl enable nginx.service
systemctl常用命令
其中.service 可以省略systemctl daemon-reload #此命令用于重新加载一下系统服务(修改脚本后操作)
systemctl start nginx.service #启动nginx服务
systemctl stop nginx.service #停止nginx服务
systemctl enable nginx.service #设置开机自启动
systemctl disable nginx.service #停止开机自启动
systemctl status nginx.service #查看服务当前状态
systemctl restart nginx.service #重新启动nginx服务
systemctl list-units --type=service #查看所有已启动的服务