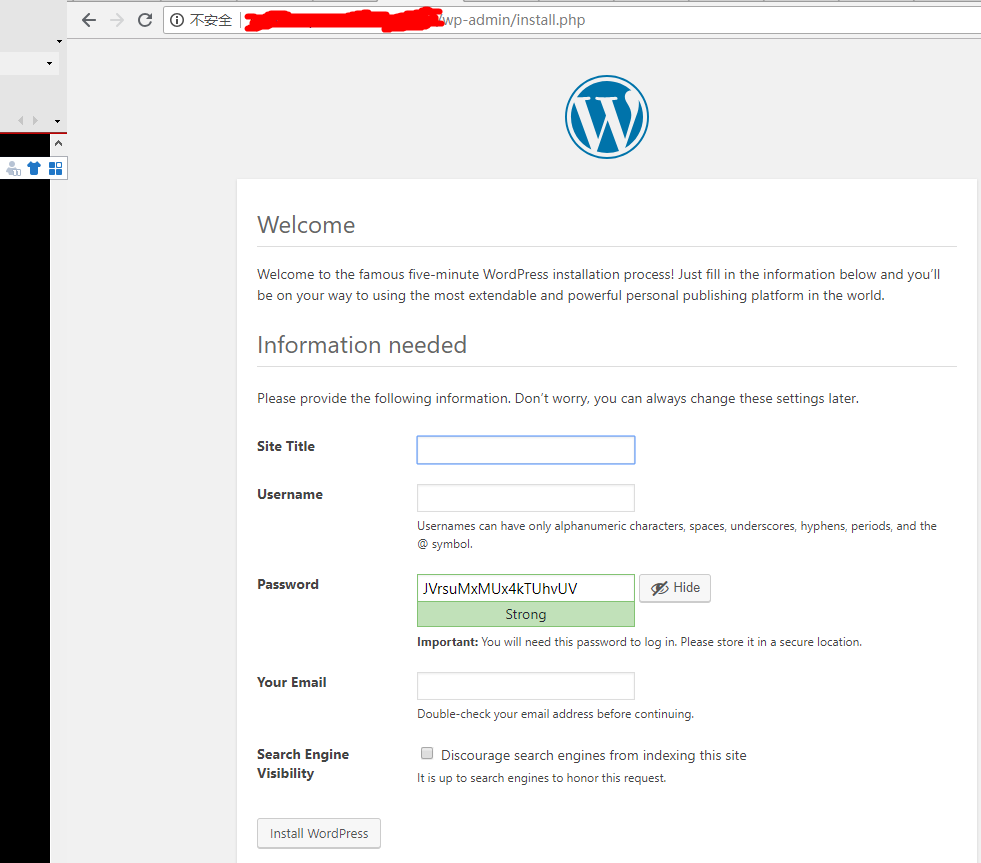
公司一直没有文档平台,于是想弄一个,弄过github平台的,但是都没用上,虽然这个搭建出来也没用上,还是花了时间才弄出来的,也许下次有用的时候,可以拿来就用
安装Wordpress的基础环境要求
1、Mysql
2、PHP
3、nginx
一、安装mysql
1、安装mysql
wget -i -c http://dev.mysql.com/get/mysql57-community-release-el7-10.noarch.rpm
yum -y install mysql57-community-release-el7-10.noarch.rpm
yum -y install mysql-community-server
2、启动mysql
systemctl start mysqld
3、获取默认密码
grep "password" /var/log/mysqld.log
4、登录mysql
mysql -uroot -p
5、修改密码
mysql> alter user 'root'@'localhost' identified by 'Lile@5201314';
6、创建wordpress数据库并授权
mysql> create database wordpress;
Query OK, 1 row affected (0.00 sec)

mysql> create user 'wordpress'@'localhost' identified by 'Wordpress@5201314';
Query OK, 0 rows affected (0.01 sec)

mysql> grant all privileges on wordpress.* to 'wordpress'@'localhost';
Query OK, 0 rows affected, 1 warning (0.01 sec)

mysql> flush privileges;
Query OK, 0 rows affected (0.00 sec)
二、安装nginx
1、安装nginx
yum install nginx -y
2、添加配置文件
vim /etc/nginx/conf.d/wordpress.conf
server {
    listen 80;
    server_name  opswordpress.transspay.net;
    root /wordpress;
    location / {
        index index.php index.html index.htm;
        try_files $uri $uri/ /index.php index.php;
    }
    # pass the PHP scripts to FastCGI server listening on 127.0.0.1:9000
    location ~ .php$ {
        fastcgi_pass   127.0.0.1:9000;
        fastcgi_index  index.php;
        fastcgi_param  SCRIPT_FILENAME  $document_root$fastcgi_script_name;
        include        fastcgi_params;
    }
}
3、重启nginx
nginx -s reload
三、安装php
#安装
yum install php-fpm php-mysql -y

#启动
systemctl start php-fpm.service

#9000为php-fpm的默认端口
lsof -i:9000
四、下载wordpress
1、下载解压
https://wordpress.org/latest.tar.gz
2)设置wp-config.php文件,根据自己的数据库修改相关的配置
cp wp-config-sample.php wp-config.php
define( 'DB_NAME', 'wordpress' );

/** MySQL database username */
define( 'DB_USER', 'wordpress' );

/** MySQL database password */
define( 'DB_PASSWORD', 'wordpress@5201314' );

/** MySQL hostname */
define( 'DB_HOST', 'localhost' );

/** Database Charset to use in creating database tables. */
define( 'DB_CHARSET', 'utf8' );

/** The Database Collate type. Don't change this if in doubt. */
define( 'DB_COLLATE', '' );
设置秘钥的部分,可以在官网获取:https://api.wordpress.org/secret-key/1.1/salt/
define('AUTH_KEY',         'h#f>^]S]8_%v|c5y8$r{;OOQ1SWuFV4`1Tk^g=MImlUQ`Z{x(;^aMo)yFvm6}zJ;');
define('SECURE_AUTH_KEY',  'h+Qs$r|5t[^I,}H[$s/~n+)Jt4#<{=D|@RtZU.LJa pX dupeRrUE4Cra-^Bhb)2');
define('LOGGED_IN_KEY',    'zbZEh/#7wZYk_Bz4>t}W-~L{}s8V$!0qLl/*{z^tWj6A}~!3i1I!9Iv`~L>|0z[J');
define('NONCE_KEY',        ';ou7nI)_EhxqlT6S)+o/?cF5koyA{c&<n++(--hpor<}jU&s#OnHD`M>az/tMU2[');
define('AUTH_SALT',        '}mW7Q&W|wbLshXnZ{b rj/vkO3%_<:4Zc$~3.&O4F[S__$_e-W-6!SZ^J!}[e-u&');
define('SECURE_AUTH_SALT', 'r-flzGU2Uu>(sfL?F`_]giyWni%uKt}iym|)wuH^rFom~Q :Lw+m8m}IP9kS0F{[');
define('LOGGED_IN_SALT',   'Ox@>-u+@lgS0#(MQyL:Xan|&+s.Gq[$c+:sGG&u]-51T!d]Z}:%*aG7H!6K$;>@7');
define('NONCE_SALT',       'j*dbFR^.;ng_Fm5</5#rmk5/$VngTERa$-D0Vdv#@jow-];abKrT,_p@<_/gne}W');
if ( ! defined( 'ABSPATH' ) ) {
        define( 'ABSPATH','/wordpress');
五、通过域名访问进行设置
http://domain/wp-admin/install.php

注:在安装主题时,会需要你安装ftp,我们不需要安装,直接在wp-config.php配置文件里添加如下几行即可
define("FS_METHOD","direct");

define("FS_CHMOD_DIR", 0777);

define("FS_CHMOD_FILE", 0777);