本人新手一枚,昨天下午五点多的时候公司让我做一个上传图片,表示一脸蒙蔽,但是还是要很淡定的说好,没问题,下班回家研究弄到了后半夜总算搞定了,今天上午来了把图片上传搞定又做了一些优化,比如质量压缩图片,和缩小尺寸 之后在上传到服务器,下面贴代码
这里是裁剪图片保存到本地的,方法,scPath是你要上传图片的路径
 1     /**
 2      * 裁剪图片,保存到本地
 3      * @param srcPath
 4      */
 5     private  void compressPicture(String srcPath) {
 6         //上传到服务器的图片名字
 7         long times = System.currentTimeMillis();
 8         //设置图片保存的路径
 9         String dir = Environment.getExternalStorageDirectory().getAbsolutePath() + "/tencent/MicroMsg/WeiXin/"+times+".jpg";
10         //File一年
11         file=new File(dir);//将要保存图片的路径
12         FileOutputStream fos = null;
13         BitmapFactory.Options op = new BitmapFactory.Options();
14
15         // 开始读入图片,此时把options.inJustDecodeBounds 设回true了
16         op.inJustDecodeBounds = true;
17         Bitmap bitmap = BitmapFactory.decodeFile(srcPath, op);
18         op.inJustDecodeBounds = false;
19
20         // 缩放图片的尺寸
21         float w = op.outWidth;
22         float h = op.outHeight;
23         float hh = 500f;//
24         float ww = 500f;//
25         // 最长宽度或高度1024
26         float be = 1.0f;
27         if (w > h && w > ww) {
28             be = (float) (w / ww);
29         } else if (w < h && h > hh) {
30             be = (float) (h / hh);
31         }
32         if (be <= 0) {
33             be = 1.0f;
34         }
35         op.inSampleSize = (int) be;// 设置缩放比例,这个数字越大,图片大小越小.
36         // 重新读入图片,注意此时已经把options.inJustDecodeBounds 设回false了
37         bitmap = BitmapFactory.decodeFile(srcPath, op);
38         int desWidth = (int) (w / be);
39         int desHeight = (int) (h / be);
40         bitmap = Bitmap.createScaledBitmap(bitmap, desWidth, desHeight, true);
41         try {
42             fos = new FileOutputStream(dir);
43             if (bitmap != null) {
44                 bitmap.compress(Bitmap.CompressFormat.JPEG, 30, fos);
45             }
46             //图片保存成功之后调用上传方法
47             getSetImage();
48         } catch (FileNotFoundException e) {
49             e.printStackTrace();
50         }
51     }
上传到服务器的方法 主要是就是调用了一个工具类中的方法,然后通过handler来通知是否成功
 1     /**
 2      * 上传图片到服务器
 3      */
 4     private     void getSetImage(){
 5         System.out.println("图片压缩成功");
 6         Message msg = Message.obtain();
 7         UploadUtil uu = new UploadUtil();
 8         Map<String, String> params = new HashMap<String, String>();
 9         params.put("app_uid", "100017");
10         try {
11             String result = uu.doPost(url, params, file);
12             msg.what = 0;
13             msg.obj = result;
14             mHandler.sendMessage(msg);
15         } catch (Exception e) {
16             e.printStackTrace();
17             msg.what = 1;
18             msg.obj = "图片上传失败";
19             mHandler.sendMessage(msg);
20         }
21     }
  String result = uu.doPost(url, params, file);
 这句是核心代码  下载来看下
 1     /**
 2      *
 3      *
 4      * @param url
 5      * @param param
 6      * @param file
 7      * @return
 8      * @throws Exception
 9      */
10     public String doPost(String url, Map<String, String> param, File file) throws Exception {
11         HttpPost post = new HttpPost(url);
12
13         HttpClient client = new DefaultHttpClient();
14         MultipartEntity entity = new MultipartEntity(HttpMultipartMode.BROWSER_COMPATIBLE);
15         if (param != null && !param.isEmpty()) {
16             for (Map.Entry<String, String> entry : param.entrySet()) {
17                 entity.addPart(entry.getKey(), new StringBody(entry.getValue()));
18
19                 Log.e(TAG, "key :: " + entry.getKey() + " | value :: " + entry.getValue());
20
21             }
22         }
23         // 上传图片到服务器
24         if (file != null && file.exists()) {
25             entity.addPart("uploadedfile", new FileBody(file));
26         }
27         post.setEntity(entity);
28         HttpResponse response = client.execute(post);
29         int stateCode = response.getStatusLine().getStatusCode();
30         StringBuffer sb = new StringBuffer();
31         if (stateCode == HttpStatus.SC_OK) {
32             HttpEntity result = response.getEntity();
33             if (result != null) {
34                 InputStream is = result.getContent();
35                 BufferedReader br = new BufferedReader(new InputStreamReader(is));
36                 String tempLine;
37                 while ((tempLine = br.readLine()) != null) {
38                     sb.append(tempLine);
39                 }
40             }
41         }
42         post.abort();
43         return sb.toString();
44     }
下面贴上全部代码
  1 package org.lumia.load;
  2
  3 import java.io.BufferedOutputStream;
  4 import java.io.ByteArrayInputStream;
  5 import java.io.ByteArrayOutputStream;
  6 import java.io.File;
  7 import java.io.FileNotFoundException;
  8 import java.io.FileOutputStream;
  9 import java.io.IOException;
 10 import java.util.HashMap;
 11 import java.util.Map;
 12 import java.util.UUID;
 13
 14 import android.annotation.SuppressLint;
 15 import android.app.Activity;
 16 import android.content.Context;
 17 import android.content.Intent;
 18 import android.database.Cursor;
 19 import android.graphics.Bitmap;
 20 import android.graphics.BitmapFactory;
 21 import android.graphics.Color;
 22 import android.graphics.Matrix;
 23 import android.graphics.drawable.BitmapDrawable;
 24 import android.graphics.drawable.Drawable;
 25 import android.media.ExifInterface;
 26 import android.net.Uri;
 27 import android.os.Bundle;
 28 import android.os.Environment;
 29 import android.os.Handler;
 30 import android.os.Message;
 31 import android.provider.MediaStore;
 32 import android.util.Log;
 33 import android.view.Gravity;
 34 import android.view.LayoutInflater;
 35 import android.view.View;
 36 import android.view.View.OnClickListener;
 37 import android.view.ViewGroup;
 38 import android.view.WindowManager;
 39 import android.widget.Button;
 40 import android.widget.ImageView;
 41 import android.widget.PopupWindow;
 42 import android.widget.RelativeLayout;
 43 import android.widget.ScrollView;
 44 import android.widget.TextView;
 45 import android.widget.Toast;
 46
 47 @SuppressLint("HandlerLeak")
 48 public class PhotoActivity extends Activity {
 49
 50     protected static final String TAG = "PhontoActivity";
 51     private ImageView imageView;
 52     private Button btn_take_photo;
 53     private Bitmap bitmaps;
 54     private File file;
 55     private RelativeLayout view;
 56     private static final String url = "http://www.aiboyy.pw/images/receive_file.php";
 57     private static final int PHOTO_REQUEST_CAREMA = 1;// 拍照
 58     private static final int PHOTO_REQUEST_GALLERY = 2;// 从相册中选择
 59     private static final int PHOTO_REQUEST_CUT = 3;// 结果
 60     private String saveDir = Environment.getExternalStorageDirectory().getPath() + "/Photos";
 61
 62     private Handler mHandler = new Handler() {
 63         public void handleMessage(Message msg) {
 64             switch (msg.what) {
 65                 case 1:
 66                     view.removeAllViews();
 67                     TextView textView1 = new TextView(PhotoActivity.this);
 68                     textView1.setText((String) msg.obj);
 69                     ScrollView scrollView = new ScrollView(PhotoActivity.this);
 70                     scrollView.addView(textView1);
 71                     scrollView.setBackgroundColor(Color.BLACK);
 72                     view.addView(scrollView);
 73                     Toast.makeText(PhotoActivity.this, (String) msg.obj + "", Toast.LENGTH_LONG).show();
 74                     break;
 75                 case 0:
 76                     TextView textView2 = new TextView(PhotoActivity.this);
 77                     textView2.setText((String) msg.obj);
 78                     ScrollView scrollView2 = new ScrollView(PhotoActivity.this);
 79                     scrollView2.addView(textView2);
 80                     scrollView2.setBackgroundColor(Color.BLACK);
 81                     view.addView(scrollView2);
 82                     Toast.makeText(PhotoActivity.this, (String) msg.obj + "", Toast.LENGTH_LONG).show();
 83                     System.out.println("返回的图片地址是:");
 84                     break;
 85                 default:
 86                     break;
 87             }
 88         };
 89     };
 90     private PopupWindow mPopWindow;
 91
 92     @Override
 93     protected void onCreate(Bundle savedInstanceState) {
 94         super.onCreate(savedInstanceState);
 95         setContentView(R.layout.photo_activity);
 96
 97         imageView = (ImageView) findViewById(R.id.iv_image);
 98         btn_take_photo = (Button) findViewById(R.id.bt_camera);
 99         view = (RelativeLayout) findViewById(R.id.view);
100
101         btn_take_photo.setOnClickListener(new OnClickListener() {
102
103             @Override
104             public void onClick(View v) {
105                 showPopupWindow();
106             }
107         });
108
109     }
110
111     @Override
112     protected void onActivityResult(int requestCode, int resultCode, Intent data) {
113         super.onActivityResult(requestCode, resultCode, data);
114         if (requestCode == PHOTO_REQUEST_GALLERY) {
115
116             // 从相册返回的数据
117             if (data != null) {
118                 // 得到图片的全路径
119                 final Uri uris = data.getData();
120                 System.out.println("==========" + uris);
121                 //crop(uri);
122                 Cursor cursor = this.getContentResolver().query(uris, null,
123                         null, null, null);
124                 if (cursor.moveToFirst()) {
125                     //得到图片路径
126                     final String videoPath = cursor.getString(cursor
127                             .getColumnIndex("_data"));// 获取绝对路径
128
129                     new Thread(new Runnable() {
130                         @Override
131                         public void run() {
132                             compressPicture(videoPath);
133                         }
134                     }).start();
135                 }
136             }
137         }
138     }
139
140
141     @Override
142     protected void onDestroy() {
143         destoryImage();
144         super.onDestroy();
145     }
146
147     private void destoryImage() {
148         if (bitmaps != null) {
149             bitmaps.recycle();
150             bitmaps = null;
151         }
152     }
153
154     /**
155      * 谈起布局
156      */
157     private void showPopupWindow() {
158         btn_take_photo.setVisibility(View.GONE);
159         //设置contentView
160         View contentView = LayoutInflater.from(PhotoActivity.this).inflate(R.layout.music_popwindow, null);
161         mPopWindow = new PopupWindow(contentView,
162                 ViewGroup.LayoutParams.WRAP_CONTENT, ViewGroup.LayoutParams.WRAP_CONTENT, true);
163         mPopWindow.setContentView(contentView);
164         //设置各个控件的点击响应
165         Button tv1 = (Button) contentView.findViewById(R.id.pop_computer);
166         Button tv2 = (Button) contentView.findViewById(R.id.pop_financial);
167         Button tv3 = (Button) contentView.findViewById(R.id.pop_manage);
168         tv1.setOnClickListener(new OnClickListener() {
169             @Override
170             public void onClick(View view) {
171                 btn_take_photo.setVisibility(View.VISIBLE);
172                 //destoryImage();
173                 // 激活系统图库,选择一张图片
174                 Intent intent1 = new Intent(Intent.ACTION_PICK);
175                 intent1.setType("image/*");
176                 // 开启一个带有返回值的Activity,请求码为PHOTO_REQUEST_GALLERY
177                 startActivityForResult(intent1, PHOTO_REQUEST_GALLERY);
178                 mPopWindow.dismiss();
179             }
180         });
181         //显示PopupWindow
182         View rootview = LayoutInflater.from(PhotoActivity.this).inflate(R.layout.activity_main, null);
183         mPopWindow.showAtLocation(rootview, Gravity.BOTTOM, 0, 0);
184         //setBackgroundAlpha(0.5f);//设置屏幕透明度
185         mPopWindow.setOnDismissListener(new PopupWindow.OnDismissListener() {
186             @Override
187             public void onDismiss() {
188                 // popupWindow隐藏时恢复屏幕正常透明度
189                 setBackgroundAlpha(1.0f);
190             }
191         });
192     }
193
194     /**
195      * 设置添加屏幕的背景透明度
196      *
197      * @param bgAlpha
198      *            屏幕透明度0.0-1.0 1表示完全不透明
199      */
200     public void setBackgroundAlpha(float bgAlpha) {
201         WindowManager.LayoutParams lp = ((Activity) PhotoActivity.this).getWindow()
202                 .getAttributes();
203         lp.alpha = bgAlpha;
204         ((Activity) PhotoActivity.this).getWindow().setAttributes(lp);
205     }
206
207     /**
208      * 裁剪图片,保存到本地
209      * @param srcPath
210      */
211     private  void compressPicture(String srcPath) {
212         //上传到服务器的图片名字
213         long times = System.currentTimeMillis();
214         //设置图片保存的路径
215         String dir = Environment.getExternalStorageDirectory().getAbsolutePath() + "/tencent/MicroMsg/WeiXin/"+times+".jpg";
216         //File一年
217         file=new File(dir);//将要保存图片的路径
218         FileOutputStream fos = null;
219         BitmapFactory.Options op = new BitmapFactory.Options();
220
221         // 开始读入图片,此时把options.inJustDecodeBounds 设回true了
222         op.inJustDecodeBounds = true;
223         Bitmap bitmap = BitmapFactory.decodeFile(srcPath, op);
224         op.inJustDecodeBounds = false;
225
226         // 缩放图片的尺寸
227         float w = op.outWidth;
228         float h = op.outHeight;
229         float hh = 500f;//
230         float ww = 500f;//
231         // 最长宽度或高度1024
232         float be = 1.0f;
233         if (w > h && w > ww) {
234             be = (float) (w / ww);
235         } else if (w < h && h > hh) {
236             be = (float) (h / hh);
237         }
238         if (be <= 0) {
239             be = 1.0f;
240         }
241         op.inSampleSize = (int) be;// 设置缩放比例,这个数字越大,图片大小越小.
242         // 重新读入图片,注意此时已经把options.inJustDecodeBounds 设回false了
243         bitmap = BitmapFactory.decodeFile(srcPath, op);
244         int desWidth = (int) (w / be);
245         int desHeight = (int) (h / be);
246         bitmap = Bitmap.createScaledBitmap(bitmap, desWidth, desHeight, true);
247         try {
248             fos = new FileOutputStream(dir);
249             if (bitmap != null) {
250                 bitmap.compress(Bitmap.CompressFormat.JPEG, 30, fos);
251             }
252             //图片保存成功之后调用上传方法
253             getSetImage();
254         } catch (FileNotFoundException e) {
255             e.printStackTrace();
256         }
257     }
258
259     /**
260      * 上传图片到服务器
261      */
262     private     void getSetImage(){
263         System.out.println("图片压缩成功");
264         Message msg = Message.obtain();
265         UploadUtil uu = new UploadUtil();
266         Map<String, String> params = new HashMap<String, String>();
267         params.put("app_uid", "100017");
268         try {
269             String result = uu.doPost(url, params, file);
270             msg.what = 0;
271             msg.obj = result;
272             mHandler.sendMessage(msg);
273         } catch (Exception e) {
274             e.printStackTrace();
275             msg.what = 1;
276             msg.obj = "图片上传失败";
277             mHandler.sendMessage(msg);
278         }
279     }
280
281
282 }
就先这些 上传图片就做完了,PHP代码
 1 <?php
 2 $target = "./upload/";//接受图片的目录
 3 $target_path = $target . basename( $_FILES['uploadedfile']['name']);
 4 //么有目录则创建一个
 5 if (!file_exists($target)){
 6     mkdir($target , 0777);
 7 }
 8 if(move_uploaded_file($_FILES['uploadedfile']['tmp_name'], $target_path)) {
 9     echo "上传成功";
10 } else {
11     echo "上传失败";
12 }
13 ?>
把这个放到服务器上,上传的url就是你的服务器地址
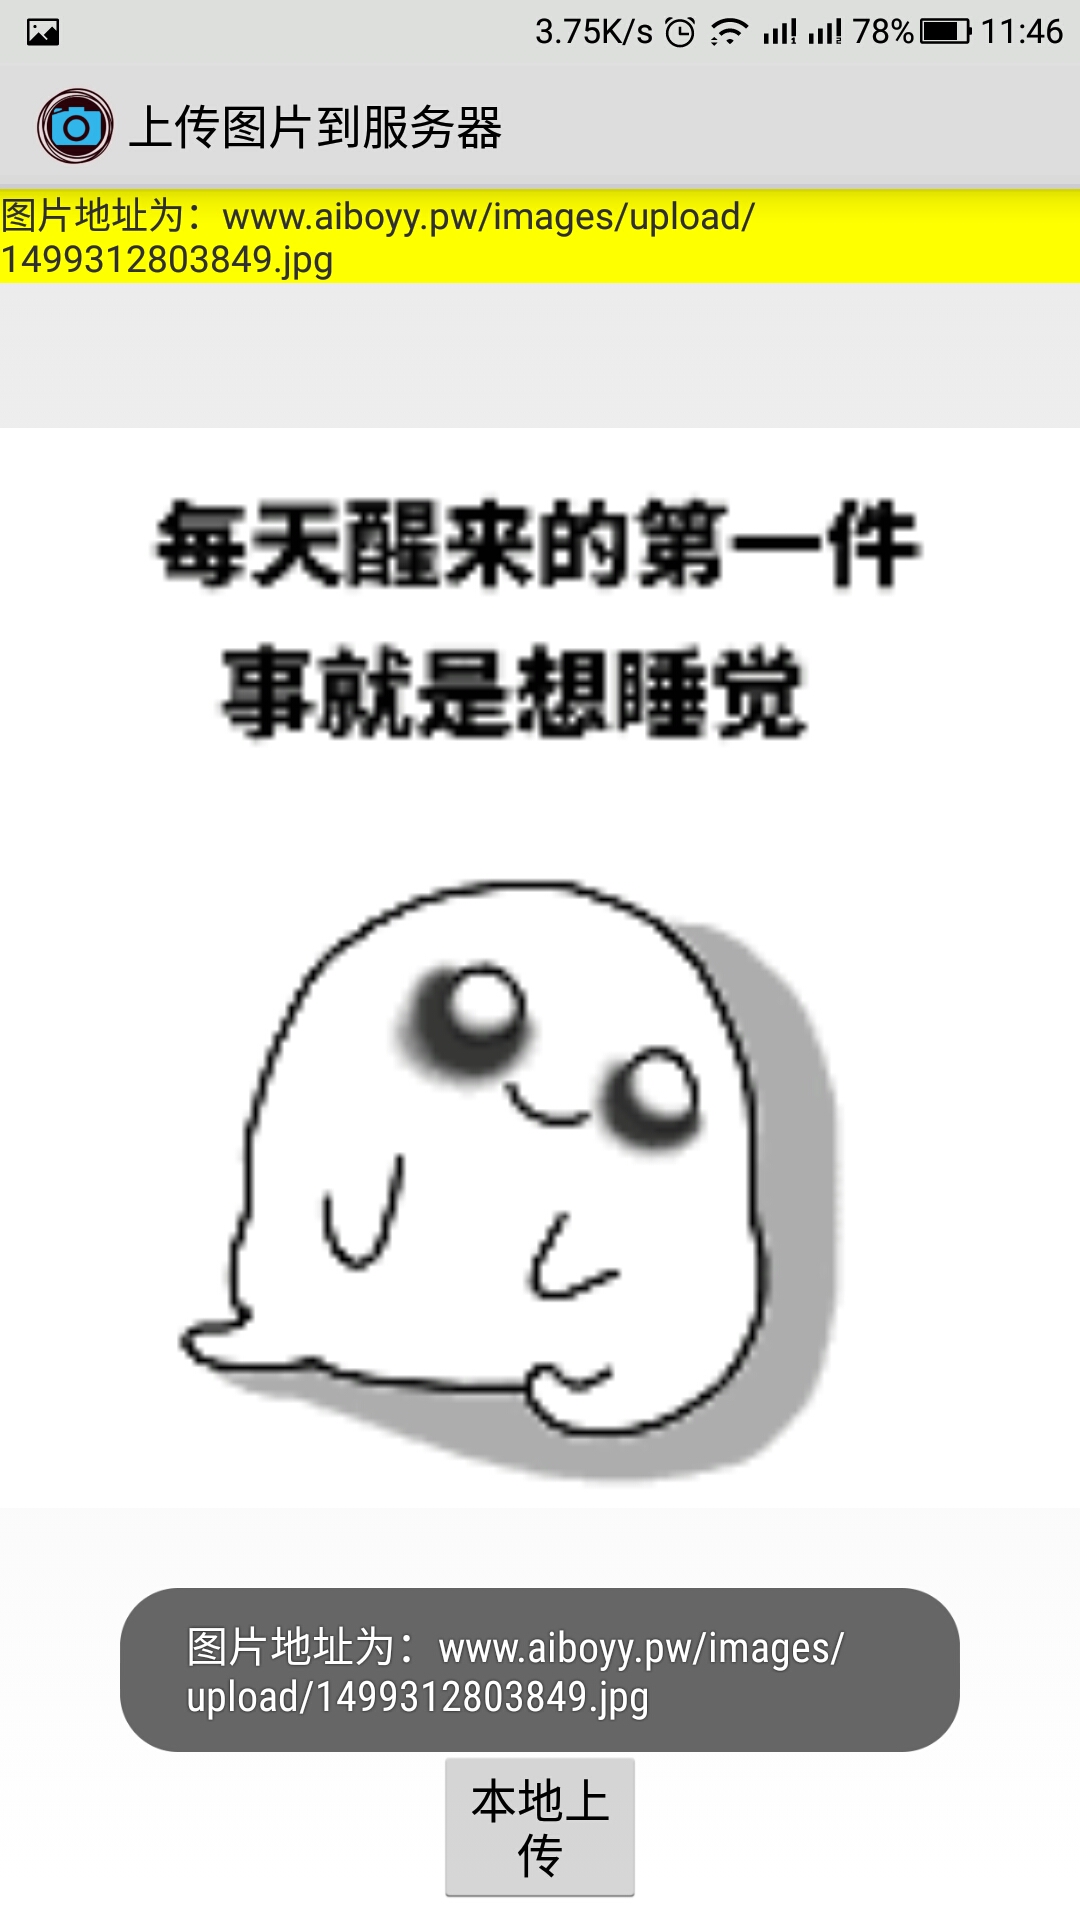
放一张图效果图
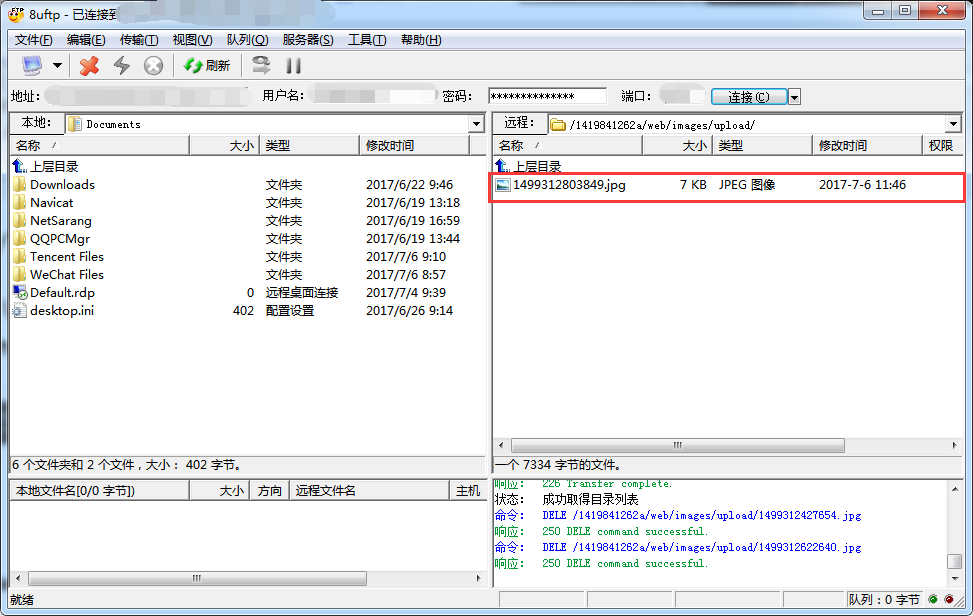
上传完成 看看服务器那边
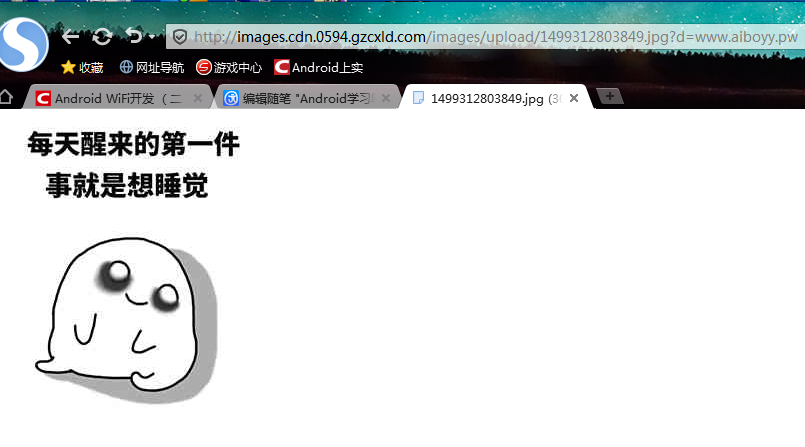
打开地址试试
OK已经上传成功了,下载附带一个apk地址,可以上传图片 成功返回图片地址 看看能否打开 如果能就是成功,不能就是失败

下载地址为:www.aiboyy.pw/images/apk.apk  下载安装即可


已经完成了 本人新手 说的不够详细,我的目的只是让一些不会用的人会用起来 用起来以后才能继续更深的研究,谢谢大家


