上一篇博客:使用SpringBoot实现文件的上传
已经实现了文件的上传,所以紧接着就是下载
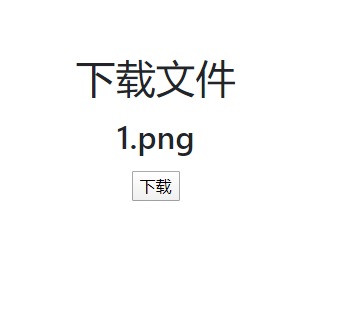
首先还是html页面的简单设计
<form class="form-signin" th:action="@{/employee/File/download}" method="post">
    <p><h1>下载文件</h1></p>
    <p><h2>1.png</h2></p>
    <p><input type="submit" value="下载"/></p>
    <p style="color: red" th:text="${result}" th:if="${not #strings.isEmpty(result)}"></p>
</form>
待下载文件名为1.png
然后写controller
package com.manager.controller.FileController;

import org.springframework.stereotype.Controller;
import org.springframework.ui.Model;
import org.springframework.web.bind.annotation.PostMapping;
import org.springframework.web.bind.annotation.RequestMapping;

import javax.servlet.http.HttpServletResponse;
import java.io.*;

@Controller
public class FileDownloadController {

    @PostMapping("/employee/File/download")
    public String  testDownload( HttpServletResponse response ,Model model) {
        //待下载文件名
        String fileName = "1.png";
        //设置为png格式的文件
        response.setHeader("content-type", "image/png");
        response.setContentType("application/octet-stream");
        response.setHeader("Content-Disposition", "attachment; filename=" + fileName);
        byte[] buff = new byte[1024];
        //创建缓冲输入流
        BufferedInputStream bis = null;
        OutputStream outputStream = null;

        try {
            outputStream = response.getOutputStream();

            //这个路径为待下载文件的路径
            bis = new BufferedInputStream(new FileInputStream(new File("D:/upload/" + fileName )));
            int read = bis.read(buff);

            //通过while循环写入到指定了的文件夹中
            while (read != -1) {
                outputStream.write(buff, 0, buff.length);
                outputStream.flush();
                read = bis.read(buff);
            }
        } catch ( IOException e ) {
            e.printStackTrace();
            //出现异常返回给页面失败的信息
            model.addAttribute("result","下载失败");
        } finally {
            if (bis != null) {
                try {
                    bis.close();
                } catch (IOException e) {
                    e.printStackTrace();
                }
            }
            if (outputStream != null) {
                try {
                    outputStream.close();
                } catch (IOException e) {
                    e.printStackTrace();
                }
            }
        }
        //成功后返回成功信息
        model.addAttribute("result","下载成功");
        return "employee/EmployeeDownloadFile";
    }
}
访问页面测试

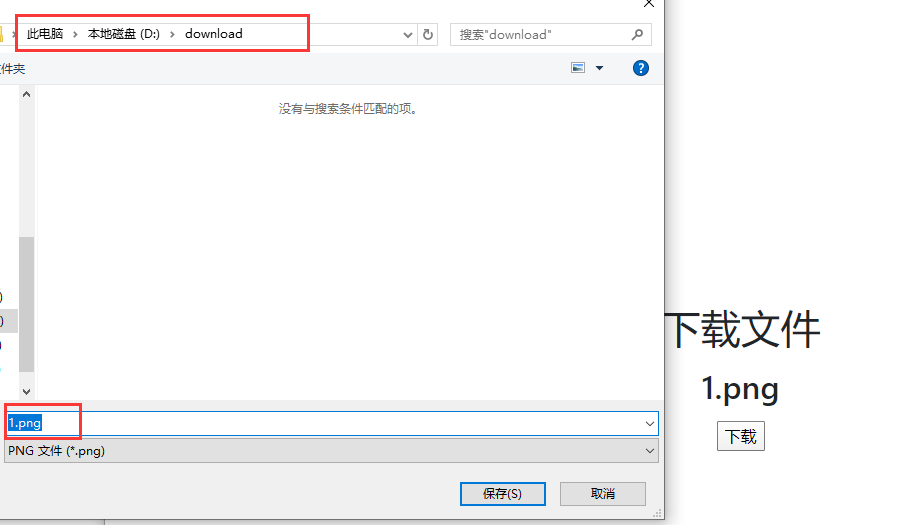
选择下载路径,点击保存

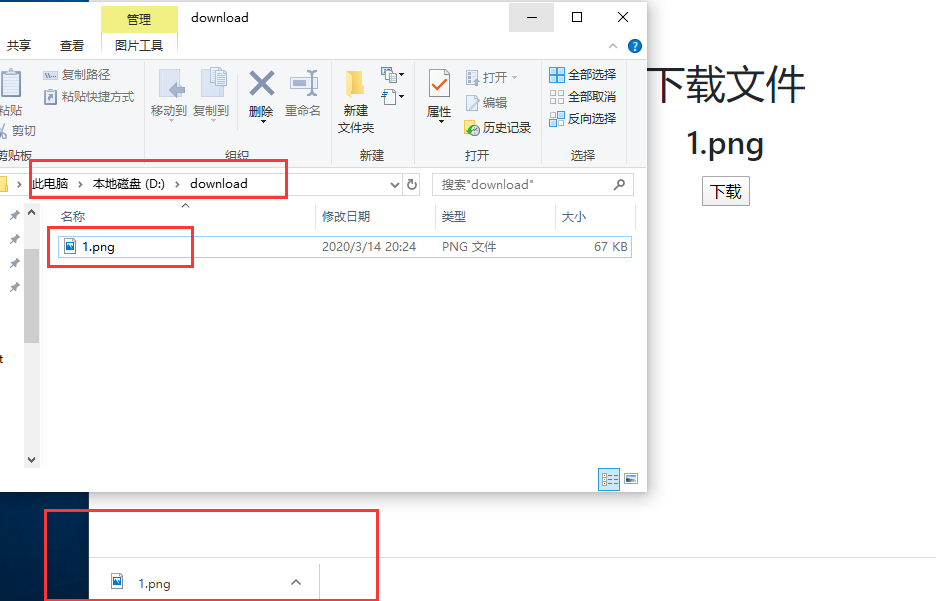
成功下载!
