相关知识可参考文章:nginx日志格式及自定义日志配置
1.查看nginx的log配置
1)vim /etc/nginx/nginx.conf
打开为
user nginx;
worker_processes 1;
error_log /var/log/nginx/error.log warn; //记录nginx错误日志的路径, WARN代表错误日志的级别
pid /var/run/nginx.pid;
events {
worker_connections 1024;
}
http {
include /etc/nginx/mime.types;
default_type application/octet-stream;
log_format main '$remote_addr - $remote_user [$time_local] "$request" '
'$status $body_bytes_sent "$http_referer" '
'"$http_user_agent" "$http_x_forwarded_for"';
access_log /var/log/nginx/access.log main; // main代表nginx的log_format的name
sendfile on;
#tcp_nopush on;
keepalive_timeout 65;
#gzip on;
include /etc/nginx/conf.d/*.conf;
}
针对其中log_format
1.$remote_addr 与$http_x_forwarded_for 用以记录客户端的ip地址;
2.$remote_user :用来记录客户端用户名称;
3.$time_local : 用来记录访问时间与时区;
4.$request : 用来记录请求的url与http协议;
5.$status : 用来记录请求状态;成功是200,
6.$body_bytes_s ent :记录发送给客户端文件主体内容大小;
7.$http_referer :用来记录从那个页面链接访问过来的;
8.$http_user_agent :记录客户端浏览器的相关信息;
2).将 1)中的 error.log打印出来的标准格式
tail -f /var/log/nginx/error.log
2017/10/11 14:01:36 [error] 1337#1337: *1 open() "/usr/share/nginx/html/favicon.ico" failed (2: No such file or directory), client: 192.168.2.113, server: localhost, request: "GET /favicon.ico HTTP/1.1", host: "192.168.2.157", referrer: "http://192.168.2.157/"
2017/10/11 14:16:05 [error] 1337#1337: *3 open() "/usr/share/nginx/html/1111" failed (2: No such file or directory), client: 192.168.2.113, server: localhost, request: "GET /1111 HTTP/1.1", host: "192.168.2.157"
2017/10/11 14:16:26 [error] 1392#1392: *1 open() "/usr/share/nginx/html/1111" failed (2: No such file or directory), client: 192.168.2.113, server: localhost, request: "GET /1111 HTTP/1.1", host: "192.168.2.157"
2.nginx变量
1)http请求变量
arg_PARAMETER、http_HEADER、sent_http_HEADER(服务端返回给客户端reponse的head)
例子:
vim /etc/nginx/nginx.conf
修改配置文件
user nginx;
worker_processes 1;
error_log /var/log/nginx/error.log warn; //记录nginx错误日志的路径, WARN代表错误日志的级别
pid /var/run/nginx.pid;
events {
worker_connections 1024;
}
http {
include /etc/nginx/mime.types;
default_type application/octet-stream;
log_format main '$http_user_agent' '$remote_addr - $remote_user [$time_local] "$request" ' //原始是http-User-Agent 但是这里需要小写,并且将-替换成_
'$status $body_bytes_sent "$http_referer" '
'"$http_user_agent" "$http_x_forwarded_for"';
access_log /var/log/nginx/access.log main; // main代表nginx的log_format的name
sendfile on;
#tcp_nopush on;
keepalive_timeout 65;
#gzip on;
include /etc/nginx/conf.d/*.conf;
}
保存后
nginx -t -c /etc/nginx/nginx.conf // -t表示检查配置文件的格式正确与否,-c 标识配置文件的路径的检查
如果成功后
nginx -s reload -c /etc/nginx/nginx.conf //重新加载配置
请求几次本机
curl http://127.0.0.1
tail -n 200 /var/log/nginx/access.log
发现日志最前面出现的相应的信息
2)内置变量
nginx内置的
点击Logging to syslog
http://nginx.org/en/docs/http/ngx_http_log_module.html#access_log
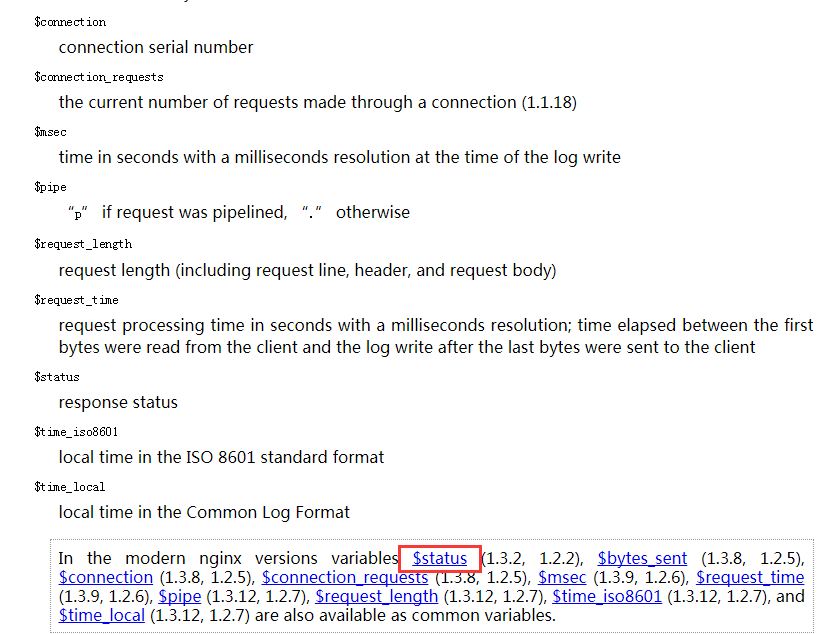
点击红框可以查看所有的内置变量
3)自定义变量
自己定义