BBS-评论功能
前端搭建
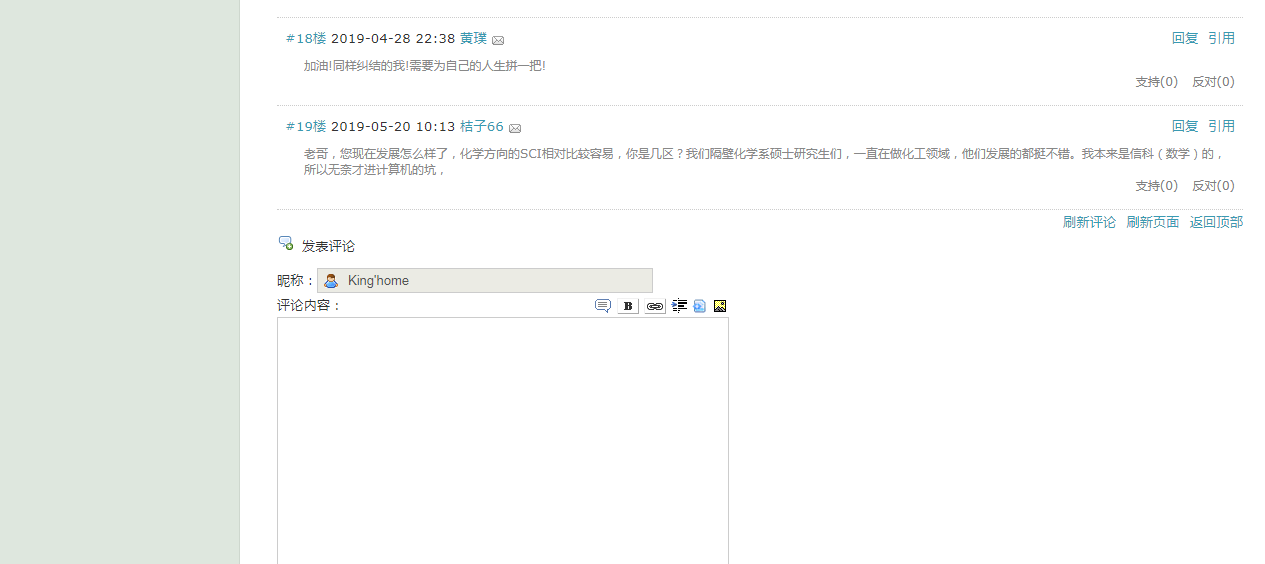
1、参考画面,编辑评论区有以下要素:
-
昵称:
<p>昵称:<input type="text" id="tbCommentAuthor" class="author" disabled="disabled" size="50" value="{{ request.user.username }}"></p> -
评论内容:
<textarea name="" id="id_comment" cols="60" rows="10"></textarea> -
提交按钮:
<button class="btn btn-primary" id="id_submit">提交评论</button>
{# 前端品评论区搭建 #}

{% if request.user.is_authenticated %}
    <div>
        <p><span class="glyphicon glyphicon-comment"></span>发布评论</p>
        <p>昵称:<input type="text" id="tbCommentAuthor" class="author" disabled="disabled" size="50"
                     value="{{ request.user.username }}"></p>
        <p>评论内容:</p>
        <p>
            <textarea name="" id="id_comment" cols="60" rows="10"></textarea>
        </p>
        <p>
            <button class="btn btn-primary" id="id_submit">提交评论</button>
        </p>
    </div>
{% endif %}
2、评论楼的页面搭建
- 后端传送来所有的评论列表:comment_list

-
根据提示例子:
利用for循环搭建页面吧
每层的内容固定有
- 楼层号:
<span>#{{ forloop.counter }}楼</span>- 发布时间:
<span>{{ comment.create_time|date:'Y-m-d' }}</span>- 发布用户
<span><a href="/{{ comment.user.username }}/">{{ comment.user.username }}</a></span>- 回复按钮(涉及到子评论内容)
<span class="pull-right reply" comment_id="{{ comment.pk }}" username="{{ comment.user.username }}"><a>回复</a></span>-
评论内容
如果是子评论的话需要在评论内容加上:@+用户名
<div> {% if comment.parent %} <p>@ {{ comment.parent.user.username }}</p> {% endif %} {{ comment.content }} </div> -
完整代码
<ul class="list-group"> {% for comment in comment_list %} <li class="list-group-item"> <div> <span>#{{ forloop.counter }}楼</span> <span>{{ comment.create_time|date:'Y-m-d' }}</span> <span><a href="/{{ comment.user.username }}/">{{ comment.user.username }}</a></span> <span class="pull-right reply" comment_id="{{ comment.pk }}" username="{{ comment.user.username }}"><a>回复</a></span> <div> {% if comment.parent %} <p>@ {{ comment.parent.user.username }}</p> {% endif %} {{ comment.content }} </div> </div> </li> {% endfor %} </ul>
3、前端js代码
-
提交按钮功能
-
提交按钮获取所有的数据内容,用户id,评论id通过ajax发送给后端
-
定义一个全局变量的parentId
-
注意当为子评论的时候需要对评论的内容进行切分
if (parentId){ let indexVal = $content.indexOf(' ') + 1; $content = $content.slice(indexVal); console.log($content) } -
ajax功能编写
// 评论逻辑代码
// 定义一个全局的parentId变量名
let parentId = '';
$('#id_submit').click(function () {
    // 获取textarea内容
    let $content = $('#id_comment').val();
    // 判断parentId是否有值才能确定是否切内容
    if (parentId){
        let indexVal = $content.indexOf('
') + 1;
        $content = $content.slice(indexVal);
        console.log($content)
    }
    $.ajax({
        url: '/comment/',
        type: 'post',
        data: {
            'article_id': '{{ article_obj.pk }}',
            'content': $content,
            'csrfmiddlewaretoken': '{{ csrf_token }}',
            'parent_id': parentId,
        },
        success: function (data) {
            if(data.code == 100){
                let userName = '{{ request.user.username }}';
                let content = $content;
                let tempStr = `
                <li class="list-group-item">
                    <div>
                        <span><a href="/${userName}/">${userName}:</a></span>
                        <p>
                            ${content}
                        </p>
                    </div>
                </li>
                `;
                // 查找url标签 添加子元素
                $(".list-group").append(tempStr);
                // 将textarea框中的内容清空
                $('#id_comment').val('');
                // 将全局的parentId清空
                parentId = ''
            }
        }
    })
});
-
-
回复功能按钮
-
子评论需要将用户名的加入到textarea中,如何获取人名
let pUserName = $(this).attr('username'); let pCommentId = $(this).attr('comment_id'); -
自动换行
$('#id_comment').val('@'+pUserName+' '); -
自动对焦
$('#id_comment').focus(); -
将全局的parent_id赋值
parentId = pCommentId;
-
后端:
-
获取前端发来的数据
article_id = request.POST.get("article_id") content = request.POST.get('content') parent_id = request.POST.get('parent_id') -
检查用户是否登录
        if request.user.is_authenticated():
            with transaction.atomic():
                # 在文章表中将普通的评论字段加1
                models.Article.objects.filter(pk=article_id).update(comment_num = F('comment_num')+1)
                # 在去评论表存储真正的数据
                models.Comment.objects.create(user=request.user,article_id=article_id,content=content,parent_id=parent_id)
            back_dic['msg'] = '评论成功'
        else:
            back_dic['code'] = 110
            back_dic['msg'] = '请先登录'
    return JsonResponse(back_dic)