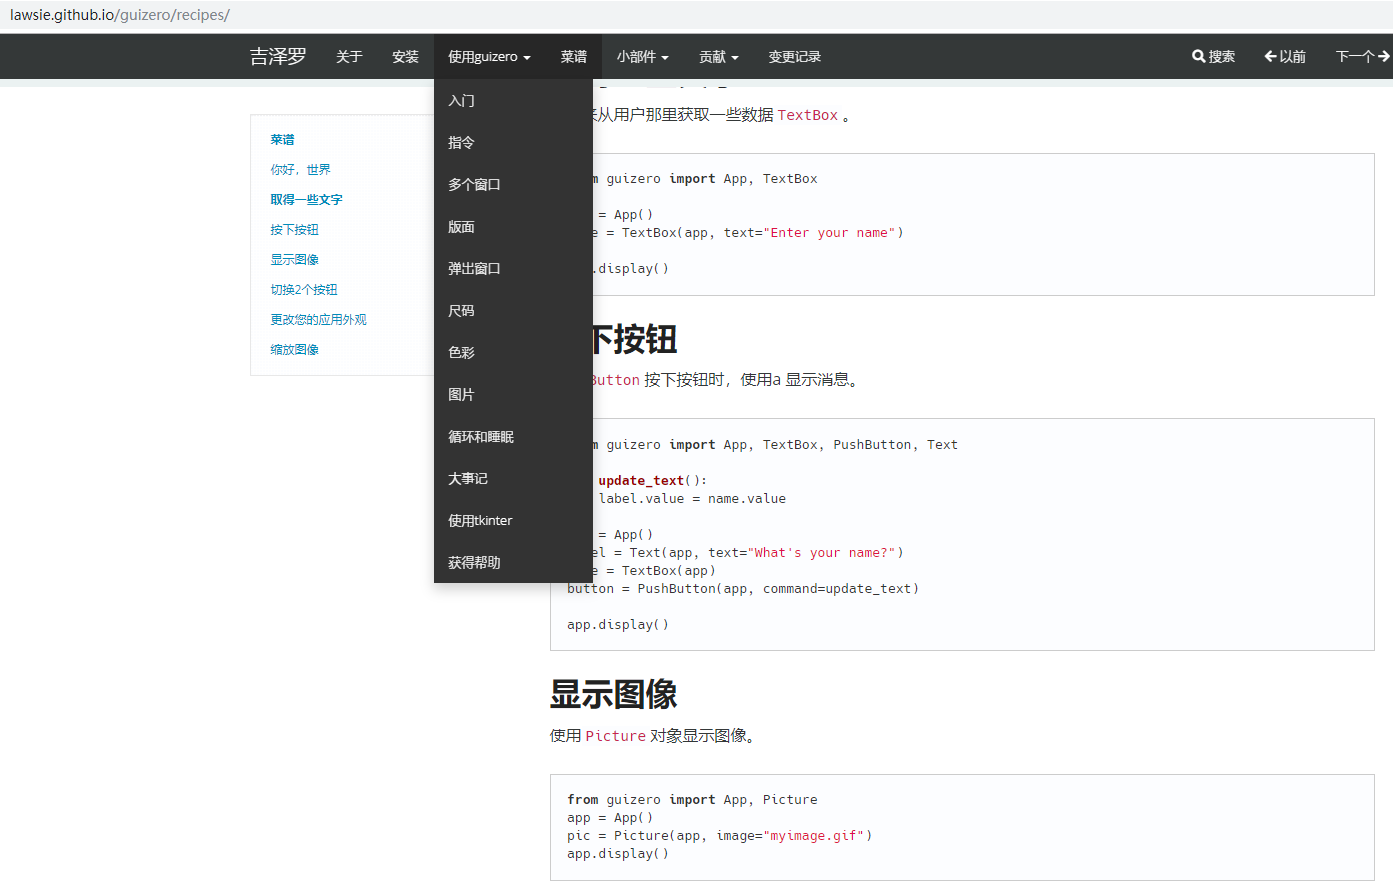
https://lawsie.github.io/guizero/start/

1 按键创建和背景
https://lawsie.github.io/guizero/pushbutton/
from guizero import App, PushButton
def do_nothing():
    print("A picture button was pressed")

app = App()
button = PushButton(app, image="button.gif", command=do_nothing)
app.display()
2创建布局
必须指定 主窗口App(layout="grid")
from guizero import App, PushButton

app = App(layout="grid")

button1 = PushButton(app, text="1", grid=[0,0])
button2 = PushButton(app, text="2", grid=[1,0])
button3  = PushButton(app, text="3", grid=[2,0])
button4  = PushButton(app, text="4", grid=[0,1])
button5  = PushButton(app, text="5", grid=[1,1])
button6  = PushButton(app, text="6", grid=[2,1])
button7  = PushButton(app, text="7", grid=[0,2])
button8  = PushButton(app, text="8", grid=[1,2])
button9  = PushButton(app, text="9", grid=[2,2])
button0  = PushButton(app, text="0", grid=[1,3])

app.display()
回调函数执行循环任务
https://lawsie.github.io/guizero/blocking/
您必须以不同于您习惯的方式编写基于GUI的程序。如果您想重复执行某项操作,则可以这样做:
-
编写执行所需动作的函数(在此示例中
counter()) -
设置该函数的回调。您可以安排相同的回调在给定的毫秒数后重复发生(在此示例中
1000),也可以仅安排一次。
from guizero import App, Text

# Action you would like to perform
def counter():
    text.value = int(text.value) + 1

app = App("Hello world")
text = Text(app, text="1")
text.repeat(1000, counter)  # Schedule call to counter() every 1000ms
app.display()
即使这样,有时候依旧会卡,比如一边播放图像,一边打开dh11温湿度(每次打开都要初始化卡几秒),就会带来整体卡
能否引入线程
import threading
import time

def add(x,y):
    print(x+y)

t = threading.Timer(10,add,args=(4,5))
t.start()

time.sleep(2)
t.cancel()
print("===end===")
销毁桌面
app.destroy()
opencv图片转化PIL然后图片控件显示
from guizero import *

import cv2
from PIL import Image
import numpy


app = App()
picture = Picture(app, image="t.png")

cam = cv2.VideoCapture(0)
cam.set(3, 640) # set video widht
cam.set(4, 480) # set video height

def pic_show():
    ret, img =cam.read()
    if img is None:
        return
    image = Image.fromarray(cv2.cvtColor(img,cv2.COLOR_BGR2RGB))
    picture.value=image

picture.repeat(40,pic_show)  # 图片控件重复调用


app.display()
例子1 类的封装
单独的开发
#http://blog.lxx1.com/2961

from guizero import App,Text,TextBox,PushButton,Slider,Picture,Combo

#创建窗口  标题
app=App(title="My second GUI app", width=600, height=600)
#text 文本 关键字参数的size,font和color
welcome_message = Text(app, text="Welcome to my app",grid=[0,0], align="center",size=40, font="Times New Roman", color="lightblue")
#TextBox 输入框
my_name = TextBox(app,width=20)
#按钮函数 修改文本内容为输入框内容
def  say_my_name():
      welcome_message.set(my_name.get())
#按钮
update_text = PushButton(app, command=say_my_name, text="修改文本")
#滑块函数 修改文本大小
def  change_text_size(slider_value):
      welcome_message.font_size(slider_value)
#滑快控件
text_size = Slider(app,command=change_text_size,start = 10,end = 80)
#图片
my_cat = Picture(app, image="t.png")

film_choice = Combo(app, options=["Star Wars", "Indiana Jones", "Batman"], grid=[0,1], align="left")


app.display()
例子2
类的封装
类文件 gui_2_caiji.py
知识点
from guizero import App,Text,TextBox,PushButton,Slider,Picture,Combo

class gui_2caiji:

    def __init__(self):
        pass

    def caiji_button(self):
        self.show_msg1.set('开始采集!')
        #print('sd')
    def cancel_button(self):
        self.show_msg1.set('采集取消!')
        #print('sss')
    def init_gui(self):
        self.app_1caiji=App(layout="grid",title="人脸识别系统采集界面", width=320, height=210)

        self.id_ = Text(self.app_1caiji, text="唯一编号(纯数字必填)",grid=[0,0], align="center",size=10,
                       font="Times New Roman", color="red")
        self.id_in = TextBox(self.app_1caiji,grid=[1,0],width=20)

        self.xueyuan = Text(self.app_1caiji, text="学院",grid=[0,1],size=10,
                       font="Times New Roman", color="black")
        self.xueyuan_in = TextBox(self.app_1caiji,grid=[1,1],width=20)

        self.xuehao = Text(self.app_1caiji, text="学号",grid=[0,2], size=10,
                       font="Times New Roman", color="black")
        self.xuehao_in = TextBox(self.app_1caiji,grid=[1,2],width=20)

        self.name = Text(self.app_1caiji, text="姓名",grid=[0,3], size=10,
                       font="Times New Roman", color="black")
        self.name_in = TextBox(self.app_1caiji,grid=[1,3],width=20)

        self.xingbie = Text(self.app_1caiji, text="性别",grid=[0,4], size=10,
                       font="Times New Roman", color="black")
        self.xingbie_in = TextBox(self.app_1caiji,grid=[1,4],width=20)

        self.caiji_button = PushButton(self.app_1caiji,  grid=[0,5,1,1],command=self.caiji_button, text="开始采集")

        self.cannel_button = PushButton(self.app_1caiji,  grid=[1,5,1,1],command=self.cancel_button, text="取消")

         #提示消息
        self.show_msg1 = Text(self.app_1caiji, text="请输入密码登陆",grid=[1,6,2,1], size=10,
                    font="Times New Roman", color="red")
        #self.app_1caiji.display()


#jack = gui_2caiji()
调用文件 xxx.py
from gui_2_caiji import gui_2caiji

jack = gui_2caiji()
jack.init_gui()