队列设置过期时间
@Configuration
public class TTLRabbitmqConfiguration {
    //声明交换机
    @Bean
    public DirectExchange ttlDirectExchange(){
        return new DirectExchange("ttl_order_exchange",true,false);
    }

    //声明队列
    @Bean
    public Queue directTTLQueue(){
        Map<String,Object> map = new HashMap<>();
		//这里一定是int,设置过期时间5s,5s后自动移除消息
        map.put("x-message-ttl",5000);
        return new Queue("ttl.direct.queue",true,false,false,map);
    }

    //完成交换机和队列绑定
    @Bean
    public Binding directTTLBinding(){
        return BindingBuilder.bind(directTTLQueue()).to(ttlDirectExchange()).with("ttl");
    }
}
@Test
void contextLoads3() {
   orderService.makeOrderTTL("1","1",12);
}

- 打开rabbitmq
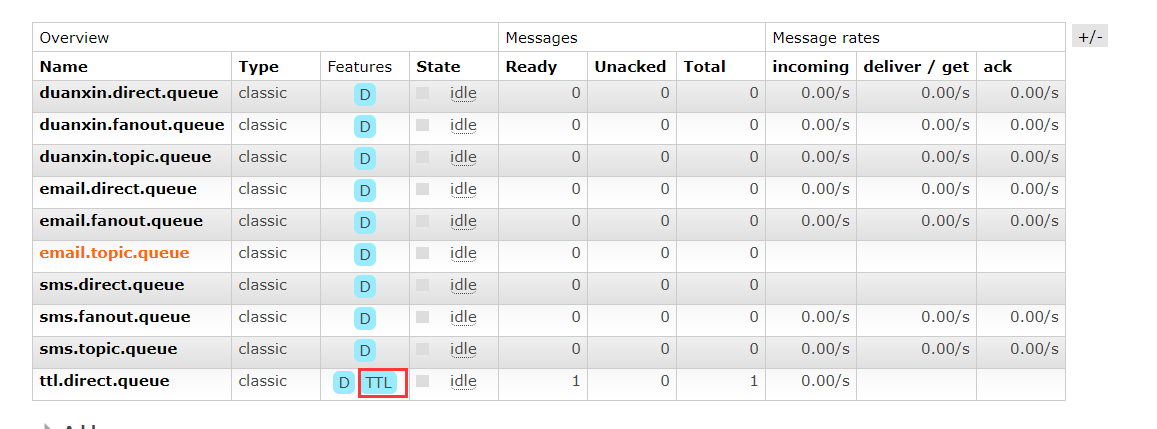
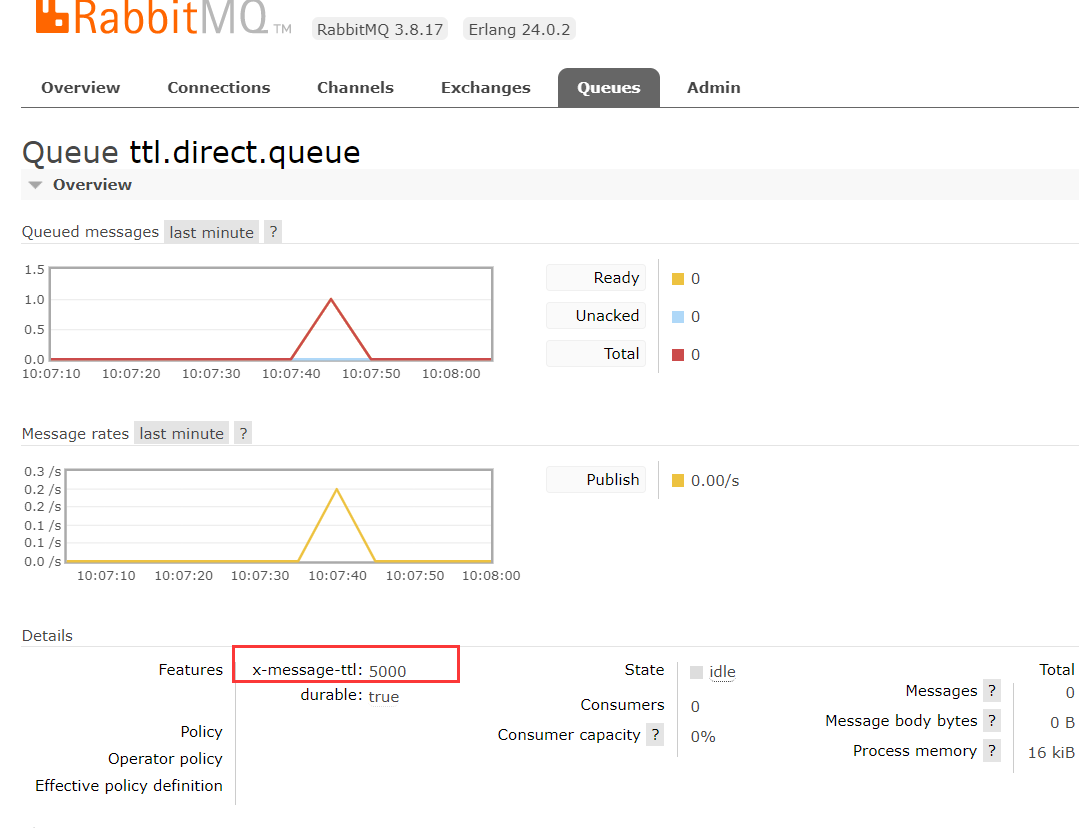
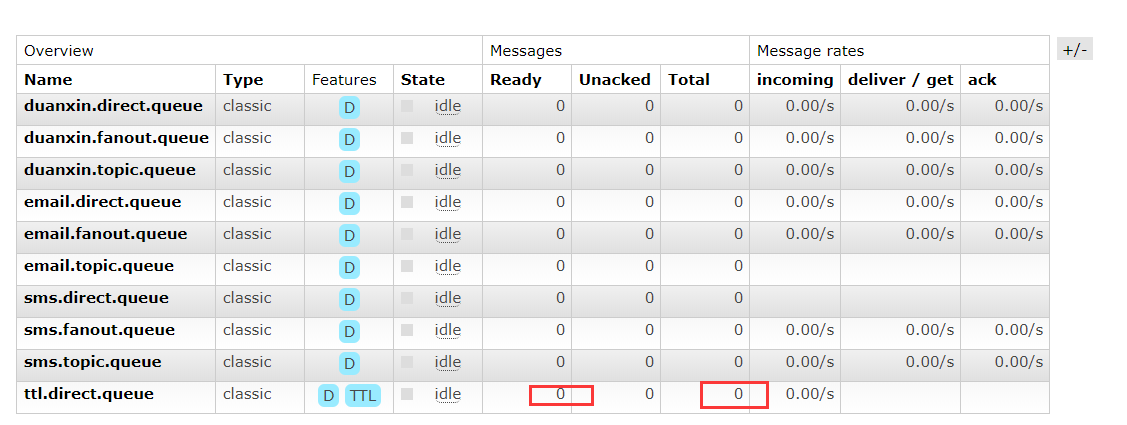
可以看到ttl的队列已经生成,点进去队列可以看到Details中关于ttl过期时间的设置,然后再5s之后,该条消息自动消失
具体的消息设置过期时间
@Configuration
public class TTLRabbitmqConfiguration {
    //声明交换机
    @Bean
    public DirectExchange ttlDirectExchange(){

        return new DirectExchange("ttl_order_exchange",true,false);
    }

    //声明队列 给队列设置过期时间
    @Bean
    public Queue directTTLQueue(){
        Map<String,Object> map = new HashMap<>();
        map.put("x-message-ttl",5000);//这里一定是int
        return new Queue("ttl.direct.queue",true,false,false,map);
    }

    //具体消息
    @Bean
    public Queue directTTLMessageQueue(){
        return new Queue("ttl.message.direct.queue",true);
    }

    //完成交换机和队列绑定
    @Bean
    public Binding directTTLBinding(){
        return BindingBuilder.bind(directTTLQueue()).to(ttlDirectExchange()).with("ttl");
    }

    @Bean
    public Binding directMsgBinding(){
        return BindingBuilder.bind(directTTLMessageQueue()).to(ttlDirectExchange()).with("ttlmessage");
    }
}
public void makeOrderMessageTTL(String userId,String productId,int num){

    String orderId = UUID.randomUUID().toString();
    System.out.println("订单生成成功:" + orderId);

    String exchangeName = "ttl_order_exchange";
    String routingKey = "ttlmessage";

    MessagePostProcessor messagePostProcessor = new MessagePostProcessor() {
        @Override
        public Message postProcessMessage(Message message) throws AmqpException {
            message.getMessageProperties().setExpiration("5000");
            message.getMessageProperties().setContentEncoding("UTF-8");
            return message;
        }
    };

    //@param1 交换机 @param2 路由key/queue队列名称 @param3 消息内容
    rabbitTemplate.convertAndSend(exchangeName,routingKey,orderId,messagePostProcessor);
}
@Test
void contextLoads4() {
    orderService.makeOrderMessageTTL("1","1",12);
}

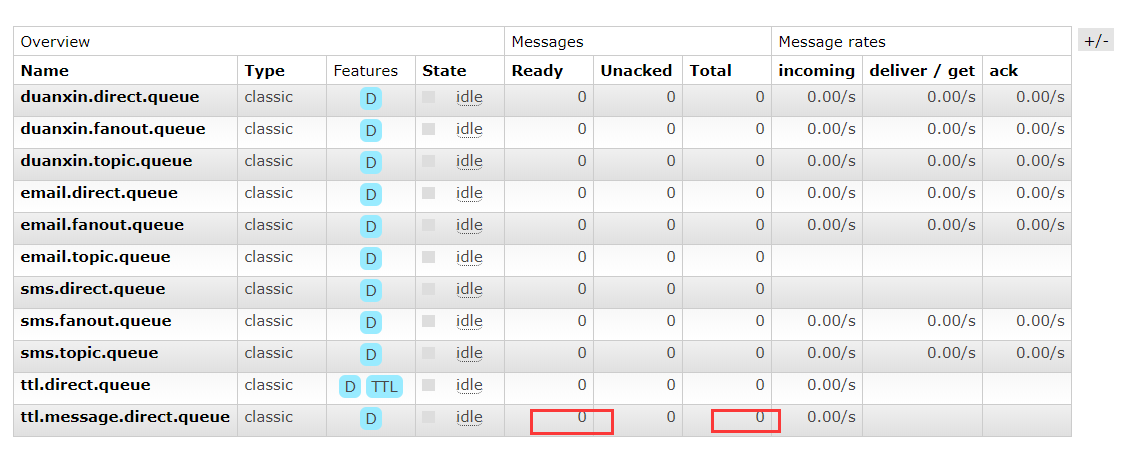
- 打开rabbitmq服务,可以看到队列生成,以及消息产生
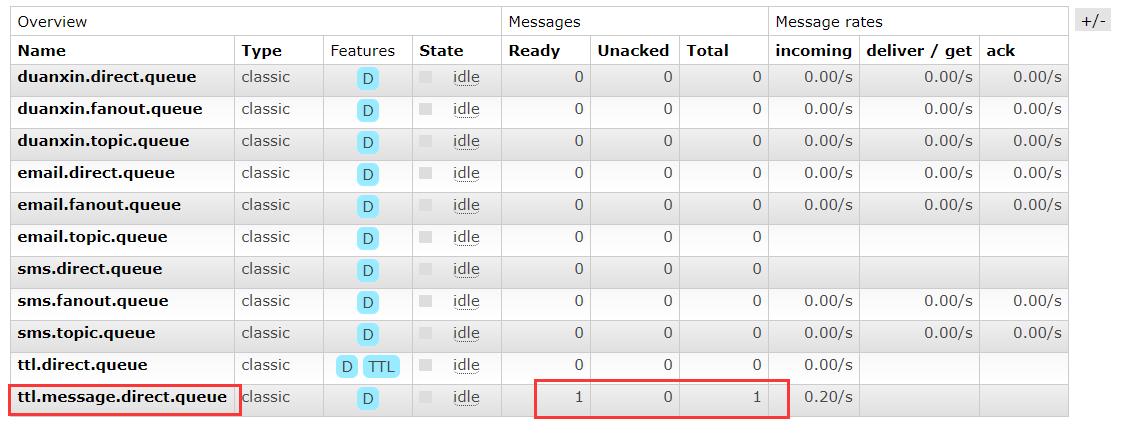
- 5s后,消息自动消失,即移除
