转载https://www.linuxtechi.com/install-vmware-workstation-14-debian-9/
Open the terminal and execute the beneath commands to install all the required dependencies for VMware workstation
linuxtechi@debian9-world:~$ sudo apt update
linuxtechi@debian9-world:~$ sudo apt install gcc build-essential linux-headers-4.9.0-3-amd64 -y
linuxtechi@debian9-world:~$ sudo reboot
Note: Change linux-headers version as per your system existing kernel.
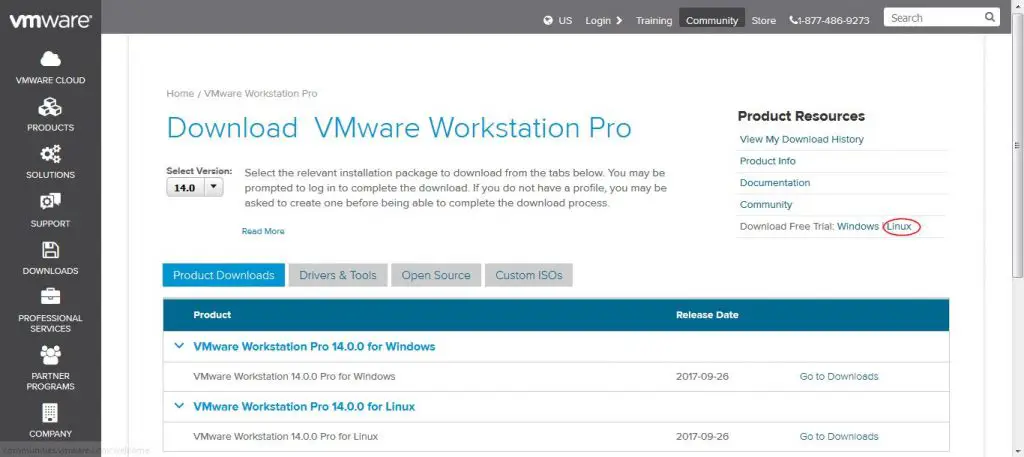
Step:2) Download VMware Workstation bundle for Linux
From your debian 9 system, open the Web browser and download the VMware workstation bundle for linux.
https://www.vmware.com/go/tryworkstation-linux-64
Step:3) Start the VMware Workstation 14 installation from the terminal
Once the VMware workstation bundle file is downloaded, set the executable permissions on it with the below chmod command,
linuxtechi@debian9-world:~$ chmod a+x VMware-Workstation-Full-14.0.0-6661328.x86_64.bundle
Now starts the installation by executing the bundle file, example is shown below
linuxtechi@debian9-world:~$ sudo ./VMware-Workstation-Full-14.0.0-6661328.x86_64.bundle
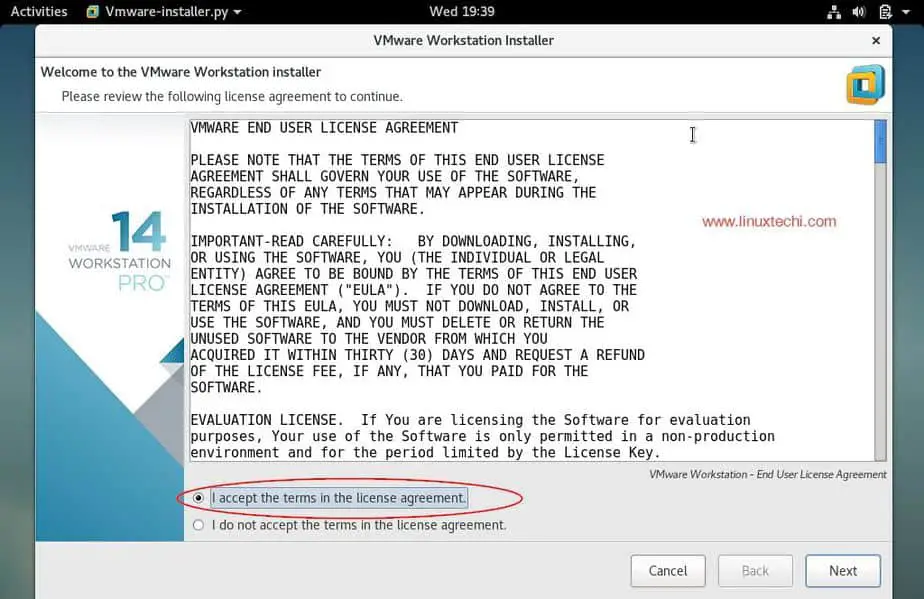
Accept the End User License Agreement
Click on Next
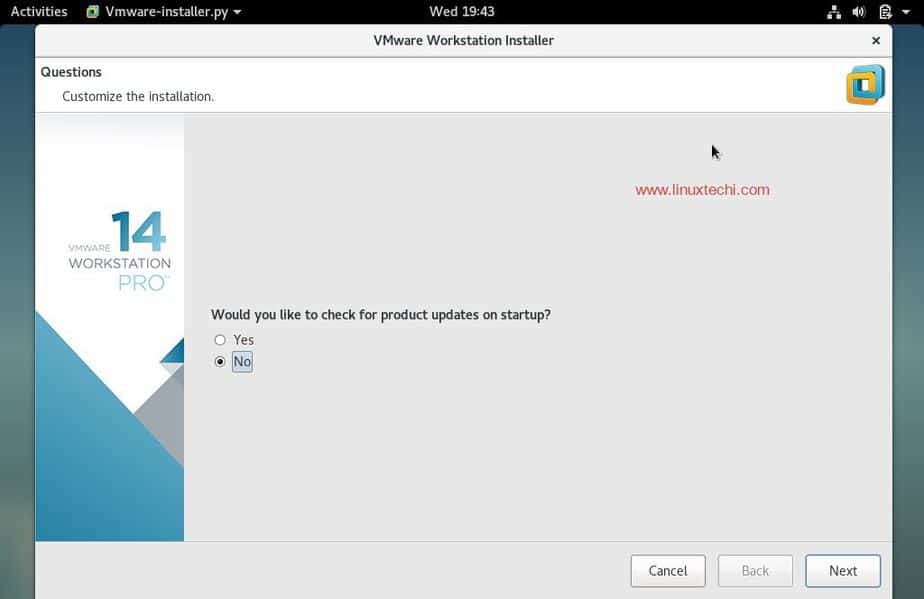
Disable Product Updates on startup
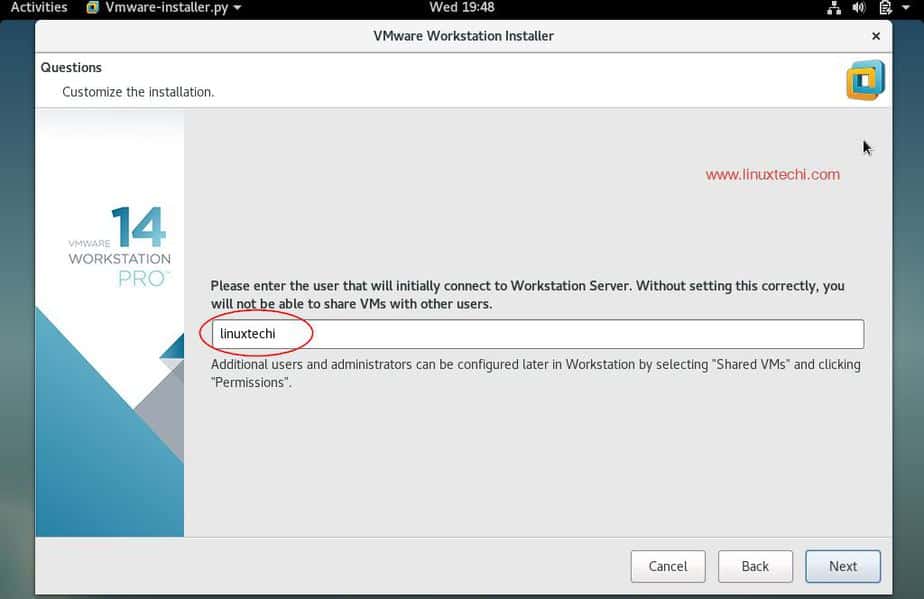
Specify the User Name which will have rights to connect to VMware workstation, in my case I using ‘linuxtechi‘ as user name
Click on Next to Proceed further
In the next window select the path or directory for storing the files of shared virtual machines. You can also keep the default path. In my case I am also keeping the default directory.

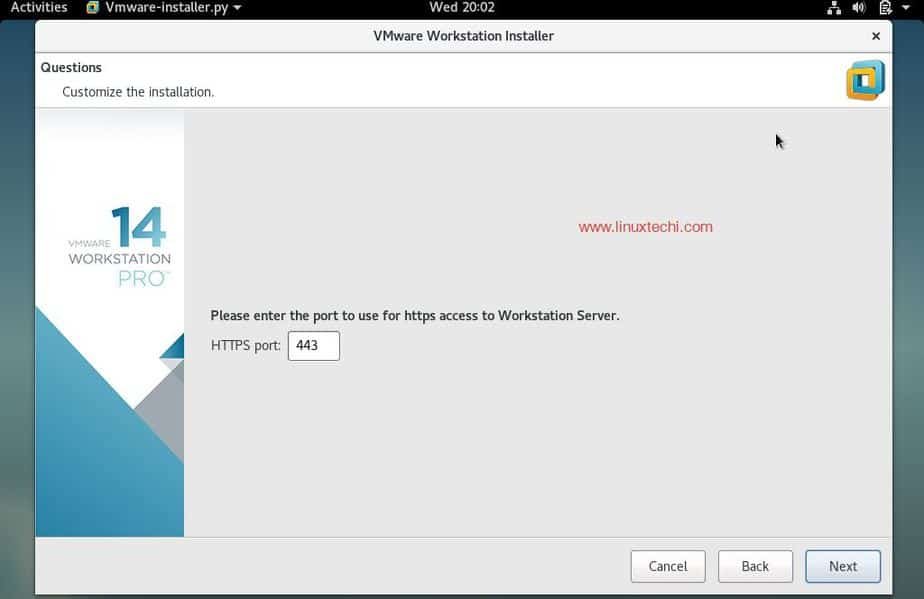
Specify the HTTPs port or keep default one.
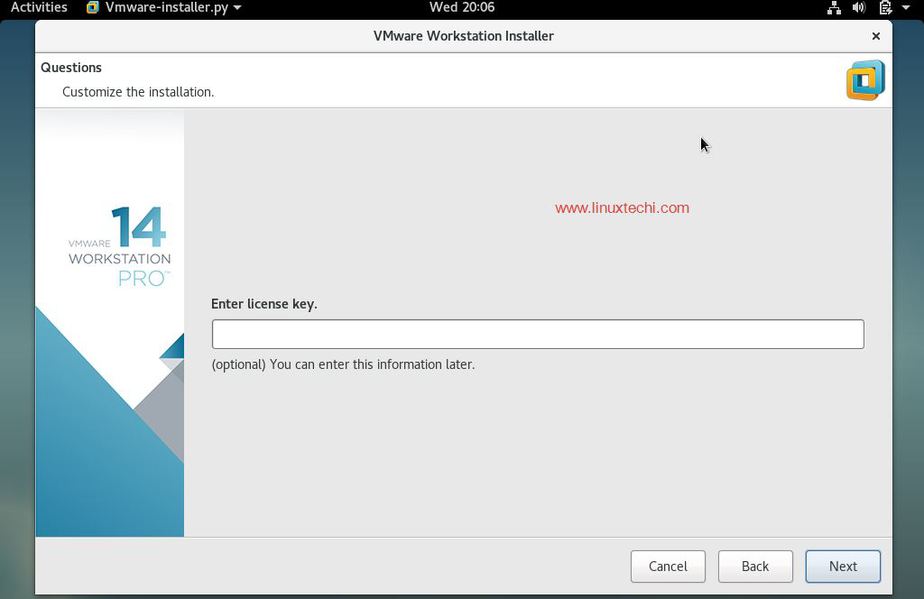
Enter the License key in case you have already buy its license, else you can leave it blank.
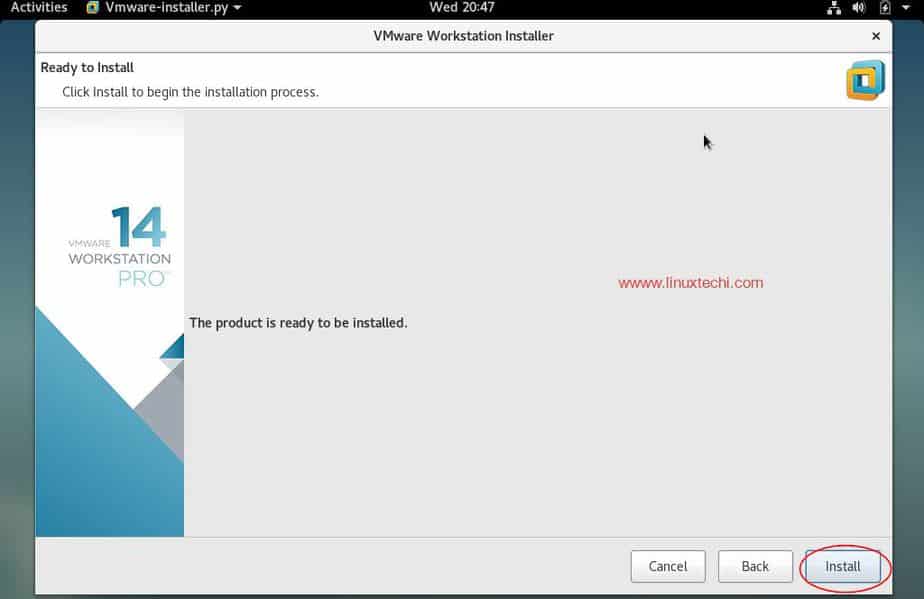
In the next window, click on ‘Install‘ option to start its installation
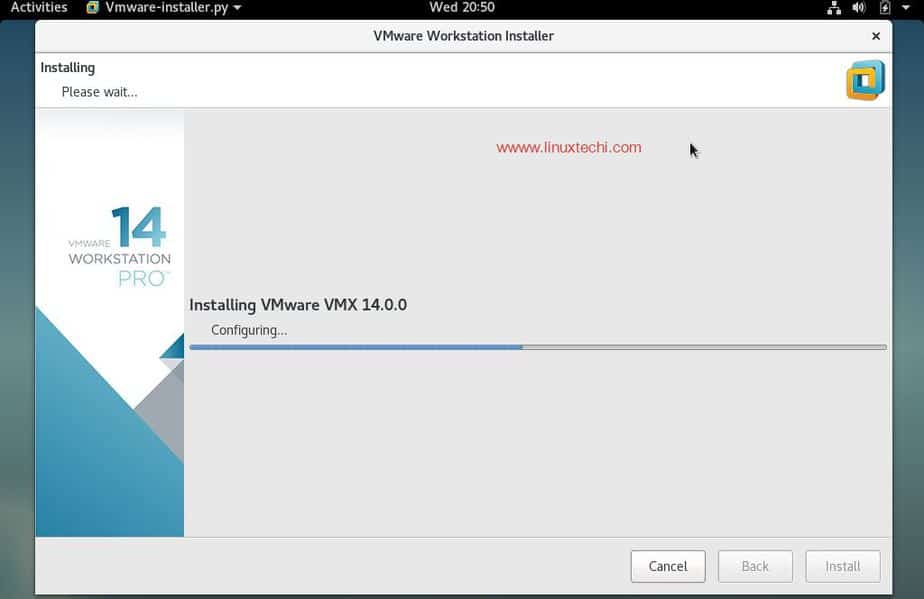
Installation has been started and is in progress
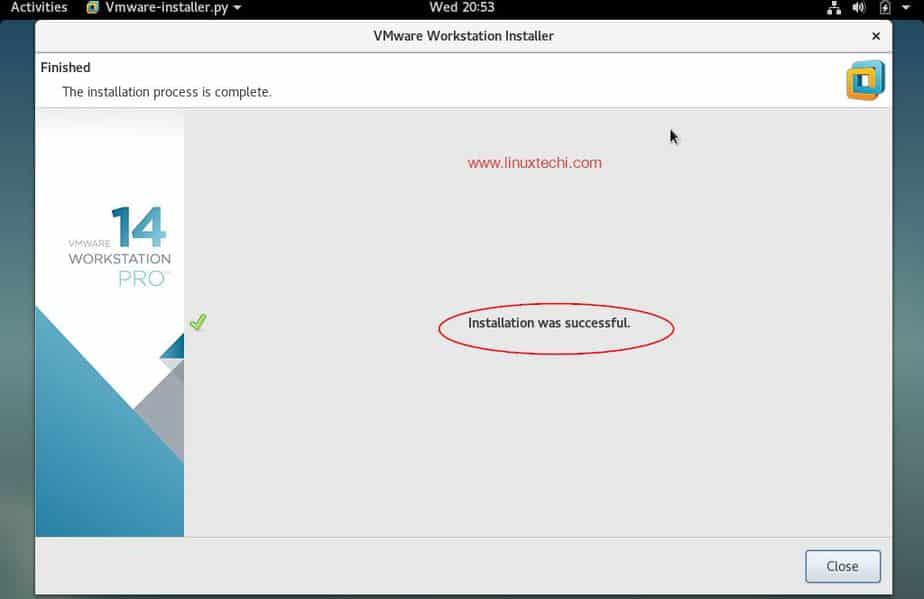
Once the Installation is successful, we will get the below window.
Step :4) Now access VMware Workstation 14

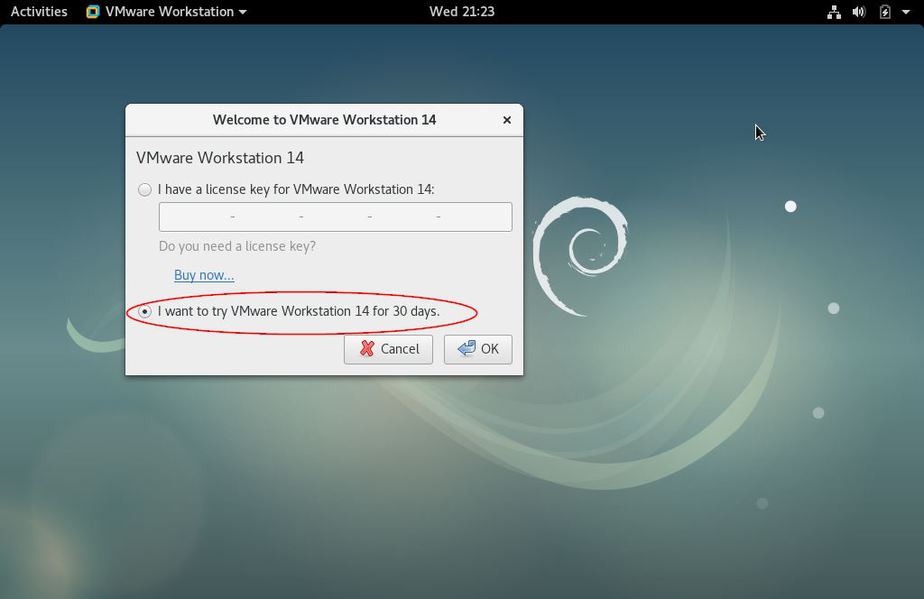
Click on “VMware Workstation” Icon
Enter the license Key or you can use it for 30 days on trial version.
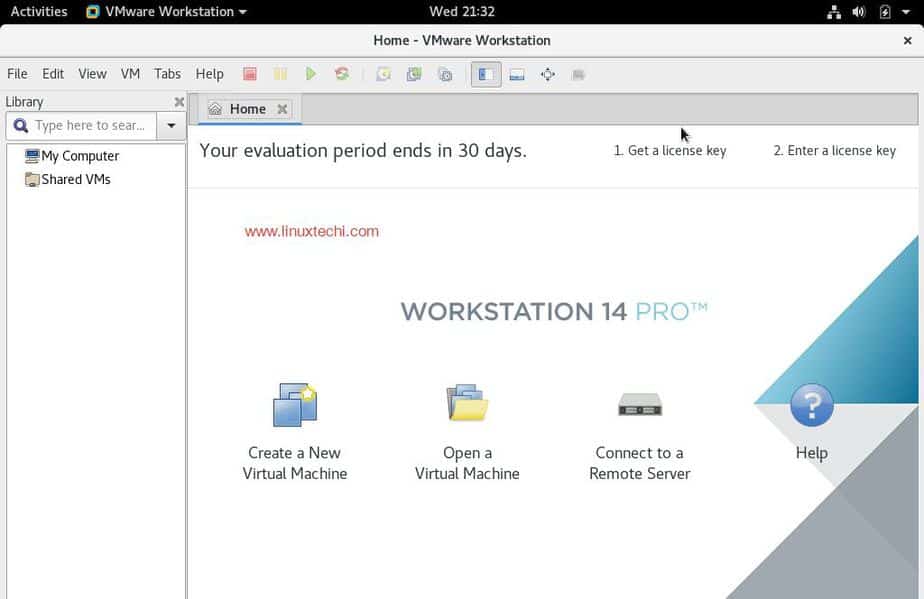
In the next window we will get Workstation 14 dashboard
Now start creating machines and network for the VMs, this conclude the installation steps of VMware Station on Debain 9
If you are done with VMware Workstation and don’t want to use it and also want to remove from your system completely then refer the following steps,
Remove / Uninstall VMware Station 14 Pro
Open the terminal and execute the following command,
linuxtechi@debian9-world:~$ sudo vmware-installer -u vmware-workstation
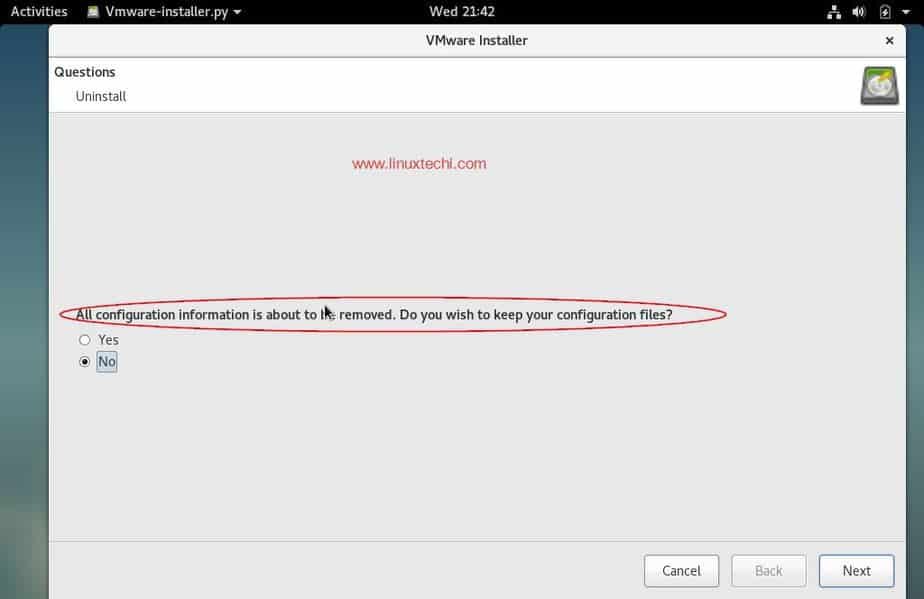
It will prompt us to remove configuration files of VMWare workstation during the installation.
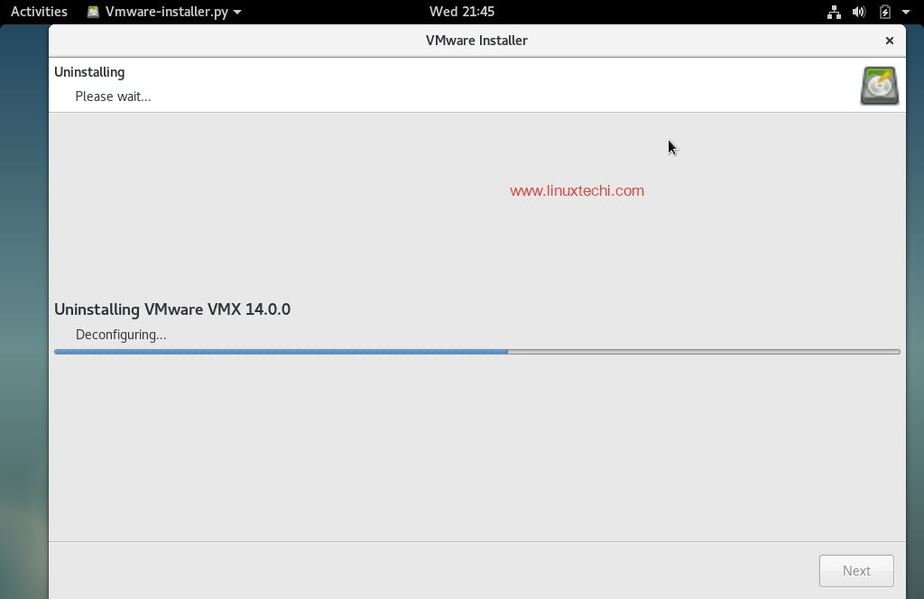
Click on Next to start uninstalling VMware Workstation
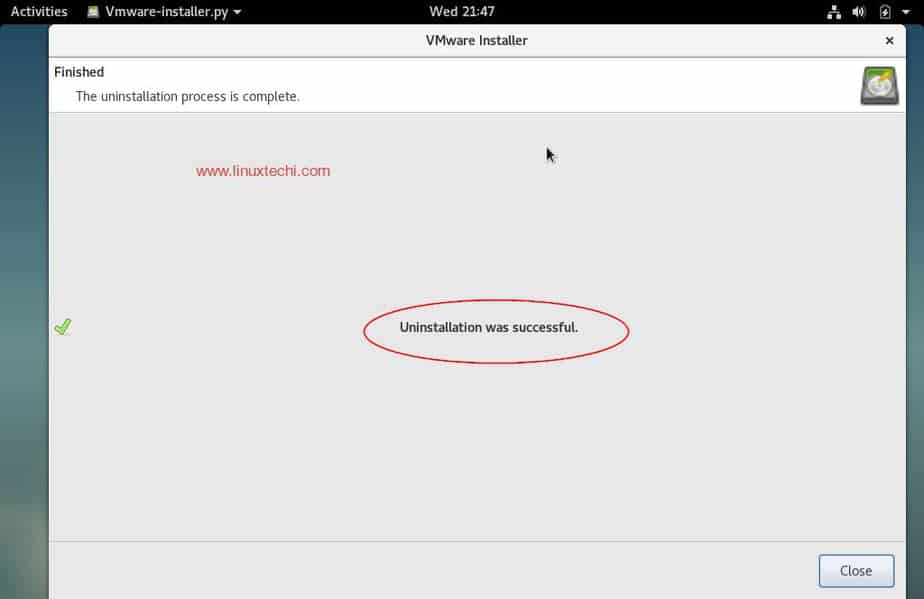
Once the uninstall process is completed, we will get the next window something like below,
This concludes our article, if these steps helps you to install or remove VMware Workstation 14 on debian linux then please do share your valuable feedback and comments.
步骤:1)安装VMware Workstation所需的依赖项
打开终端并执行以下命令以安装VMware工作站的所有必需依赖项
linuxtechi @ debian9-world :〜$ sudo apt更新
 linuxtechi @ debian9-world :〜$ sudo apt install gcc build-essential linux-headers-4.9.0-3-amd64 -y
 linuxtechi @ debian9-world :〜$ sudo重新启动
注意:根据系统现有内核更改linux-headers版本。
步骤:2)下载适用于Linux的VMware Workstation软件包
在您的debian 9系统中,打开Web浏览器并下载适用于Linux的VMware工作站捆绑软件。
https://www.vmware.com/go/tryworkstation-linux-64
步骤:3)从终端启动VMware Workstation 14安装
下载VMware工作站捆绑包文件后,使用以下chmod命令对其设置可执行权限,
linuxtechi @ debian9-world :〜$ chmod a + x VMware-Workstation-Full-14.0.0-6661328.x86_64.bundle
现在通过执行捆绑文件开始安装,示例如下所示
linuxtechi @ debian9-world :〜$ sudo ./VMware-Workstation-Full-14.0.0-6661328.x86_64.bundle
接受最终用户许可协议
点击下一步
启动时禁用产品更新
指定有权连接到VMware工作站的用户名,在本例中,我使用“ linuxtechi ”作为用户名
单击下一步继续
在下一个窗口中,选择用于存储共享虚拟机文件的路径或目录。您还可以保留默认路径。就我而言,我还保留默认目录。
指定HTTPs端口或保留默认端口。
如果您已经购买了许可证,请输入许可证密钥,否则可以将其保留为空白。
在下一个窗口中,单击“ 安装 ”选项以开始安装
安装已经开始并且正在进行中
安装成功后,我们将显示以下窗口。
步骤:4)现在访问VMware Workstation 14
点击“ VMware Workstation ”图标
输入许可证密钥,或者在试用版上可以使用30天。
在下一个窗口中,我们将获得Workstation 14仪表板
现在开始为虚拟机创建计算机和网络,这结束了Debain 9上VMware Station的安装步骤
如果您已完成VMware Workstation的使用并且不想使用它,也不想将其完全从系统中删除,请参考以下步骤,
删除/卸载VMware Station 14 Pro
打开终端并执行以下命令,
linuxtechi @ debian9-world :〜$ sudo vmware-installer -u vmware-workstation
它会提示我们在安装过程中删除VMWare工作站的配置文件。
单击“下一步”开始卸载VMware Workstation。
卸载过程完成后,我们将在下一个窗口中显示以下内容,
到此我们的文章到此结束,如果这些步骤可以帮助您在debian linux上安装或删除VMware Workstation 14,那么请分享您的宝贵反馈和意见。