在网上找了一个测试程序。使用cmake生成项目时报错:
Unknown cmake build type:
Call Stack (most recent call first):
  D:/libtorch-gpu/share/cmake/Caffe2/Caffe2Config.cmake:88 (include)
  D:/libtorch-gpu/share/cmake/Torch/TorchConfig.cmake:39 (find_package)
  CMakeLists.txt:4 (find_package)

-- Configuring incomplete, errors occurred!
See also "E:/simnet-gpu/build/CMakeFiles/CMakeOutput.log".
See also "E:/simnet-gpu/build/CMakeFiles/CMakeError.log".
解决办法:
点击cnake-gui的右上角的“Add Entry",然后添加

再一次config则通过。
配置 vs2017 x64 cuda10.0 libtorch1.0.0-cu10
后面再配置opencv就可以使用了。
测试程序是:
#include <torch/torch.h>
#include <torch/script.h>
#include <memory>
#include <string>
#include <vector>
#include <iostream>
#include <spdhelper.hpp>
#include <opencv2/opencv.hpp>
#include <BTimer.hpp>
#include "MTCNN.h"

int main(int argc, char* argv[])
{
    ENTER_FUNC;
    BTimer timer;

    std::string pnet_weight_path = std::string(MODEL_PATH) + "pnet.pt";
    std::string rnet_weight_path = std::string(MODEL_PATH) + "rnet.pt";
    std::string onet_weight_path = std::string(MODEL_PATH) + "onet.pt";

    TAlgParam alg_param;
    alg_param.min_face = 40;
    alg_param.scale_factor = 0.79;
    alg_param.cls_thre[0] = 0.6;
    alg_param.cls_thre[1] = 0.7;
    alg_param.cls_thre[2] = 0.7;

    TModelParam modelParam;
    modelParam.alg_param = alg_param;
    modelParam.model_path = {pnet_weight_path, rnet_weight_path, onet_weight_path};
    modelParam.mean_value = {{127.5, 127.5, 127.5}, {127.5, 127.5, 127.5}, {127.5, 127.5, 127.5}};
    modelParam.scale_factor = {1.0f, 1.0f, 1.0f};
    modelParam.gpu_id = 0;
    modelParam.device_type = torch::DeviceType::CUDA;


    MTCNN mt;
    mt.InitDetector(&modelParam);
    std::string img_path = std::string(MODEL_PATH) + "/../img/faces2.jpg";
    cv::Mat src = cv::imread(img_path);
    if(!src.data)
    {
        LOGE("cannot load image!");
        return -1;
    }
    std::vector<cv::Rect> outFaces;
    LOGI("warm up...");
    timer.reset();
    for(int i = 0; i < 5; i++)
        mt.DetectFace(src, outFaces);
    LOGI("warm up over, time cost: {}", timer.elapsed());

    timer.reset();
    //for(;;)
    mt.DetectFace(src, outFaces);
    LOGI(" cost: {}", timer.elapsed());

    for(auto& i : outFaces)
        cv::rectangle(src, i, {0,255,0}, 2);

    cv::imshow("result", src);
    cv::waitKey(0);
//    cv::imwrite("res2.jpg", src);
    LEAVE_FUNC;
    return 0;
}
运行结果是:
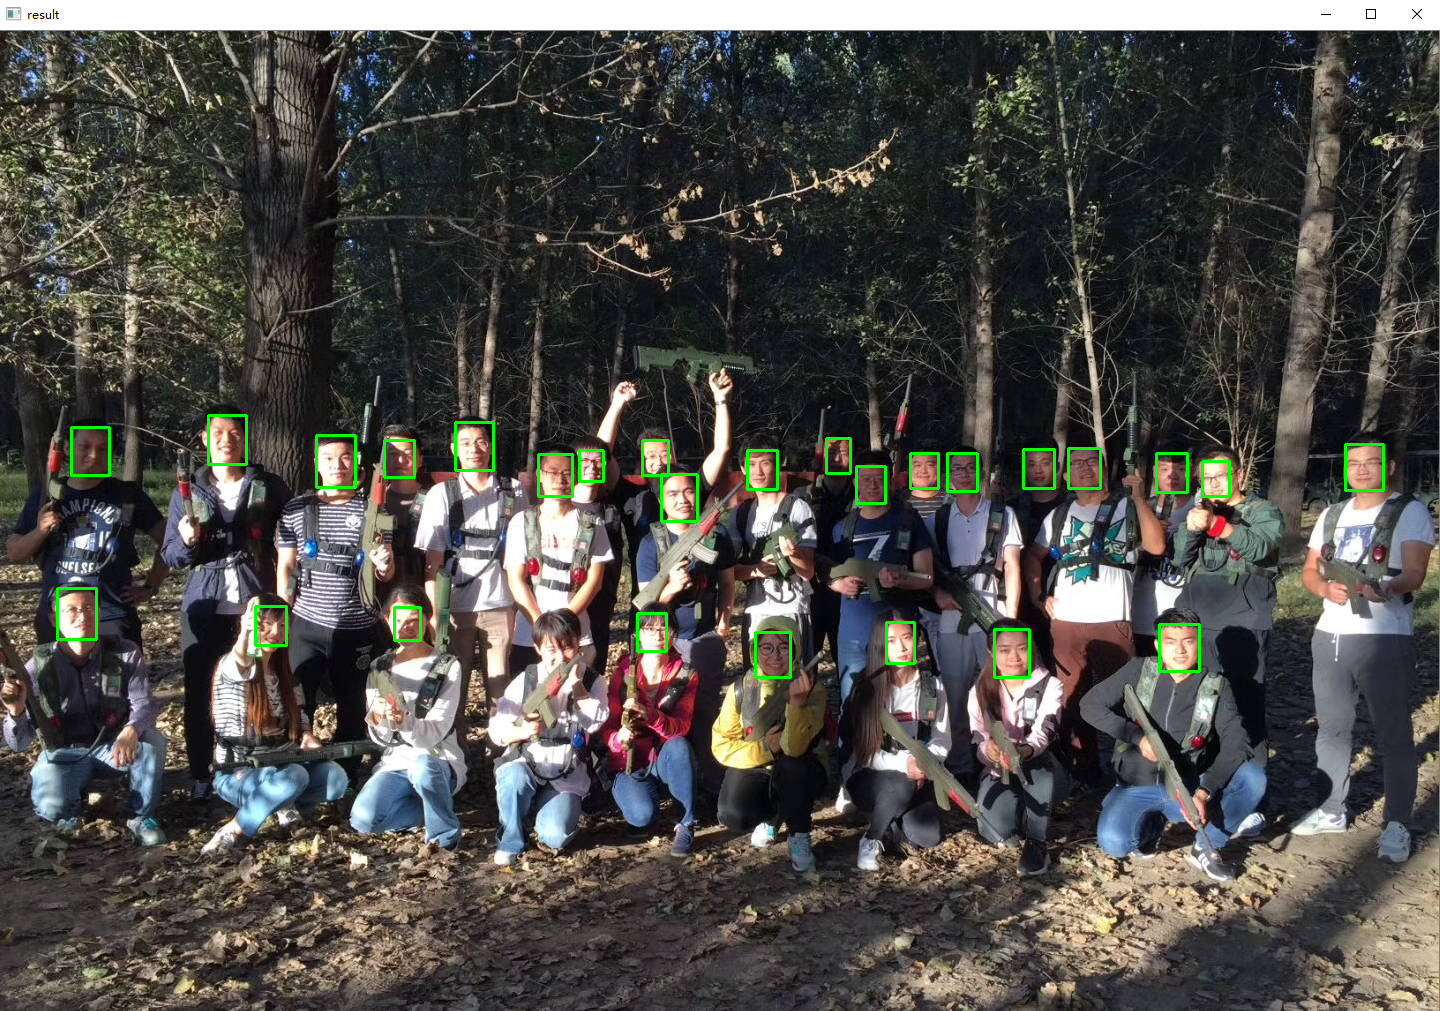
只可惜debug版本过不去,只能靠输出查看中间信息。