1、添加依赖
<dependency>
   <groupId>org.springframework.boot</groupId>
   <artifactId>spring-boot-starter-web</artifactId>
</dependency>
<dependency>
   <groupId>org.mybatis.spring.boot</groupId>
   <artifactId>mybatis-spring-boot-starter</artifactId>
   <version>2.1.0</version>
</dependency>
<dependency>
   <groupId>mysql</groupId>
   <artifactId>mysql-connector-java</artifactId>
   <scope>runtime</scope>
</dependency>
<dependency>
   <groupId>org.springframework.boot</groupId>
   <artifactId>spring-boot-starter-test</artifactId>
   <scope>test</scope>
</dependency>
2、application配置文件
spring.datasource.url=jdbc:mysql://localhost:3306/demo?serverTimezone=UTC&characterEncoding=UTF-8
spring.datasource.username=root
spring.datasource.password=xxxxx
spring.datasource.driver-class-name=com.mysql.cj.jdbc.Driver
关于更多更详细的配置请参考:https://blog.csdn.net/ajlzhu/article/details/81009845
3、新建包类
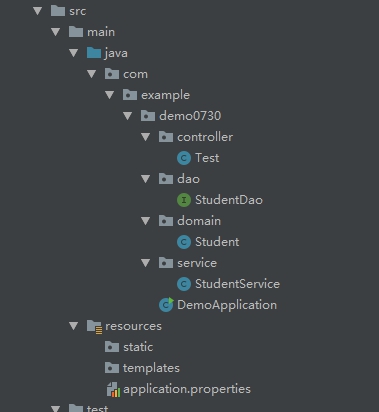
新建controller、dao、domain、service包,新建TestController、StudentDao、Student、StudentService类;
创建后的目录结构(多余的包和类与本文内容无关,不用创建):
4、创建student表
CREATE TABLE `student` (
   `sno` int(10) unsigned NOT NULL AUTO_INCREMENT,
   `sname` varchar(20) CHARACTER SET utf8 COLLATE utf8_general_ci DEFAULT NULL,
   `sage` bigint(20) DEFAULT NULL,
   `sex` varchar(10) CHARACTER SET utf8 COLLATE utf8_general_ci DEFAULT NULL,
   PRIMARY KEY (`sno`)
 ) ENGINE=InnoDB AUTO_INCREMENT=9 DEFAULT CHARSET=utf8
5、student类
public class Student {
    private Long sno;
    private String sname;
    private int sage;
    private String sex;

    public Long getSno() {
        return sno;
    }

    public void setSno(Long sno) {
        this.sno = sno;
    }

    public String getSname() {
        return sname;
    }

    public void setSname(String sname) {
        this.sname = sname;
    }

    public int getSage() {
        return sage;
    }

    public void setSage(int sage) {
        this.sage = sage;
    }

    public String getSex() {
        return sex;
    }

    public void setSex(String sex) {
        this.sex = sex;
    }
}
6、StudentDao接口
@Mapper
public interface StudentDao {


    @Select("SELECT * FROM student where sno=#{id}")
    public Student getById(@Param("id")int id);

}
7、StudentService类
@Service
public class StudentService {

    @Autowired
    StudentDao studentDao;

    public Student getById(int id){
        return  studentDao.getById(id);
    }
}
8、控制器
@RestController
public class Test {

    @Autowired
    StudentService studentService;

    @GetMapping("/demo")
    public String student(){
        Student student = studentService.getById(1);
        return student.getSname();
    }

}
9、测试
数据库数据:

浏览器访问:
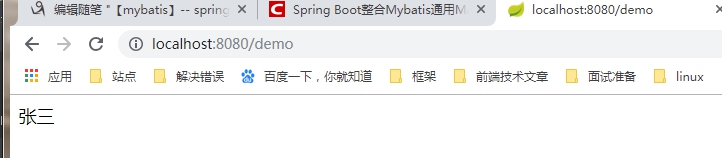
到这里就完全整合完成了,甚至都不需要进行任何多余的配置。
-----------------------------------------------------------------------------------
找到一篇讲的很好的文章:https://www.cnblogs.com/ityouknow/p/6037431.html