一、基本环境

$ pip install flask gevent requests pillow
其中 flask不需要解释
gevent 是用于自动切换进程的;
pillow 是用来进行python下的图像处理的;
requests 是用来进行python下request处理的。
二、核心代码解释
# import the necessary packages
from keras.applications
import ResNet50
from keras.preprocessing.image
import img_to_array
from keras.applications
import imagenet_utils
from PIL
import Image
import numpy
as np
import flask
import io
引入所需的头文件。其中注意keras的几个类库是很有通用性的;
# initialize our Flask application and the Keras model
app = flask.Flask(
__name__)
model =
None
类库的初始化
def
load_model():
# load the pre-trained Keras model (here we are using a model
# pre-trained on ImageNet and provided by Keras, but you can
# substitute in your own networks just as easily)
global model
model = ResNet50(
weights=
"imagenet")
引入model模型,如果想引入自己的模型(CBIR)的话,就在这里引入。
def
prepare_image(
image,
target):
# if the image mode is not RGB, convert it
if image.mode !=
"RGB":
image = image.convert(
"RGB")
# resize the input image and preprocess it
image = image.resize(target)
image = img_to_array(image)
image = np.expand_dims(image,
axis=
0)
image = imagenet_utils.preprocess_input(image)
# return the processed image
return image
image的预处理,这里使用的是keras+PIL,和opencv之间的比较,需要有时间来做。
@app.route(
"/predict",
methods=[
"POST"])
def
predict():
# initialize the data dictionary that will be returned from the
# view
data = {
"success":
False}
# ensure an image was properly uploaded to our endpoint
if flask.request.method ==
"POST":
if flask.request.files.get(
"image"):
# read the image in PIL format
image = flask.request.files[
"image"].read()
image = Image.open(io.BytesIO(image))
# preprocess the image and prepare it for classification
image = prepare_image(image,
target=(
224,
224))
# classify the input image and then initialize the list
# of predictions to return to the client
preds = model.predict(image)
results = imagenet_utils.decode_predictions(preds)
data[
"predictions"] = []
# loop over the results and add them to the list of
# returned predictions
for (imagenetID, label, prob)
in results[
0]:
r = {
"label": label,
"probability":
float(prob)}
data[
"predictions"].append(r)
# indicate that the request was a success
data[
"success"] =
True
# return the data dictionary as a JSON response
return flask.jsonify(data)
虽然是核心部分,但是其实非常容易被复用。就是读取数据,然后进行处理的过程。
# if this is the main thread of execution first load the model and
# then start the server
if
__name__ ==
"__main__":
print((
"* Loading Keras model and Flask starting server..."
"please wait until server has fully started"))
load_model()
app.run()
比不可少的main过程。缺少不可运行。
三、运行效果
使用VPS能够更快地得到效果,至少你不需要下载resnet*.h5,一个链路不是太好的大物件。
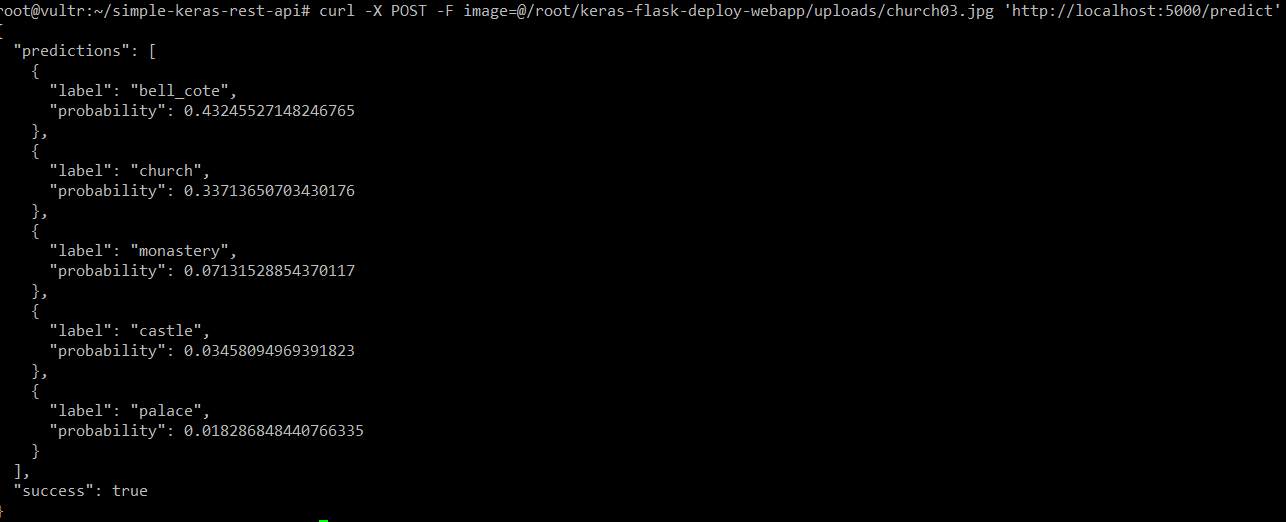
flask的运行效果,使用curl进行处理的效果
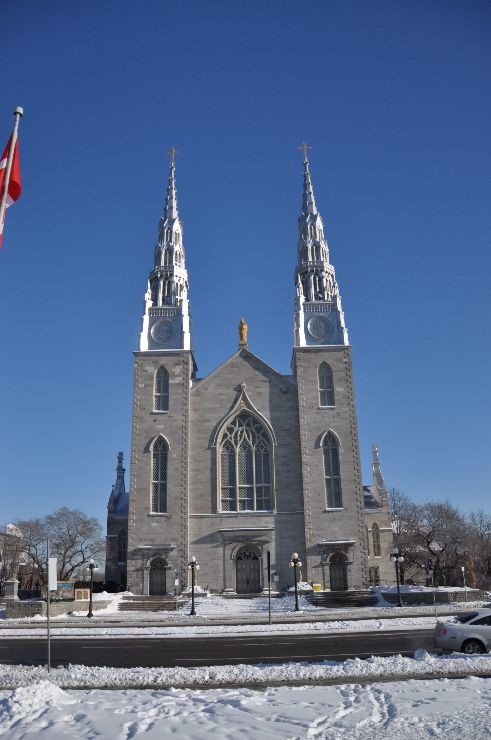
从结果上来看,curch排在了第2,而将这张图片识别为钟楼或者修道院、城堡,宫殿
,似乎也没有什么不妥。
四、小结反思
真的仅仅是通过了几行代码,就实现了flask部署的核心问题。不过光是跑这个简单的过程,机器就已经发出巨大的热量了;另一方面,整个的结构是什么,也需要进一步去研究清楚才对。