Spring Boot Admin 用于监控基于 Spring Boot 的应用,它是在 Spring Boot Actuator 的基础上提供简洁的可视化 WEB UI。
1. 什么是Spring Boot Admin?
Spring Boot Admin(下文简称SBA)是一个社区开源项目,用于管理和监控你的Spring Boot应用。应用通过SBA Client注册到SBA Server中,可通过HTTP请求或者Spring Cloud发现(例如Eureka、Consul),UI展示通过Vue在Spring Boot Actuator端点上获取应用监控数据进行管理。
2. 开始使用
2,1 配置好你的SBA Server服务端程序
2.1.1 添加spring-boot-admin-starter-server的Maven依赖到你的pom.xml中:
<dependency>
    <groupId>de.codecentric</groupId>
    <artifactId>spring-boot-admin-starter-server</artifactId>
    <version>2.0.2</version>
</dependency>
<dependency>
    <groupId>de.codecentric</groupId>
    <artifactId>spring-boot-admin-server-ui</artifactId>
    <version>2.0.2</version>
</dependency>
<dependency>
    <groupId>org.springframework.boot</groupId>
    <artifactId>spring-boot-starter-security</artifactId>
</dependency>
<dependency>
    <groupId>org.springframework.boot</groupId>
    <artifactId>spring-boot-starter-web</artifactId>
</dependency>
2.1.2 打开你的Spring Boot启动文件中添加@EnableAdminServer 注解用于激活SBA Server配置:
import de.codecentric.boot.admin.server.config.EnableAdminServer;
import org.springframework.boot.SpringApplication;
import org.springframework.boot.autoconfigure.SpringBootApplication;
@SpringBootApplication

@EnableAdminServer

public class Application {
<span class="hljs-function"><span class="hljs-keyword">public</span> <span class="hljs-keyword">static</span> <span class="hljs-keyword">void</span> <span class="hljs-title">main</span><span class="hljs-params">(String[] args)</span> </span>{
    SpringApplication.run(Application.class, args);
}

}
注意如果你需要将应用以war形式部署,请将启动文件做如下改变:
import de.codecentric.boot.admin.server.config.EnableAdminServer;
import org.springframework.boot.SpringApplication;
import org.springframework.boot.autoconfigure.SpringBootApplication;
import org.springframework.boot.builder.SpringApplicationBuilder;
import org.springframework.boot.web.servlet.support.SpringBootServletInitializer;
@SpringBootApplication

@EnableAdminServer

public class Application extends SpringBootServletInitializer {
<span class="hljs-meta">@Override</span>
<span class="hljs-function"><span class="hljs-keyword">protected</span> SpringApplicationBuilder <span class="hljs-title">configure</span><span class="hljs-params">(SpringApplicationBuilder builder)</span> </span>{
    <span class="hljs-keyword">return</span> builder.sources(Application.class);
}

<span class="hljs-function"><span class="hljs-keyword">public</span> <span class="hljs-keyword">static</span> <span class="hljs-keyword">void</span> <span class="hljs-title">main</span><span class="hljs-params">(String[] args)</span> </span>{
    SpringApplication.run(Application.class, args);
}

}
2.1.3 在你的SBA Server中的 application.yml 中进行相关配置:
spring:
  # 配置SBA Client连接的安全账号密码
  security:
    user:
      name: admin
      password: admin
  boot:
    admin:
      ui:
        # 修改网页显示的tab标题
        title: "应用监控管理"
        # 修改网页的brand的图标和标题
        brand: "<img src='assets/img/icon-spring-boot-admin.svg'><span>应用监控管理</span>"
server:
  port: 7070
2.1.4 进行Spring Security相关配置:
import de.codecentric.boot.admin.server.config.AdminServerProperties;
import org.springframework.security.config.annotation.web.builders.HttpSecurity;
import org.springframework.security.config.annotation.web.configuration.EnableWebSecurity;
import org.springframework.security.config.annotation.web.configuration.WebSecurityConfigurerAdapter;
import org.springframework.security.web.authentication.SavedRequestAwareAuthenticationSuccessHandler;
import org.springframework.security.web.csrf.CookieCsrfTokenRepository;
@EnableWebSecurity

public class SecurityConfig extends WebSecurityConfigurerAdapter {

private final String adminContextPath;
<span class="hljs-function"><span class="hljs-keyword">public</span> <span class="hljs-title">SecurityConfig</span><span class="hljs-params">(AdminServerProperties adminServerProperties)</span> </span>{
    <span class="hljs-keyword">this</span>.adminContextPath = adminServerProperties.getContextPath();
}

<span class="hljs-meta">@Override</span>
<span class="hljs-function"><span class="hljs-keyword">protected</span> <span class="hljs-keyword">void</span> <span class="hljs-title">configure</span><span class="hljs-params">(HttpSecurity http)</span> <span class="hljs-keyword">throws</span> Exception </span>{
    SavedRequestAwareAuthenticationSuccessHandler successHandler = <span class="hljs-keyword">new</span> SavedRequestAwareAuthenticationSuccessHandler();
    successHandler.setTargetUrlParameter(<span class="hljs-string">"redirectTo"</span>);
    successHandler.setDefaultTargetUrl(adminContextPath + <span class="hljs-string">"/"</span>);

    http.authorizeRequests()
            .antMatchers(
                    adminContextPath + <span class="hljs-string">"/assets/**"</span>,
                    adminContextPath + <span class="hljs-string">"/login"</span>
            ).permitAll()
            .anyRequest().authenticated()
            .and()
            .formLogin().loginPage(adminContextPath + <span class="hljs-string">"/login"</span>).successHandler(successHandler).and()
            .logout().logoutUrl(adminContextPath + <span class="hljs-string">"/logout"</span>).and()
            .httpBasic().and()
            .csrf()
            .csrfTokenRepository(CookieCsrfTokenRepository.withHttpOnlyFalse())
            .ignoringAntMatchers(
                    <span class="hljs-string">"/instances"</span>,
                    <span class="hljs-string">"/actuator/**"</span>,
                    adminContextPath + <span class="hljs-string">"/logout"</span>
            );
}

}
2.2 注册你的客户端应用
为了注册你的应用在SBA Server中,你可以使用SBA Client 或者使用Spring Cloud Discovery(例如:Eureka, Consul, ...)。
2.2.1 配置你的Spring Boot Admin客户端
每一个想注册的应用都必须包含SBA Client,同时为了确保Actuator端点的安全,建议添加 spring-boot-starter-security 依赖用于保护端点安全访问。
添加 spring-boot-admin-starter-client 的Maven依赖到你的pom.xml中:
<dependency>
    <groupId>de.codecentric</groupId>
    <artifactId>spring-boot-admin-starter-client</artifactId>
    <version>2.0.2</version>
</dependency>
<!-- 可选择添加下面依赖 -->
<dependency>
    <groupId>org.springframework.boot</groupId>
    <artifactId>spring-boot-starter-security</artifactId>
</dependency>
2.2.2. 在你的SBA Client中的 application.yml 中配置你的SBA Server的服务地址:
spring:
  boot:
    admin:
      client:
        # 这个URL地址是SBA Server的服务地址,你需要将你的应用注册到该地址上
        url: http://localhost:7070
        # 配置连接到监测管理平台的Security安全密码
        username: admin
        password: admin
        instance:
          metadata:
            # 配置发送到SBA Server的SBA Client的端点安全密码
            user.name: ${spring.security.user.name}
            user.password: ${spring.security.user.password}
  security:
    user:
      name: root
      password: root
# 官方文档中有提到, SpringBoot 的 Logging 配置的级别有7个:TRACE , DEBUG , INFO , WARN , ERROR , FATAL , OFF
logging:
  # 设置日志保存的路径,path和file只需要设置一个,指定path则日志名称固定为spring.log
  path: /java-log
  # 打印日志的级别
  level:
    root: info
# 在默认情况下大多数Actuator的端点并没有完全公开,这里我将所有端点都进行公开进行管理
management.endpoints.web.exposure.include: "*"
2.2.3. 如果你添加了 spring-boot-starter-security 依赖,你需要进行如下配置使SBA Server服务端能够访问SBA Client客户端的Actuator端点:
import org.springframework.context.annotation.Configuration;
import org.springframework.security.config.annotation.web.builders.HttpSecurity;
import org.springframework.security.config.annotation.web.configuration.WebSecurityConfigurerAdapter;
@Configuration

public class SecurityConfig extends WebSecurityConfigurerAdapter {
<span class="hljs-meta">@Override</span>
<span class="hljs-function"><span class="hljs-keyword">protected</span> <span class="hljs-keyword">void</span> <span class="hljs-title">configure</span><span class="hljs-params">(HttpSecurity http)</span> <span class="hljs-keyword">throws</span> Exception </span>{
    http.httpBasic().and()
            .authorizeRequests().antMatchers(<span class="hljs-string">"/actuator/**"</span>).authenticated()
            .anyRequest().permitAll();
}

}
3.至此相关配置已经完成,现在让我们启动SBA Server服务端程序,打开浏览器输入http://localhost:7070 访问它。
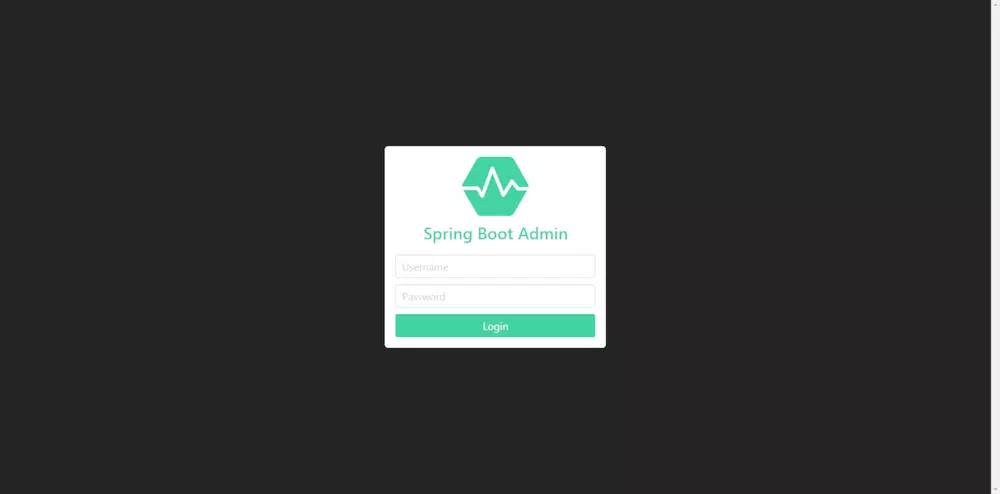
我们可以看到SBA Server跳转到了登录页面提示我们登录,这时候我们输入我们在application.yml中配置的账号密码进行登录:
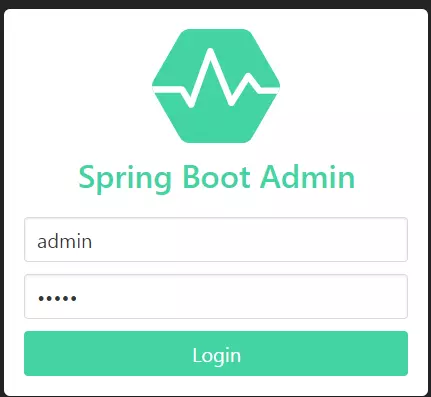
输入用户名和密码后点击Login后跳转到我们的应用监控管理首页:
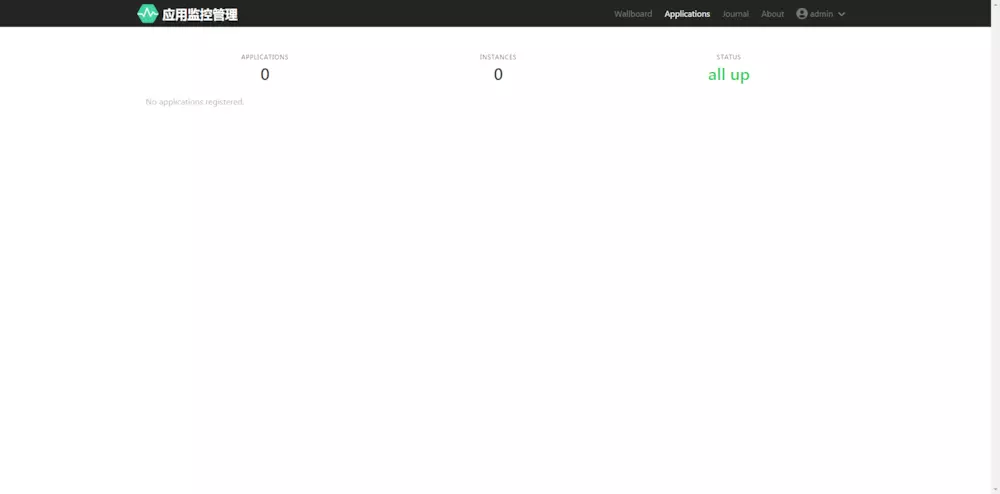
这时我们看到是没有应用注册进来的,页面是数据是空白的,整个页面简洁干净,接下去让我们启动一个SBA Client客户端程序注册进来
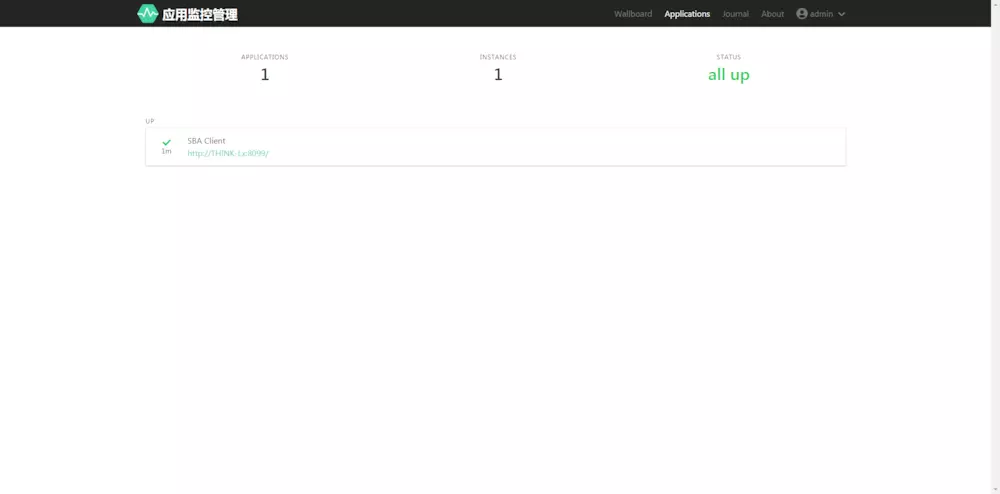
启动一个SBA Client后,可以看到页面上出现了一个客户端程序注册进来了

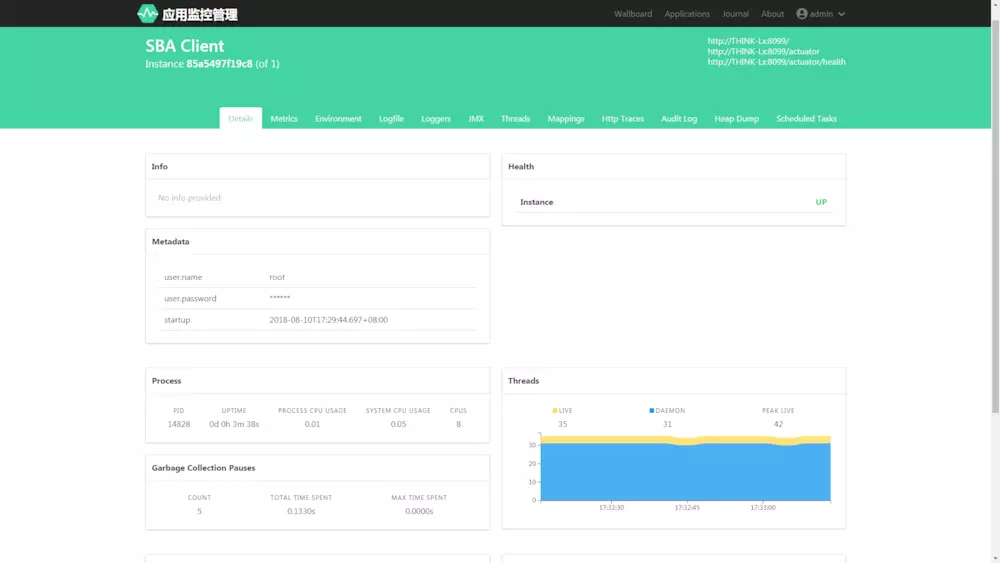
下图是你的应用的基本信息查看,包括线程使用图表,堆内存使用图表,非堆内存使用图表等等
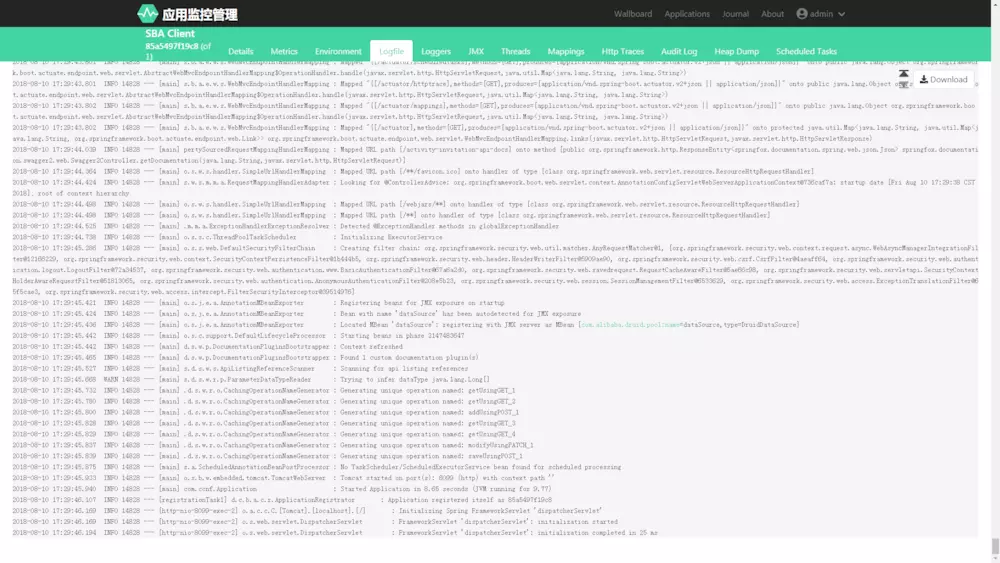
下图是你的应用的日志打印
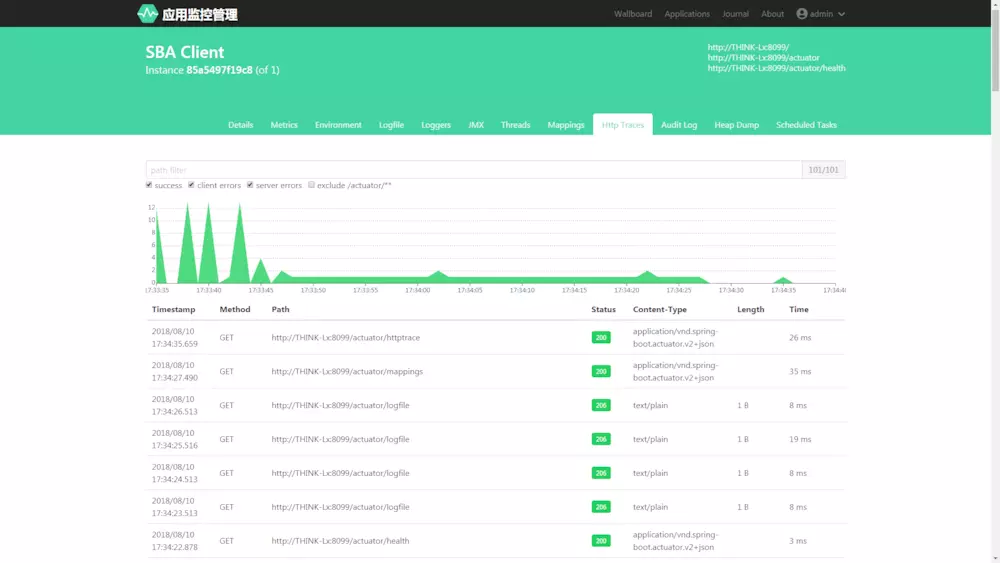
下图是你的应用的网络URL请求情况监控
这里就不过多演示了,可以看出这个通过这个监控平台我们可以方便快捷的管理监控我们的应用,再也不用打开Linux命令行查看我们项目运行的情况,怎么样功能是不是很强大。
最后贴上以下官方文档地址
spring-boot-admin 官方文档地址
spring-boot-admin GitHub地址
</div>
java for android sqlite数据的操作:说实话,我用了ADO.NET的思想,自己封装了DataTable,DataRow,DataAdapter
flash在影片剪辑里面跳转场景
java的byte与C#的异同引起的字符处理问题。
Microsoft.ReportViewer winform web 部署问题
MSN退休,寻找微软如何融合MSN的答案:体验skype6国际版MSN功能。
昨天晚上修改违章查询的算法,坐等下个月的查询量了。
发现了X64平台的IIS 中 ASP.net还是存在X86与X64不兼容的情况
百度UEditor使用详解
Struts防止表单重复提交(转载)