springboot与thymeleaf搭建项目
一、springboot跳转html的项目搭建
参考:
springboot项目创建教程 https://blog.csdn.net/q18771811872/article/details/88126835
springboot2.0 跳转html教程 https://blog.csdn.net/q18771811872/article/details/88312862
springboot2.0 跳转jsp教程 https://blog.csdn.net/q18771811872/article/details/88342298
————————————————
版权声明:本文为CSDN博主「筑基始,仙魔终」的原创文章,遵循CC 4.0 BY-SA版权协议,转载请附上原文出处链接及本声明。
原文链接:https://blog.csdn.net/q18771811872/article/details/88343672
建议:在新建项目的时候,直接选择thymeleaf,就可以不用下边这些配置和添加依赖等的操作的了。
1、使用Spring initializer初始化项目
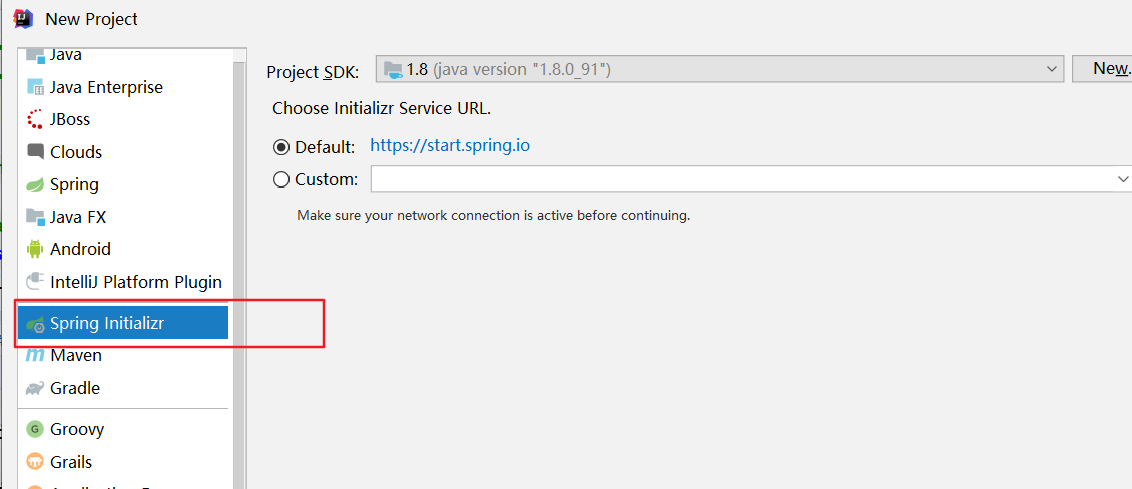
2、添加pom.xml文件依赖
① web的starter
<dependency>
    <groupId>org.springframework.boot</groupId>
    <artifactId>spring-boot-starter-web</artifactId>
</dependency>
② thymeleaf
<dependency>
    <groupId>org.springframework.boot</groupId>
    <artifactId>spring-boot-starter-thymeleaf</artifactId>
</dependency>
③ 此时thymeleaf无法正常访问到页面,需要指定版本
<thymeleaf.version>3.0.11.RELEASE</thymeleaf.version>
<!-- 布局功能的支持程序  thymeleaf3主程序  layout2以上版本 -->
<!-- thymeleaf2   layout1-->
<thymeleaf-layout-dialect.version>2.1.1</thymeleaf-layout-dialect.version>
在properties中添加如上:

3、添加application.xml配置thymeleaf,实现页面跳转html
application.xml
server.port=8081

# ====thymeleaf相关====
#<!-- 关闭thymeleaf缓存 开发时使用 否则没有实时画面-->
spring.thymeleaf.cache=false
## 检查模板是否存在,然后再呈现
spring.thymeleaf.check-template-location=true
#Content-Type值
spring.thymeleaf.servlet.content-type=text/html
#启用MVC Thymeleaf视图分辨率
spring.thymeleaf.enabled=true
# 应该从解决方案中排除的视图名称的逗号分隔列表
##spring.thymeleaf.excluded-view-names=
#模板编码
spring.thymeleaf.mode=LEGACYHTML5
# 在构建URL时预先查看名称的前缀
spring.thymeleaf.prefix=classpath:/templates/
# 构建URL时附加查看名称的后缀.
spring.thymeleaf.suffix=.html
# 链中模板解析器的顺序
#spring.thymeleaf.template-resolver-order= o
# 可以解析的视图名称的逗号分隔列表
#spring.thymeleaf.view-names=
#thymeleaf end
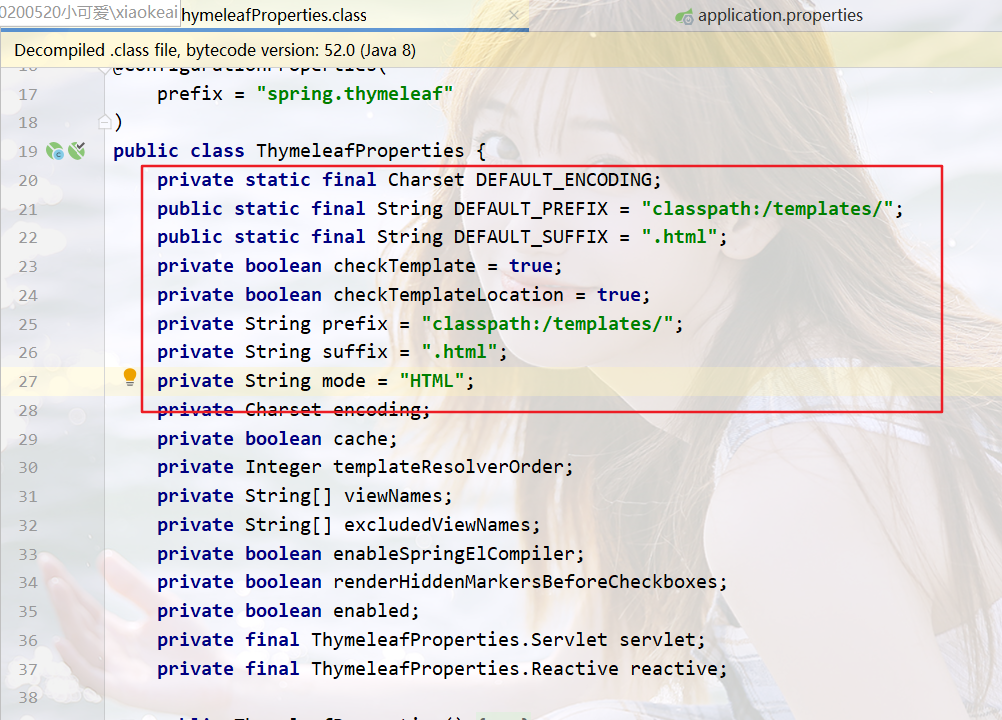
可以参照ThymeleafProperties类进行配置文件的配置(不配的话会默认配置为如下)
4、添加Controller
在main下创建controller包,写controller控制类
package com.ims.xiaokeai.controller;

import org.springframework.stereotype.Controller;
import org.springframework.web.bind.annotation.RequestMapping;
import org.springframework.web.bind.annotation.RestController;

/**
 * @author jiyongjia
 * @create 2020/5/20 - 13:08
 * @descp:
 */
@Controller
@RequestMapping("/xiaokeai2")
public class MainController {
    @RequestMapping("/index")
    public String get1(){
        return "my520/index";
    }

    @RequestMapping("/show")
    public String show(){
        return "my520/show";
    }

    @RequestMapping("/result")
    public String result(){
        return "my520/result";
    }

    @RequestMapping("/biubiu")
    public String biubiu(){
        return "biubiu";
    }

    @RequestMapping("/qinqin")
    public String qinqin(){
        return "qinqin";
    }
}
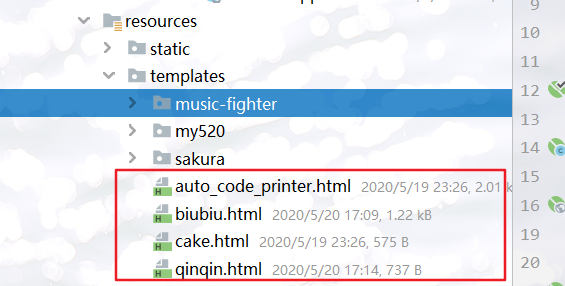
5、在resources文件夹下的templates目录,新建html页面
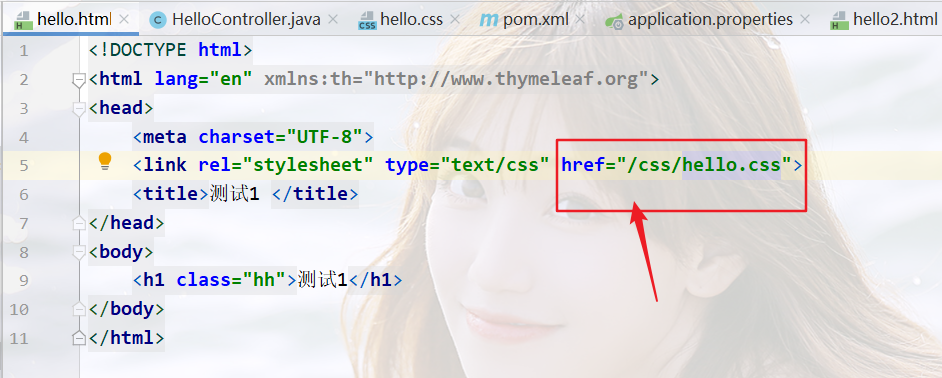
该处用于存放HTML等模板文件,在这新增hello.html,添加如下代码。
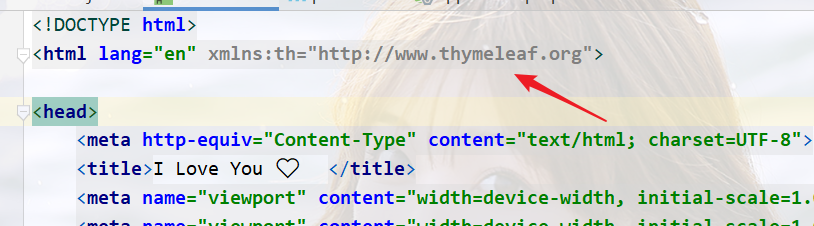
切记:使用Thymeleaf模板引擎时,必须在html文件上方添加该行代码使用支持Thymeleaf。不然引起识别不了html模板。
<html lang="en" xmlns:th="http://www.thymeleaf.org">
使用外部的css文件
在static下创建css目录结构

在html中引用这个css
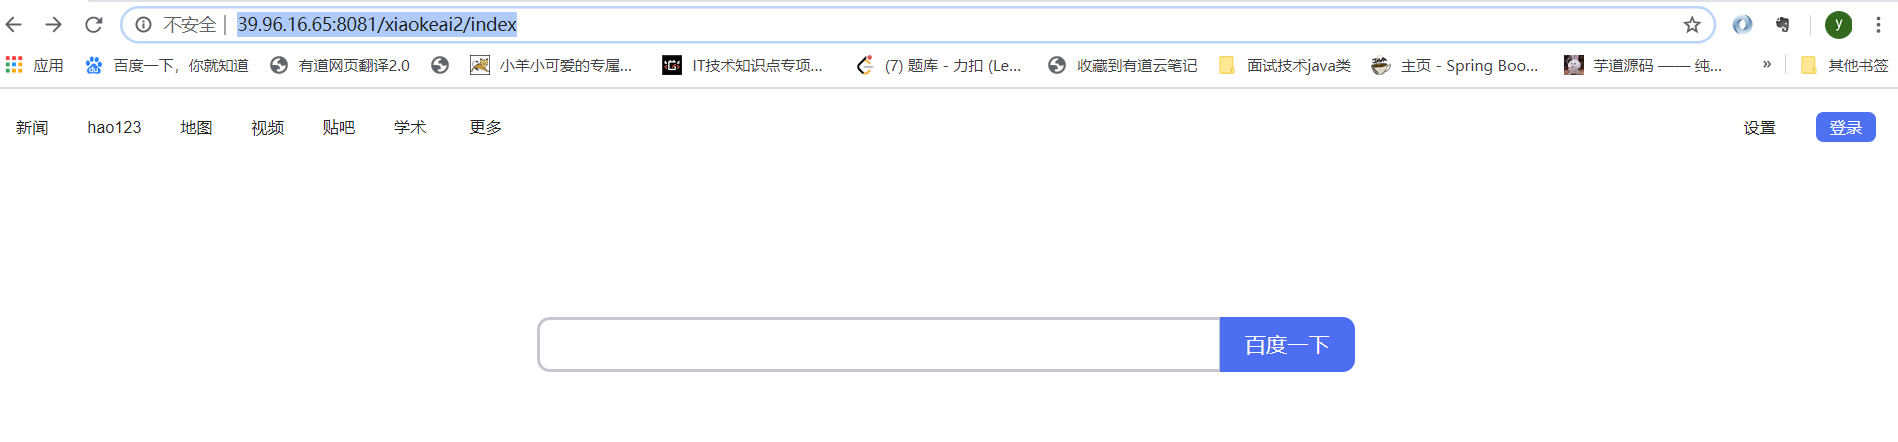
6、测试
此时,启动项目,请求url映射地址,就可以完成请求啦~
访问:http://xx.xx.xx.65:8081/xiaokeai2/index
结果:
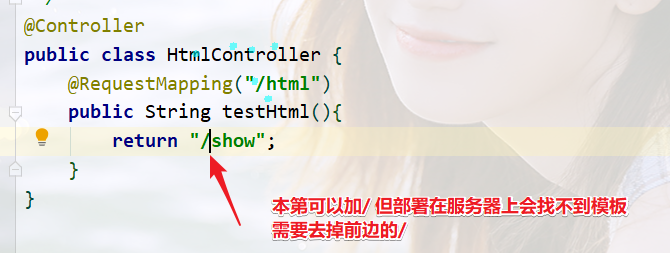
7、部署存在的问题
二、实现Springboot整合SpringMvc跳转jsp(无html)
问题提出
参考:
springboot项目创建教程 https://blog.csdn.net/q18771811872/article/details/88126835
springboot2.0 跳转html教程 https://blog.csdn.net/q18771811872/article/details/88312862
springboot2.0 跳转jsp教程 https://blog.csdn.net/q18771811872/article/details/88342298
————————————————
版权声明:本文为CSDN博主「筑基始,仙魔终」的原创文章,遵循CC 4.0 BY-SA版权协议,转载请附上原文出处链接及本声明。
原文链接:https://blog.csdn.net/q18771811872/article/details/88343672
1、使用Spring initializer初始化项目
2、需要导入的jar包
记得去掉thymeleaf依赖后,添加如下,再访问jsp才能成功
<dependency>
    <groupId>org.apache.tomcat.embed</groupId>
    <artifactId>tomcat-embed-jasper</artifactId>
    <scope>provided</scope>
</dependency>

<dependency>
    <groupId>javax.servlet</groupId>
    <artifactId>jstl</artifactId>
</dependency>
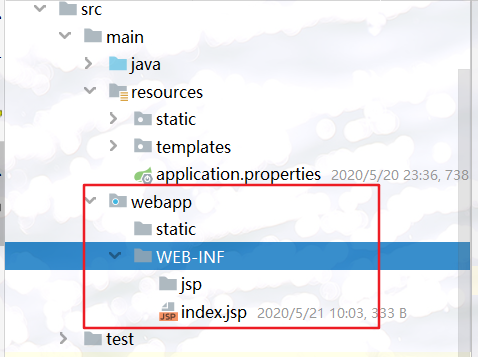
3、完善项目的结构
默认的springboot项目是没有webapp/WEB-INF的,我们需要建立出这个。
方法:
步骤1:新建如下的目录结构信息
步骤2:添加webapp为web文件夹
(复制webapp的路径到此处即可)
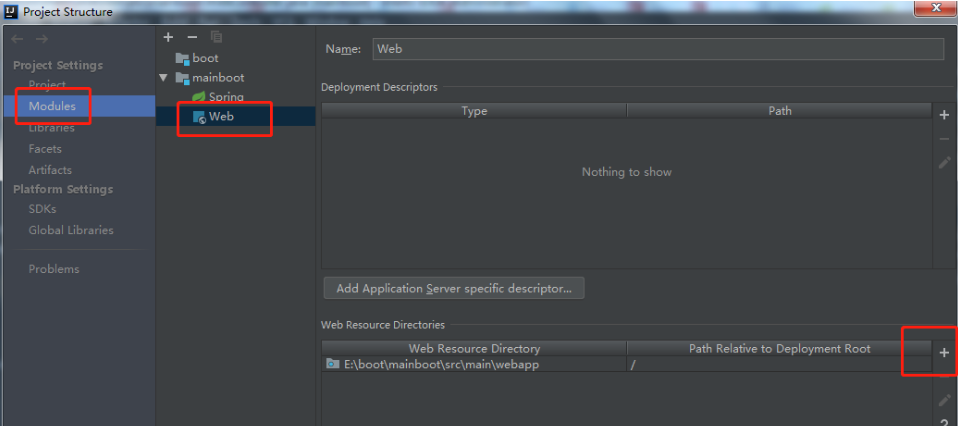
成功后显示有绿点在webapp上。
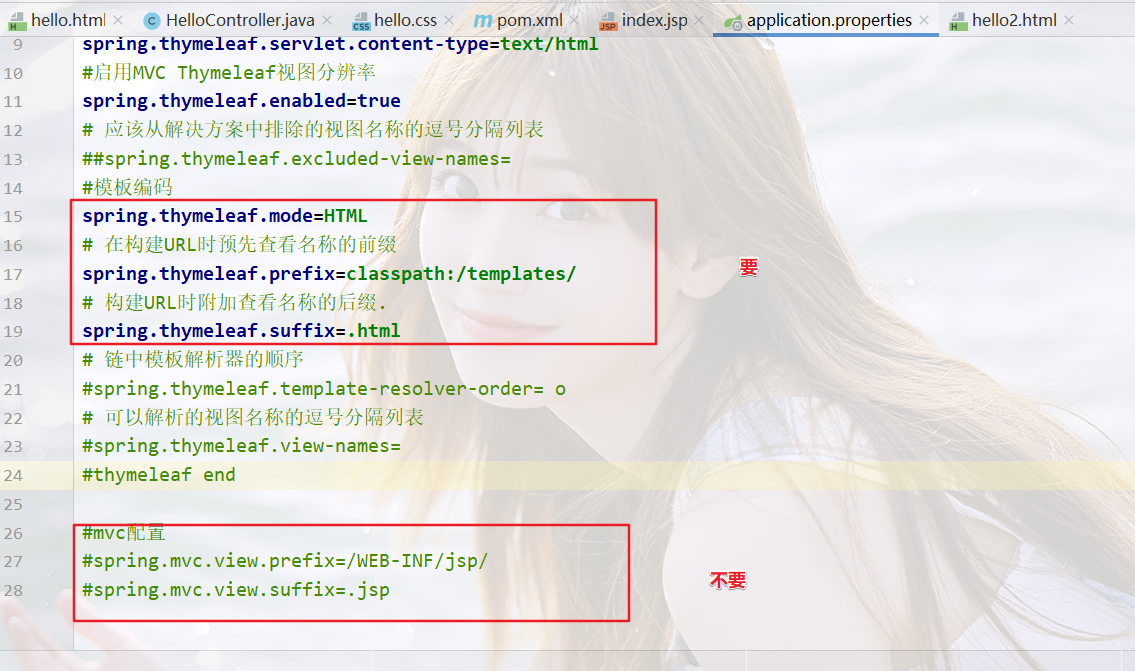
4、添加配置
spring.mvc.view.prefix=/WEB-INF/jsp/
spring.mvc.view.suffix=.jsp
此时,配置文件中就不要如下
#spring.thymeleaf.prefix=classpath:/templates/
# 构建URL时附加查看名称的后缀.
#spring.thymeleaf.suffix=.html
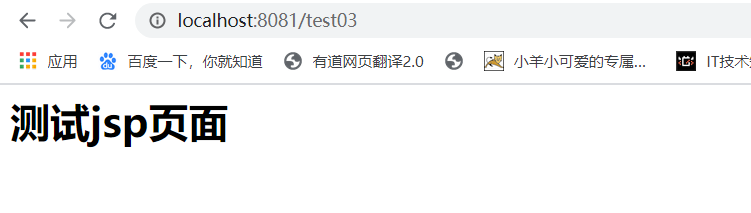
5、controller
@Controller
public class HelloController {
 	//index.jsp
    @RequestMapping("test03")
    public String test03(){
        return "index";
    }
}
6、测试输出:
三、springboot同时跳转jsp和html
1、方案1:getRequestDispatcher
1、pom.xml文件同时放入thymeleaf 架包和jsp支持后, springboot的return模版会默认跳转到html ,那怕是你并没有配置thymeleaf的属性。
解决方案, 使用getRequestDispatcher方法来跳转到jsp页面, 就同时支持html和jsp了 request.getRequestDispatcher("/WEB-INF/views/testJsp.jsp").forward(request, response);
步骤1:依赖
<?xml version="1.0" encoding="UTF-8"?>
<project xmlns="http://maven.apache.org/POM/4.0.0" xmlns:xsi="http://www.w3.org/2001/XMLSchema-instance"
         xsi:schemaLocation="http://maven.apache.org/POM/4.0.0 https://maven.apache.org/xsd/maven-4.0.0.xsd">
    <modelVersion>4.0.0</modelVersion>
    <parent>
        <groupId>org.springframework.boot</groupId>
        <artifactId>spring-boot-starter-parent</artifactId>
        <version>2.3.0.RELEASE</version>
        <relativePath/> <!-- lookup parent from repository -->
    </parent>
    <groupId>com.ims</groupId>
    <artifactId>springbootandmvc</artifactId>
    <version>0.0.1-SNAPSHOT</version>
    <name>springbootandmvc</name>
    <description>Demo project for Spring Boot</description>

    <properties>
        <java.version>1.8</java.version>
    </properties>

    <dependencies>
        <dependency>
            <groupId>org.springframework.boot</groupId>
            <artifactId>spring-boot-starter-thymeleaf</artifactId>
        </dependency>

        <dependency>
            <groupId>org.springframework.boot</groupId>
            <artifactId>spring-boot-starter-web</artifactId>
        </dependency>

        <dependency>
            <groupId>org.apache.tomcat.embed</groupId>
            <artifactId>tomcat-embed-jasper</artifactId>
            <scope>provided</scope>
        </dependency>

        <dependency>
            <groupId>javax.servlet</groupId>
            <artifactId>jstl</artifactId>
        </dependency>

        <dependency>
            <groupId>org.springframework.boot</groupId>
            <artifactId>spring-boot-starter-test</artifactId>
            <scope>test</scope>
            <exclusions>
                <exclusion>
                    <groupId>org.junit.vintage</groupId>
                    <artifactId>junit-vintage-engine</artifactId>
                </exclusion>
            </exclusions>
        </dependency>
    </dependencies>

    <build>
        <plugins>
            <plugin>
                <groupId>org.springframework.boot</groupId>
                <artifactId>spring-boot-maven-plugin</artifactId>
            </plugin>
        </plugins>
    </build>

</project>
步骤2:配置文件
我们通过搭建好thymeleaf引擎后,配置文件如下:
步骤3:controller层转发到jsp
package com.ims.springbootandmvc.controller;
import org.springframework.stereotype.Controller;
import org.springframework.web.bind.annotation.RequestMapping;
import javax.servlet.ServletException;
import javax.servlet.http.HttpServletRequest;
import javax.servlet.http.HttpServletResponse;
import java.io.IOException;
/**
* @author jiyongjia
* @create 2020/5/20 - 23:32
* @descp:
*/
@Controller
public class HelloController {
//跳转html
@RequestMapping("test01")
public String test01(){
return "hello";
}
//跳转html加css
@RequestMapping("test02")
public String test02(){
return "hello2";
}
//跳转jsp
@RequestMapping("test03")
public String test03(){
return "index";
}
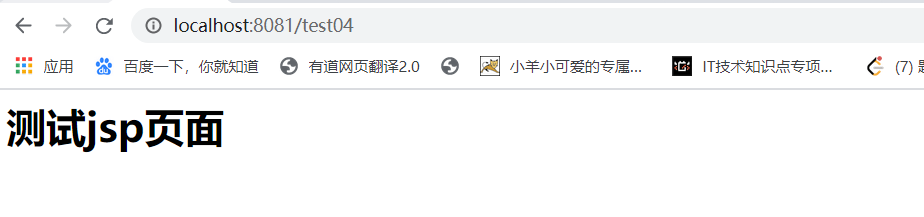
//跳转jsp和html
@RequestMapping("test04")
public void test04(HttpServletRequest request, HttpServletResponse response) throws ServletException, IOException {
request.getRequestDispatcher("/WEB-INF/jsp/index.jsp").forward(request,response);
}
}
步骤4:测试
步骤5:使用css的两种方式
方式1:jsp和html使用统一的静态css文件路径,无法区分开jsp的css和html的css
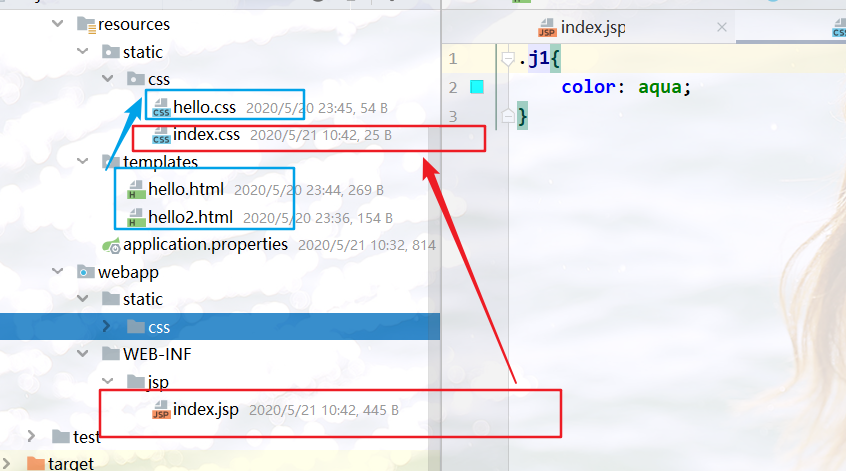
我们需要在jsp页面引入css如下:
<link rel="stylesheet" type="text/css" href="${pageContext.request.contextPath}/css/index.css">
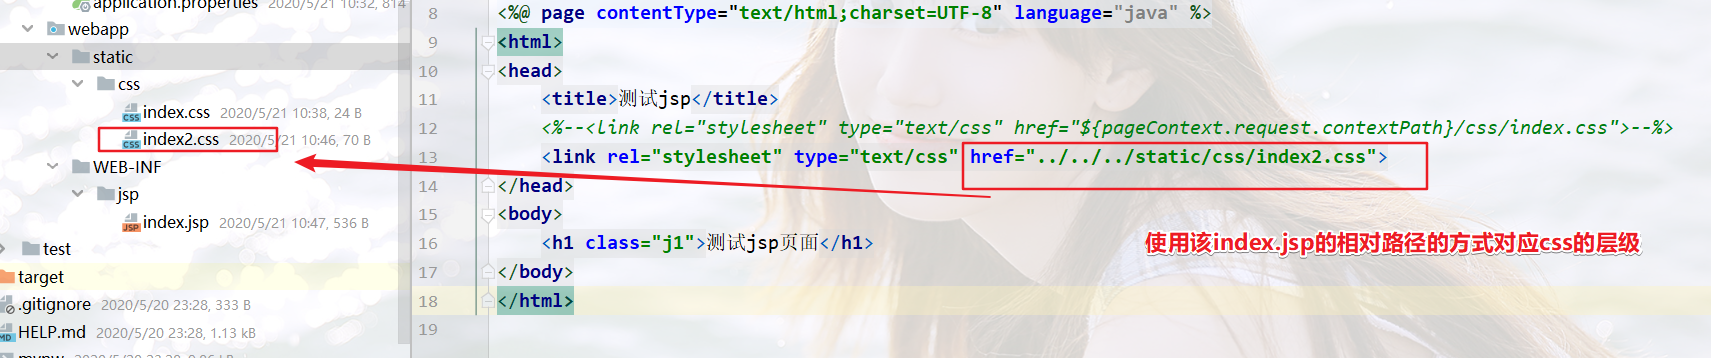
方式2:使用绝对路径的方式把jsp的css都放在webapp/static/css下
此时,我们关于html的模板和静态文件都在resources下,
关于jsp的都在webapp下,如下:
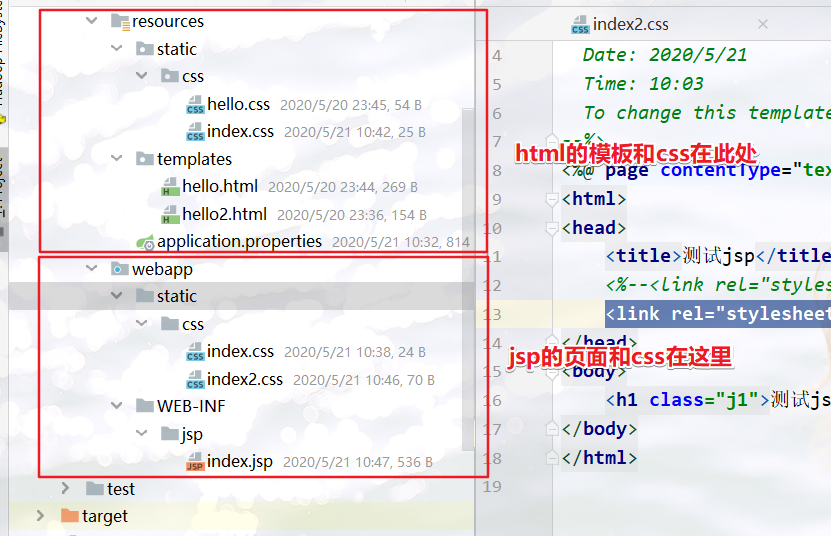
jsp中使用的css如下。
<link rel="stylesheet" type="text/css" href="../../../static/css/index2.css">
参考方法2:
2、另外 使用getRequestDispatcher跳转到html页面的时候,thymeleaf 模版接收参数可能会出现问题。
解决方案1:html放弃使用thymeleaf 模版,然后在页面主动请求接口数据(AJAX POST等)
解决方案2:html继续使用thymeleaf 模版,用return模版 返回来跳转页面