首先;
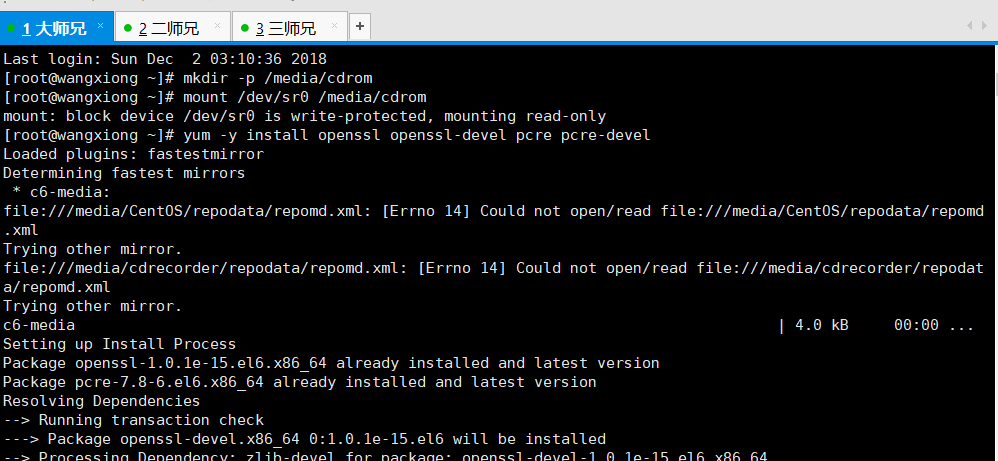
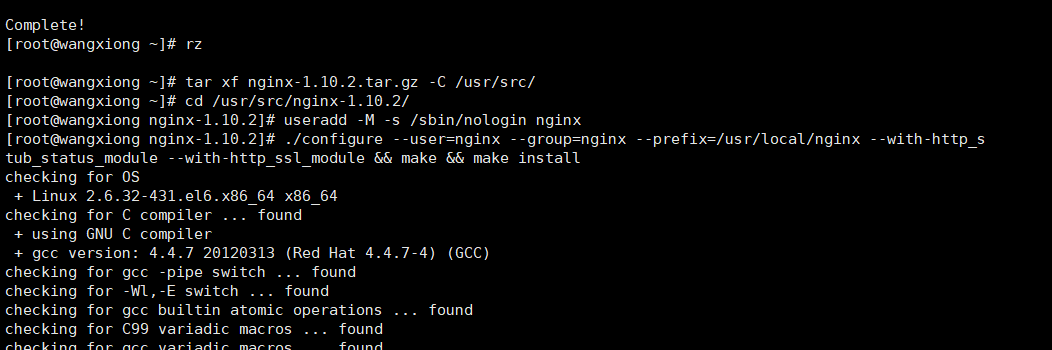
安装Nginx

vim nginx.conf(反向代理)
events {
worker_connections 1024;
}
http {
include mime.types;
default_type application/octet-stream;
sendfile on;
keepalive_timeout 65;
upstream default_server {
server
server
}
server {
listen 80;
server_name
location / {
proxy_pass
#root html;
#index index.html index.htm;
}
}
}
[root@wangxiong conf]# /usr/local/nginx/sbin/nginx
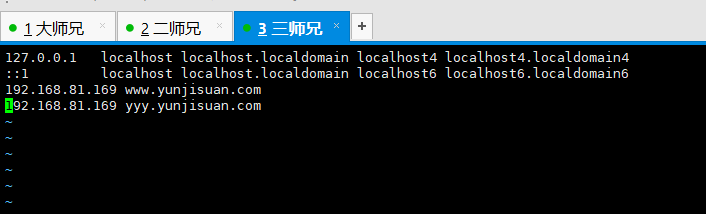
[root@wangxiong conf]# vim /etc/hosts

[root@wangxiong html]# mkdir www
[root@wangxiong html]# ls
50x.html index.html www
[root@wangxiong html]# echo "`hostname -I` www.yunjisuan.com" > www/index.html
[root@wangxiong html]# curl www.yunjisuan.com
192.168.81.168 yyy.yunjisuan.com
[root@wangxiong html]# curl www.yunjisuan.com
192.168.81.169 yyy.yunjisuan.com
[root@wangxiong html]# curl www.yunjisuan.com
192.168.81.168 yyy.yunjisuan.com
[root@wangxiong html]# curl www.yunjisuan.com
192.168.81.169 yyy.yunjisuan.com
然后做两个Web1和Web2服务器
安装Nginx--
步骤一样进入 Vim nginx,conf里修改
worker_processes 1;
events {
worker_connections 1024;
}
http {
include mime.types;
default_type application/octet-stream;
sendfile on;
keepalive_timeout 65;
log_format main '$remote_addr-$remote_user[$time_local]"$request"'
'$status $body_bytes_sent "$http_referer"'
'"$http_user_agent""$http_x_forwarded_for"';
server {
listen 80;
server_name yyy.yunjisuan.com;
location / {
root html/yyy;
index index.html index.htm;
}
}
server {
listen 80;
server_name www.yunjisuan.com;
location / {
root html/www;
index index.html index.htm;
}
access_log logs/access_www.log main;
}
}
[root@wangxiong conf]# /usr/local/nginx/sbin/nginx
[root@wangxiong conf]# cd ..
[root@wangxiong nginx]# cd html/
[root@wangxiong html]# mkdir www yyy
[root@wangxiong html]# ls
50x.html index.html www yyy
[root@wangxiong html]# echo "`hostname -I` yyy.yunjisuan.com" > yyy/index.html
[root@wangxiong html]# echo "`hostname -I` www.yunjisuan.com" > www/index.html
[root@wangxiong html]# vim /etc/hosts

[root@wangxiong html]# curl www.yunjisuan.com
192.168.81.168 www.yunjisuan.com
[root@wangxiong html]# curl www.yunjisuan.com
192.168.81.168 www.yunjisuan.com
[root@wangxiong html]# curl www.yunjisuan.com
192.168.81.168 www.yunjisuan.com
[root@wangxiong html]# curl www.yunjisuan.com
192.168.81.168 www.yunjisuan.com
[root@wangxiong html]# curl www.yunjisuan.com
192.168.81.168 www.yunjisuan.com
[root@wangxiong html]# curl yyy.yunjisuan.com
192.168.81.168 yyy.yunjisuan.com
[root@wangxiong html]# curl yyy.yunjisuan.com
192.168.81.168 yyy.yunjisuan.com
同样;Web2也是进入Vim nginx.conf里修改配置文件
worker_processes 1;
events {
worker_connections 1024;
}
http {
include mime.types;
default_type application/octet-stream;
sendfile on;
keepalive_timeout 65;
log_format main '$remote_addr-$remote_user[$time_local]"$request"'
'$status $body_bytes_sent "$http_referer"'
'"$http_user_agent""$http_x_forwarded_for"';
server {
listen 80;
server_name yyy.yunjisuan.com;
location / {
root html/yyy;
index index.html index.htm;
}
}
server {
listen 80;
server_name www.yunjisuan.com;
location / {
root html/www;
index index.html index.htm;
}
access_log logs/access_www.log main;
}
}
[root@wangxiong conf]# /usr/local/nginx/sbin/nginx
[root@wangxiong conf]# cd ..
[root@wangxiong nginx]# cd html/
[root@wangxiong html]# mkdir www yyy
[root@wangxiong html]# ls
50x.html index.html www yyy
[root@wangxiong html]# echo "`hostname -I` www.yunjisuan.com" > www/index.html
[root@wangxiong html]# echo "`hostname -I` yyy.yunjisuan.com" > yyy/index.html
[root@wangxiong html]# vim /etc/hosts
[root@wangxiong html]# curl www.yunjisuan.com
192.168.81.169 www.yunjisuan.com
[root@wangxiong html]# curl www.yunjisuan.com
192.168.81.169 www.yunjisuan.com
[root@wangxiong html]# curl www.yunjisuan.com
192.168.81.169 www.yunjisuan.com
[root@wangxiong html]# curl yyy.yunjisuan.com
192.168.81.169 yyy.yunjisuan.com
[root@wangxiong html]# curl yyy.yunjisuan.com
192.168.81.169 yyy.yunjisuan.com
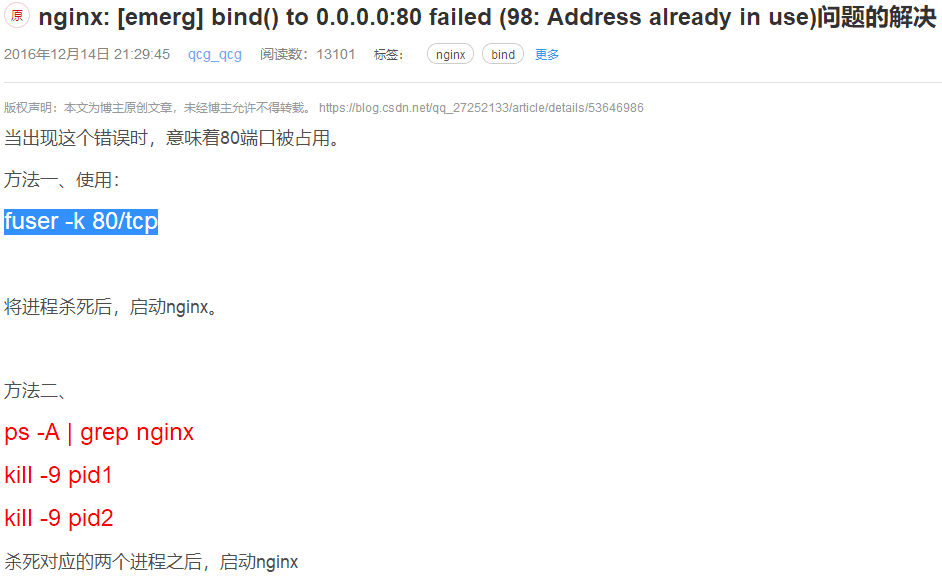
如果在做的时候80端口拼不出来可以选择下列的方法