1、介绍
canvas 已经出来好久了,相信大家多少都有接触。
如果你是前端页面开发/移动开发,那么你肯定会有做过图片上传处理,图片优化,以及图片合成,这些都是可以用 canvas 实现的。
如果你是做前端游戏开发的,可能会非常熟悉,或者说对几何和各种图形变化非常了解。
这里我介绍的是简单的、基本的,但是非常完全的一个 2d 的 canvas 案例。
基本上了解了这些,所有的 canvas 中的 2d 变化基本都可以会了。
先来一个截图看看效果:
如上面所看,可以总结出几个功能点:
1、添加多张图片或者文字到 canvas 。( 这里没有添加文字,我们可以先把文字利用canvas转为图片,然后添加 canvas 上 )
2、图片的缩放,根据选择不同的点实现不同缩放
3、图片移动,改变图片在 canvas 的中心位置
4、图片旋转,根据旋转点在移动的角度进行旋转
5、图片选择,两种方式:一种根据图片的位置,确定当前选择的图形,第二种是点击列表选择
6、数据的保存,提供了保存按钮,保存图形的位置和大小以及旋转角度
7、初始化数据,通过之前保存的数据,重新绘制。
代码案例介绍:
html 代码:
<canvas height="960" width="960" style=" 100%;" id="test"></canvas>
<div id="list"></div>
<button id="save">保存</button>
js代码是模块形式开发的,并且传到 npm 上面,可以自行下载并且有源码:
yarn add xl_canvas
代码调用和实现:
import Canvas from 'xl_cnavas';

 const dataCa =   sessionStorage.getItem('test_tst_111');
    const canvas = new Canvas({
        canvas: 'test',
        target: 'test',
        list: 'list',
        height: 960,
         960,
        data: dataCa?JSON.parse(dataCa):[],
    });
    document.getElementById('save').addEventListener('click', () => {
        sessionStorage.setItem('test_tst_111',
            JSON.stringify(canvas.save()));
    });

    // canvas.addPhoto('https://cdn.eoniq.co/spree/images/283205/desktop/CI-26-LS_b6bb28a3914ae9caa651abbddb548054.jpg?1533196945');
    // canvas.addPhoto('http://www.runoob.com/wp-content/uploads/2013/11/img_the_scream.jpg');
npm 包没有测试,本地的可以实现各种方法了。如有问题可以留言。。
2、项目开发
知识梳理:
在开发中我们需要很多关于平面几何的知识来处理我们的操作,例如:
1、确定某个点是否在矩形内 : 用于确定点击时候选中的图形
2、计算向量的角度 : 用于处理旋转
3、计算某个向量在另一个向量上面的距离 : 用于旋转之后,的移动距离计算
4、某点绕道某点旋转一定角度的点 : 用于确定旋转后的点的位置
是不是脑子里浮现了很多高中初中的数学几何公式。
如果没有,百度下吧,都是很多有意思的公式,让自己重温下高中数学,回忆一下高中。
证明一下自己学过高中数学。
代码设计/简要开发介绍:
以下如果需要查看,最好下载源码对照的查看
如何开始这个功能的开发呢?
1、首先创建一个 Canvas 类
constructor(options) {
        this.options = options;
        const {
            canvas,
            height,
            width,
            target,
            before,
            after,
            data = [],
            list = null,
        } = this.options;
        this.canvas = null; // 画布
        this.height = height; // 画布的宽高
        this.width = width;
        this.target = target;
        this.before = before;
        this.after = after;
        this.data = data;
        this.layers = []; // 画布的层
        if (typeof canvas === 'string') {
            this.canvas = document.getElementById(canvas);
        } else {
            this.canvas = canvas;
        }
        if (typeof target === 'string') {
            this.target = document.getElementById(target);
        } else {
            this.target = target;
        }
        if (typeof list === 'string') {
            this.list = document.getElementById(list);
        } else {
            this.list = list;
        }
        this.canvas.width = width;
        this.canvas.height = height;
        this.context = this.canvas.getContext('2d'); // 画布对象
        this.loaded = 0;
        this.border = new Border(this);
        this.current = null;
        this.init();
        this.initEvent();
    }
这是 canvas 类的构造函数,这里接受有参数:
canvas : 传入 canvas 对象或者当前 html 的元素的 id,以供整个功能的开发。
height / width : 宽和高,整个绘制过程中,宽和高都是这个为基准
target : 这个是用来接受事件的元素。这个应该和 canvas 对象的元素宽高相等
before / after :当初始化数据到时候,会知道初始化数据之前操作和初始化之后操作
data : 绘制的数据
重要的属性:
layers :添加到画布的图形,类似图层。
context : canvas 的上下文,用来绘制的 api 集合
border : 绘制的骨架,当选中某一个图形的时候,会出现外层的骨架。( 这个单独创建一个类 )
current :当前的图形,也可以理解为当前的图层。
主要方法介绍(介绍几个重要的):
addPhoto 方法:
// 添加图片
    addPhoto(image) {
        if (typeof image === 'string') {
            this.loaded += 1;
            const lyr = new Photo(image, this, () => {
                setTimeout(() => {
                    this.loaded -= 1;
                    if (this.loaded < 1) {
                        this.draw();
                    }
                }, 100);
            });
            this.layers.push(lyr);
            this.addItem(image, lyr.id);
        } else {
            const lyr = new Photo(image, this);
            this.layers.push(lyr);
            this.addItem(image, lyr.id);
            this.draw();
        }
    }
这里是添加 Photo 的方法,其中 photo 是用 Photo 类创建实例的。
可以先看一下下面介绍的 Photo 类,可以更好了解开发过程。
draw方法(用来触发绘制):
  draw() {
        this.clear();
        this.layers.forEach((item) => {
            if (typeof item === 'function') {
                item.apply(null, this.context, this.canvas);
            } else {
                item.draw();
            }
        });
        if (this.current) {
            this.border.refresh(this.current.rect);
        }
    }
上面代码是来绘制 layers 的图层到 canvas 上。
这里会判断 layers 中是否是图层,如果是图层才会绘制图层
如果不是,就会直接执行方法,该方法传入的当前的 canvas 这个实例。
也可以绘图案到 canvas 上,这样就可以实现层级关系。
上面做了一个判断,就是是否绘制 border ,在有选中的情况下会绘制 骨架的
即 调用 border 的 refresh 方法。在这里可以先去看看 Border 类。( 下面有介绍 )
initEvent 方法(用于绑定方法):
    initEvent() {
        this.target.addEventListener('mousedown', (e) => {
            let p_x = e.pageX;
            let p_y = e.pageY;
            const position = getDocPosition(this.target);
            const scale = this.width / this.target.offsetWidth;
            const point = [
                (p_x - position.x) * scale,
                (p_y - position.y) * scale,
            ];
            const status = this.selectPhoto(point);
            if (status) {
                const move = (event) => {
                    const m_x = event.pageX;
                    const m_y = event.pageY;
                    const vector = [(m_x - p_x) * scale, (m_y - p_y) * scale];
                    if (status === 1) {
                        this.current.rect.translate(vector);
                    } else if (status === 'r_point') {
                        const e_point = [(m_x - position.x) * scale, (m_y - position.y) * scale];
                        const angle = Canvas.getAngle(
                            this.current.rect.center,
                            this.border.r_point,
                            e_point,
                        );
                        if (!isNaN(angle)) {
                            this.current.rect.rotate(angle);
                        } else {
                            return;
                        }
                    } else {
                        this.current.rect.zoom(status, vector);
                    }
                    this.draw();
                    p_x = m_x;
                    p_y = m_y;
                };
                this.target.addEventListener('mousemove', move);
                this.target.addEventListener('mouseup', () => {
                    this.target.removeEventListener('mousemove', move);
                });
            }
        });
        this.list.addEventListener('click', (e) => {
            if (e.target && e.target.nodeName.toUpperCase() === 'IMG') {
                const id = parseInt(e.target.getAttribute('data-id'));
                this.layers.forEach((item, index) => {
                    if (item.id === id) {
                        this.chooseItem(index);
                    }
                });
            }
        });
    }
这个是给 target 对象绑定事件,通过对事件的不同处理来就触发不同的方法。
都是直接改变当前的 current 上面的 rect 数据,然后重新绘制。
图形的选取 : selectPhoto 方法调用,当选中的时候就会设置当前的 current 的图层
图形的移动 : move 方法调用,移动图层
图形的缩放 : zoom 方法调用,接受不同的缩放形式
图形的旋转 : rotate 方法调用,接受角度进行旋转
其他的方法:
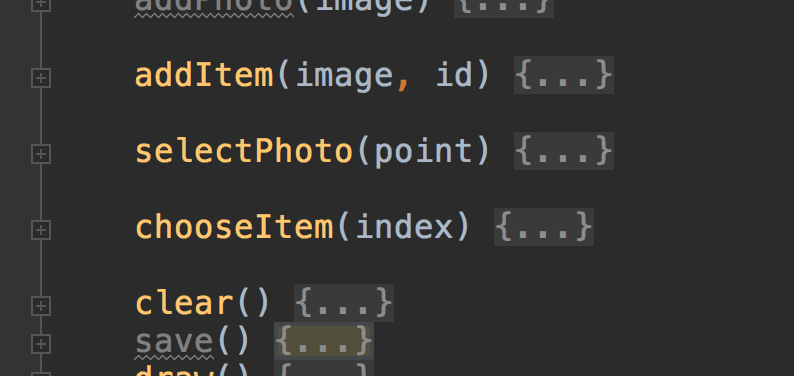
addItem : 向 list 元素对象中添加元素
selectPhoto :判断当前的位置确定选中的 Photo
chooseItem :用于 list 元素中的选取
clear : 清楚 canvas 画布
save : 返回 rect 数据。用于存储数据和保存
2、Photo 类
constructor(image, canvas, load) {
        this.canvas = canvas;
        this.img = image;
        this.load = load;
        this.id = new Date().getTime();
        this.isLoad = false;
        if (image.rect) {
            this.options = image;
            this.img = this.options.img;
            this.id = this.options.id;
        }
        this.pre();
    }
还是看构造函数,介绍属性和方法:
canvas : 就是相当于继承来的,或者是说 canvas 要全局使用
image :可能是对象,也可以能是 资源地址,但是大多数应该是资源地址
id : photo 的 id,用于查找和选择等
rect :这个是重要的,photo 的数据,如:坐标/宽高/角度等
稍后介绍 rect 类,先介绍下 photo 的方法:
用于创建 rect 的init方法:
 init() {
        if (this.load) this.load();
        if (this.options) {
            const {
                width, height, center, angle,
            } = this.options.rect;
            this.rect = new Rect(width,
                height, [center[0], center[1]], angle);
            return;
        }
        this.rect = new Rect(this.image.width,
            this.image.height, [this.canvas.width / 2, this.canvas.height / 2], 0);
    }
每次 new Photo 都会创建了一个 ract 实例,作为它的数据存储 this.rect 。
每次创建一个 Photo 的时候并且加入到 canvas 的 layers 中的时候并没有开始绘图
绘图需要调用 Photo 的 draw 方法来触发,如下:
  draw() {
        const { image, canvas, rect } = this;
        const { context } = canvas;
        const points = rect.point;
        const [c_x, c_y] = rect.center;
        context.save();
        context.translate(c_x, c_y);
        context.rotate(rect.angle);
        context.drawImage(image, 0, 0, image.width, image.height,
            points[0][0] - c_x,
            points[0][1] - c_y,
            rect.width,
            rect.height);
        context.restore();
    }
在 canvas 实例调用 draw 方法时候,会一次绘制 layers 中的所有 photo 实例进行绘制。
3、rect 类
 constructor(width, height, center, angle) {
        this.height = height;
        this.width = width;
        this.center = center;
        this.angle = angle;
        this.point=[]
        this.getPoint();
    }
这里是通过传入 width / height /center / angle 来确定和初始化 photo 在 canvas 上的输出。
height / width : 这是图形的宽高
center : 图形的中间位置
angle :很显热,是图形旋转的角度
point : 四个顶点的位置
一个图形,有了这个写数据,基本上能在 canvas 确定位置、大小以及各种形变。
rect 实例的方法:
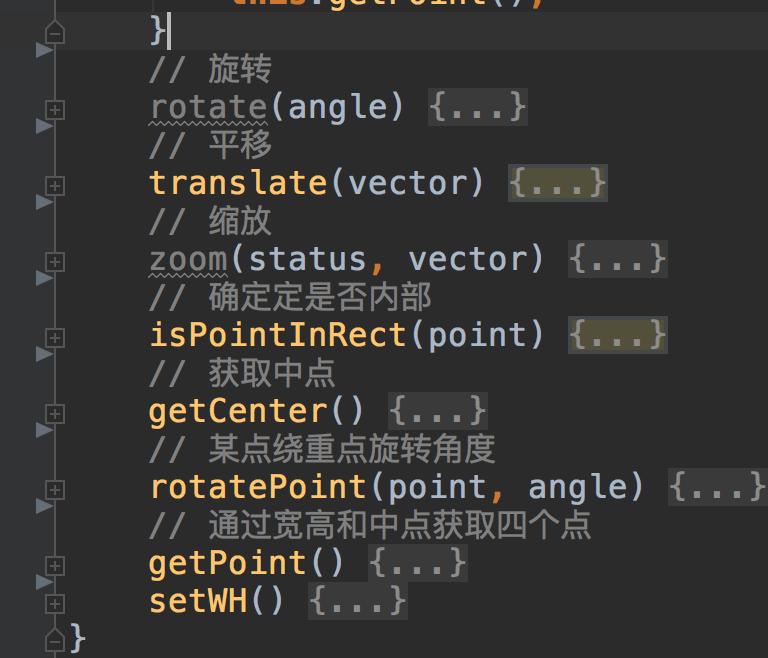
代码有点多,就简要介绍吧!
我们的操作实际上都是操作 rect 的数据。
一些判断也是于 rect 数据做对比,或者计算 rect 对象里面的数据。
rotate : 旋转后 rect 的顶点位置的计算
translate : 移动后中点位置计算和顶点位置计算
zoom : 缩放后顶点和中点的位置计算
isPointInRect : 是否在 Rect 的四个顶点里面
Rect 的类基本介绍完毕了。每次改变后调用 canvas 的 draw 方法重绘制。
4、Border 类
查看这个类最好先浏览下 rect 类 和 Photo 类
 constructor(canvas) {
        this.canvas = canvas;
    }
这里创建只是获取到了全局的 canvas 实例。用于后面调用
refresh 方法:
    refresh(rect) {
        this.rect = rect;
        this.point = this.rect.point;
        // 中点
        this.c_point = [];
        this.point.reduce((a, b) => {
            this.c_point.push([(a[0] + b[0]) / 2, (a[1] + b[1]) / 2]);
            return b;
        }, this.point[3]);
        // 旋转点
        this.r_point = [(this.point[0][0] + this.point[1][0]) / 2,
            this.point[0][1] - 35];
        this.draw();
    }
这里是接受 rect 的数据,
然后通过 rect 数据,得到顶点 / 各个线上的中点 / 旋转点
调用 refresh 之后就会执行 draw 方法:
 draw() {
        const {
            point,
            center,
            angle,
            width,
            height,
        } = this.rect;
        const { context } = this.canvas;
        const [c_x, c_y] = center;
        const points = point;
        context.save();
        context.translate(c_x, c_y);
        context.rotate(angle);
        context.beginPath();
        context.lineWidth = '2';
        context.strokeStyle = '#73BFF9';
        context.rect(points[0][0] - c_x,
            points[0][1] - c_y,
            width,
            height);

        const pointList = points.concat(this.c_point);
        pointList.push(this.r_point);
        pointList.forEach((item) => {
            const [x, y] = item;
            context.fillStyle = '#73BFF9';
            context.fillRect(x - 6 - c_x, y - 6 - c_y, 12, 12);
        });

        context.moveTo((points[0][0] + points[1][0]) / 2 - c_x,
            points[0][1] - c_y);
        context.lineTo(this.r_point[0] - c_x, this.r_point[1] - c_y);
        context.stroke();
        context.closePath();
        context.restore();
    }
可以看到这里是绘制,并且绘制都是依赖 rect 的数据。
所以我们并不需要处理旋转 / 移动 / 缩放等操作,因为每次修改后 rect 数据就会变。
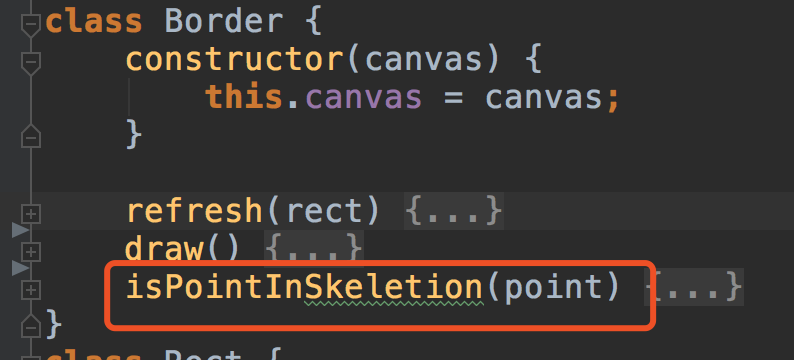
isPointInSkeletion : 判断时候在对应的操作点上,并返回对应的操作点名称
介绍完毕,简要的介绍开发的设计和流程。如需谅解,请看看源码。。
https://www.cnblogs.com/jiebba/p/9667600.html
我的博客 : XiaoLong's Blog
博客园小结巴巴: https://www.cnblogs.com/jiebba