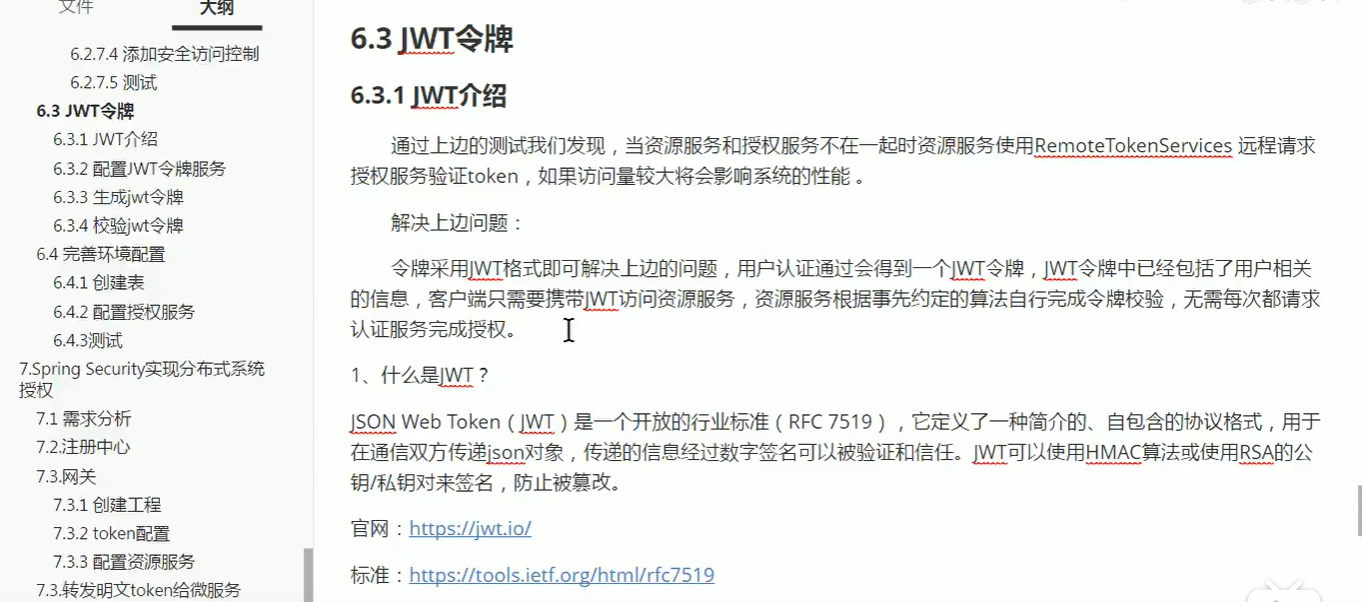
JWT令牌
解决了之前普通令牌每次都要远程校验令牌带来得网络消耗;(有网友说可以将令牌验证从认证服务器上放到各个资源服务器上,不知是否可行?)
JWT令牌的优点:
1、jwt基于json,非常方便解析。
2、可以在令牌中自定义丰富的内容,易扩展。
3、通过非对称加密算法及数字签名技术,JWT防止篡改,安全性高。
4、资源服务使用JWT可不依赖认证服务即可完成授权。
缺点:
1、JWT令牌较长,占存储空间比较大。
1.1 令牌结构
通过学习JWT令牌结构为自定义jwt令牌打好基础。
JWT令牌由三部分组成,每部分中间使用点(.)分隔,比如:xxxxx.yyyyy.zzzzz
Header
头部包括令牌的类型(即JWT)及使用的哈希算法(如HMAC SHA256或RSA) 一个例子如下:
下边是Header部分的内容:
{
    "alg": "HS256",
    "typ": "JWT"
}
将上边的内容使用Base64Url编码,得到一个字符串就是JWT令牌的第一部分。
Payload
第二部分是负载,内容也是一个json对象,它是存放有效信息的地方,它可以存放jwt提供的现成字段,比如:iss(签发者),exp(过期时间戳), sub(面向的用户)等,也可自定义字段。
此部分不建议存放敏感信息,因为此部分可以解码还原原始内容。
最后将第二部分负载使用Base64Url编码,得到一个字符串就是JWT令牌的第二部分。
{
    "sub": "1234567890",
    "name": "456",
    "admin": true
}
Signature
第三部分是签名,此部分用于防止jwt内容被篡改。
这个部分使用base64url将前两部分进行编码,编码后使用点(.)连接组成字符串,最后使用header中声明签名算法进行签名。
一个例子:
HMACSHA256(
    base64UrlEncode(header) + "." +base64UrlEncode(payload),secret
)
base64UrlEncode(header):jwt令牌的第一部分。
base64UrlEncode(payload):jwt令牌的第二部分。
secret:签名所使用的密钥。
有网友说:实际投产中,使用redis好一点,如果客户端过多,jwt就会很臃肿?
1.授权服务AuthorizationServerConfig
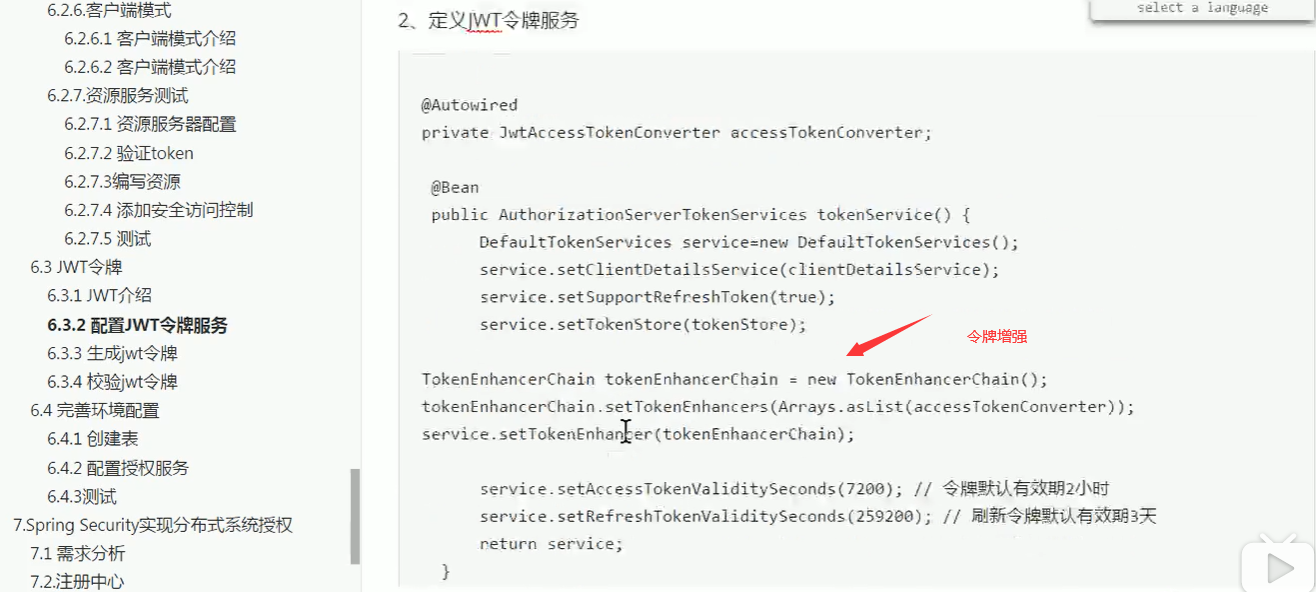
@Configuration
//开启oauth2,auth server模式
@EnableAuthorizationServer
public class AuthorizationServerConfig extends AuthorizationServerConfigurerAdapter {

    @Autowired
    private PasswordEncoder passwordEncoder;

    //配置客户端
    @Override
    public void configure(ClientDetailsServiceConfigurer clients) throws Exception {
        clients.inMemory()
                //client的id和密码
                .withClient("client1")
                .secret(passwordEncoder.encode("123123"))
                //给client一个id,这个在client的配置里要用的
                .resourceIds("resource1")
                //允许的申请token的方式,测试用例在test项目里都有.
                //authorization_code授权码模式,这个是标准模式
                //implicit简单模式,这个主要是给无后台的纯前端项目用的
                //password密码模式,直接拿用户的账号密码授权,不安全
                //client_credentials客户端模式,用clientid和密码授权,和用户无关的授权方式
                //refresh_token使用有效的refresh_token去重新生成一个token,之前的会失效
                .authorizedGrantTypes("authorization_code", "password", "client_credentials", "implicit", "refresh_token")
                //授权的范围,每个resource会设置自己的范围.
                .scopes("scope1", "scope2")
                //这个是设置要不要弹出确认授权页面的.
                .autoApprove(false)
                //这个相当于是client的域名,重定向给code的时候会跳转这个域名
                .redirectUris("http://www.baidu.com");
    }
    @Autowired
    private ClientDetailsService clientDetailsService;
    @Autowired
    private TokenStore tokenStore;
    @Autowired
    private JwtAccessTokenConverter tokenConverter;
    //配置token管理服务
    @Bean
    public AuthorizationServerTokenServices tokenServices() {
        DefaultTokenServices defaultTokenServices = new DefaultTokenServices();
        defaultTokenServices.setClientDetailsService(clientDetailsService);
        defaultTokenServices.setSupportRefreshToken(true);
        //配置token的存储方法
        defaultTokenServices.setTokenStore(tokenStore);
        defaultTokenServices.setAccessTokenValiditySeconds(300);
        defaultTokenServices.setRefreshTokenValiditySeconds(1500);
        //配置token增强,把一般token转换为jwt token
        TokenEnhancerChain tokenEnhancerChain = new TokenEnhancerChain();
        tokenEnhancerChain.setTokenEnhancers(Arrays.asList(tokenConverter));
        defaultTokenServices.setTokenEnhancer(tokenEnhancerChain);
        return defaultTokenServices;
    }
    //密码模式才需要配置,认证管理器
    @Autowired
    private AuthenticationManager authenticationManager;

    //把上面的各个组件组合在一起
    @Override
    public void configure(AuthorizationServerEndpointsConfigurer endpoints) throws Exception {
        endpoints.authenticationManager(authenticationManager)//认证管理器
                .authorizationCodeServices(new InMemoryAuthorizationCodeServices())//授权码管理
                .tokenServices(tokenServices())//token管理
                .allowedTokenEndpointRequestMethods(HttpMethod.POST);
    }
    //配置哪些接口可以被访问
    @Override
    public void configure(AuthorizationServerSecurityConfigurer security) throws Exception {
        security.tokenKeyAccess("permitAll()")///oauth/token_key公开
                .checkTokenAccess("permitAll()")///oauth/check_token公开
                .allowFormAuthenticationForClients();//允许表单认证
    }
}
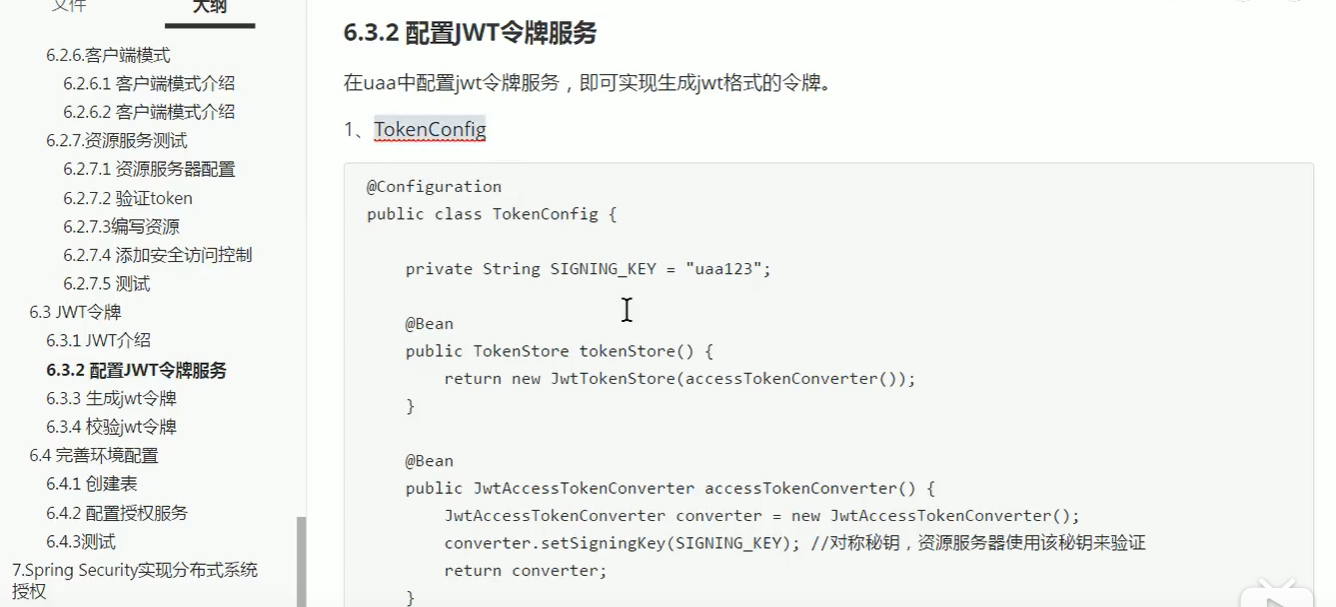
TokenConfig
@Configuration
public class TokenConfig {

    //配置如何把普通token转换成jwt token
    @Bean
    public JwtAccessTokenConverter tokenConverter() {
        JwtAccessTokenConverter converter = new JwtAccessTokenConverter();

        //使用对称秘钥加密token,resource那边会用这个秘钥校验token
        converter.setSigningKey("uaa123");
        return converter;
    }

    //配置token的存储方法
    @Bean
    public TokenStore tokenStore() {
        //把用户信息都存储在token当中,相当于存储在客户端,性能好很多
        return new JwtTokenStore(tokenConverter());
    }
}
WebSecurityConfig
@Configuration
@EnableGlobalMethodSecurity(securedEnabled = true, prePostEnabled = true)
public class WebSecurityConfig extends WebSecurityConfigurerAdapter {

    @Bean
    public PasswordEncoder passwordEncoder() {
        return new BCryptPasswordEncoder();
    }

    //密码模式才需要配置,认证管理器
    @Bean
    @Override
    protected AuthenticationManager authenticationManager() throws Exception {
        return super.authenticationManager();
    }

    @Override
    protected void configure(HttpSecurity http) throws Exception {
        http.csrf().disable()
                .authorizeRequests()
                .anyRequest().permitAll()

                .and()
                .formLogin()

                .and()
                .logout();
    }

    @Override
    @Bean
    public UserDetailsService userDetailsService() {
        /**
         * 基于内存创建用户
         */
        InMemoryUserDetailsManager manager=new InMemoryUserDetailsManager();

        manager.createUser(User.withUsername("zhangsan").password(passwordEncoder().encode("123")).authorities("admin").build());
        manager.createUser(User.withUsername("lisi").password(passwordEncoder().encode("123")).authorities("user").build());
        return manager;
    }
}
2.资源服务ResourceServerConfig
@Configuration
//开启oauth2,reousrce server模式
@EnableResourceServer
public class ResourceServerConfig extends ResourceServerConfigurerAdapter {
    @Autowired
    private TokenStore tokenStore;

    @Override
    public void configure(ResourceServerSecurityConfigurer resources) throws Exception {
        resources
                //设置我这个resource的id, 这个在auth中配置, 这里必须照抄
                .resourceId("resource1")
                .tokenStore(tokenStore)//原来是 .tokenServices(tokenServices())去调用远程验证,现在只需要自己验证自己即可
                //这个貌似是配置要不要把token信息记录在session中
                .stateless(true);
    }

    @Override
    public void configure(HttpSecurity http) throws Exception {
        http.csrf().disable()
                .authorizeRequests()

                //本项目所需要的授权范围,这个scope是写在auth服务的配置里的
                .antMatchers("/**").access("#oauth2.hasScope('scope1')")

                .and()

                //这个貌似是配置要不要把token信息记录在session中
                .sessionManagement().sessionCreationPolicy(SessionCreationPolicy.STATELESS);
    }
}
TokenConfig
@Configuration
public class TokenConfig {

    //配置如何把普通token转换成jwt token
    @Bean
    public JwtAccessTokenConverter tokenConverter() {
        JwtAccessTokenConverter converter = new JwtAccessTokenConverter();

        //使用对称秘钥加密token,resource那边会用这个秘钥校验token
        converter.setSigningKey("uaa123");//密钥必须跟授权服务那边一样!
        return converter;
    }

    //配置token的存储方法
    @Bean
    public TokenStore tokenStore() {
        //把用户信息都存储在token当中,相当于存储在客户端,性能好很多
        return new JwtTokenStore(tokenConverter());
    }
}
WebSecurityConfig
@Configuration
@EnableGlobalMethodSecurity(securedEnabled = true, prePostEnabled = true)
public class WebSecurityConfig extends WebSecurityConfigurerAdapter {

    @Override
    protected void configure(HttpSecurity http) throws Exception {
        http.csrf().disable()
                .authorizeRequests()
                .anyRequest().permitAll();
    }
}
验证方式:参考上一章
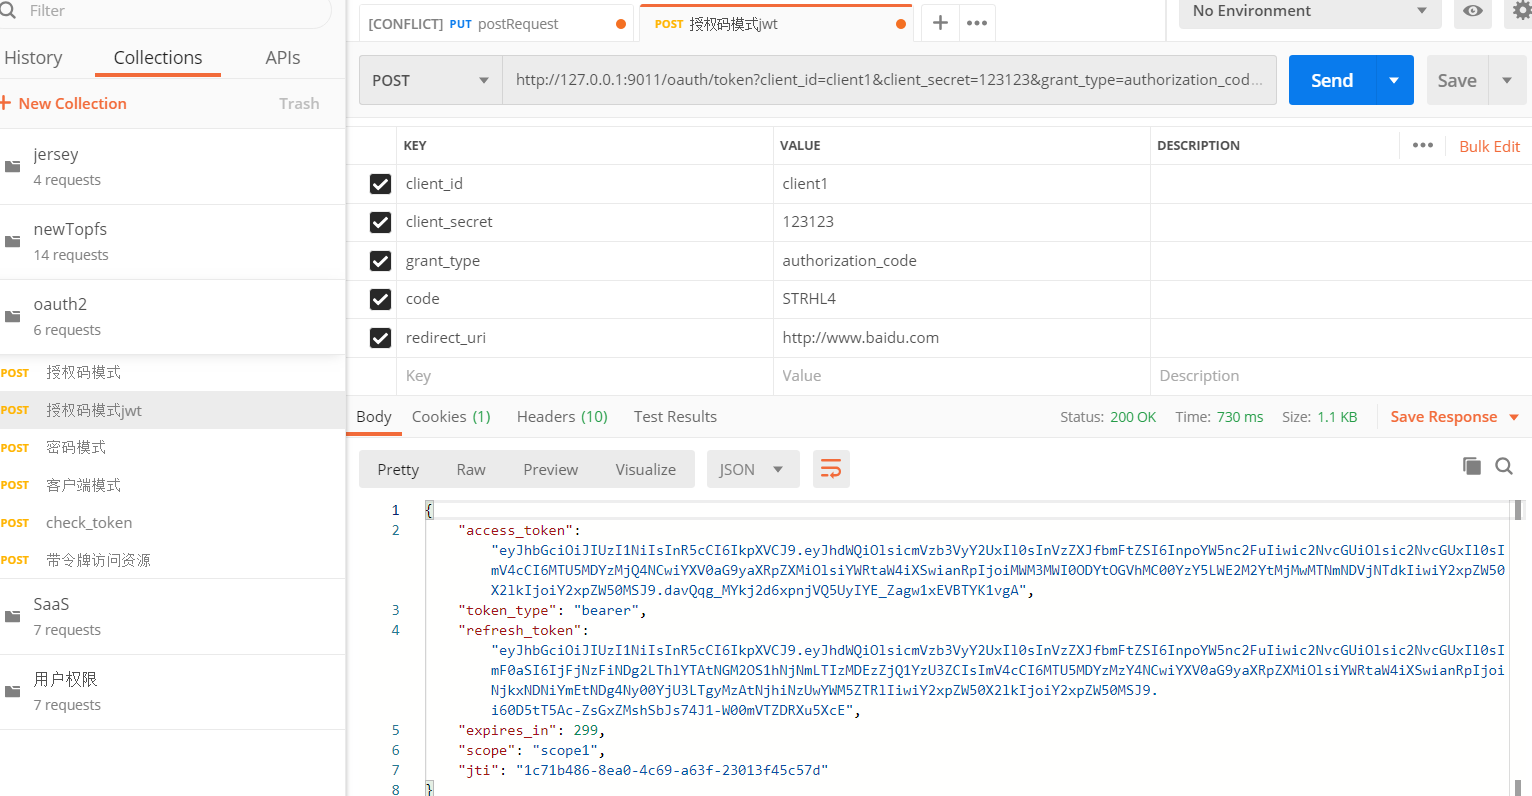
//授权码模式
//浏览器访问
http://127.0.0.1:9011/oauth/authorize?client_id=client1&response_type=code&scope=scope1&redirect_uri=http://www.baidu.com
带令牌访问资源:
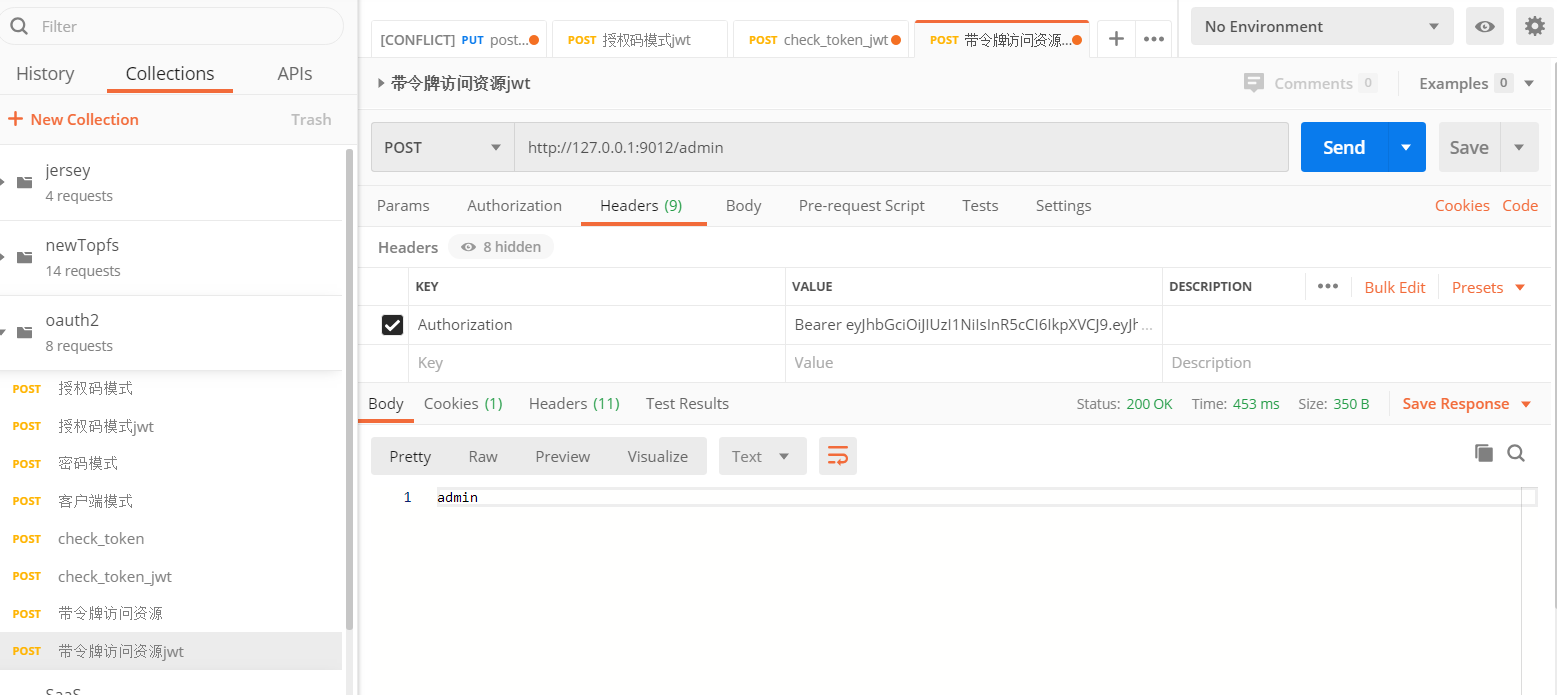
无需远程验证,直接令牌自己根据对称加解密 即可获取用户令牌内得权限信息