scrapy 分布式
前言
scrapy 首先是不能实现 分布式。
- 因为调度器不能被共享
- 管道不可以被共享
分布式
首先 分布式 是什么意识呢?
就是 需要搭建一个分布式机群,然后在机群的每一台服务器中执行同一组程序,让其对某个网站的数据进行联合分布式爬取。
如何实现分布式
- 基于
scrapy+scrapy_redis实现分布式
scapy_redis组件的作用是什么呢?
- 我们可以提供可以被共享的调度器和管道
scarpy_redis - 特性:数据只可以存储到redis数据库中
分布式的实现流程
1.下载scrapy_redis
提前安装好redis数据库
pip3 install scrapy_redis
2.创建项目
创建项目
scrapy startproject Projectname
进入项目
cd Projectname
创建爬虫文件
- 可以是基于Spider的爬虫文件 定向爬取
- 可以是基于CrawlSpider的爬虫文件 全栈爬取
# 我是基于 全栈爬取 CrawlSpider
scrapy genspder -t crawl fbs www.xxx.com
3.修改爬虫类
导包
from scrapy_redis.spiders import RedisCrawlSpider
修改 爬虫类 FpsSpider的父类 为RedisCrawlSpider
注释掉 :
为了不让 分布式发送请求时多台服务器不会对起始url都发送请求。
# allowed_domains = ['www.xxx.com']
# start_urls = ['http://www.xxx.com/']
添加一个新属性:
表示的是可以被共享的调度器队列的名字
reids_key = "fbsQueue"
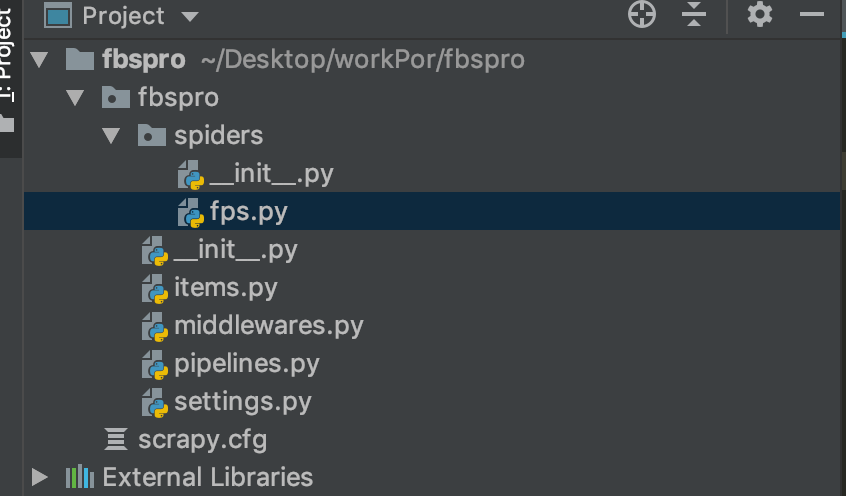
spiders 爬虫文件代码:
# -*- coding: utf-8 -*-
import scrapy
from scrapy.linkextractors import LinkExtractor
from scrapy.spiders import CrawlSpider, Rule

# 修改爬虫类
from scrapy_redis.spiders import RedisCrawlSpider


class FpsSpider(RedisCrawlSpider):
    name = 'fps'
    # allowed_domains = ['www.xxx.com']
    # 注释掉 不需要起始url
    # start_urls = ['http://www.xxx.com/']
    reids_key = "fbsQueue"

    rules = (
        Rule(LinkExtractor(allow=r'Items/'), callback='parse_item', follow=True),
    )

    def parse_item(self, response):
        item = {}
        #item['domain_id'] = response.xpath('//input[@id="sid"]/@value').get()
        #item['name'] = response.xpath('//div[@id="name"]').get()
        #item['description'] = response.xpath('//div[@id="description"]').get()
        return item
4.编写爬虫类常规操作
爬虫文件spders代码:
# -*- coding: utf-8 -*-
import scrapy
from scrapy.linkextractors import LinkExtractor
from scrapy.spiders import CrawlSpider, Rule
from scrapy_redis.spiders import RedisCrawlSpider
from fbspro.items import FbsproItem
class FbsSpider(RedisCrawlSpider):
    name = 'fbs'
    # allowed_domains = ['www.xxx.com']
    # start_urls = ['http://www.xxx.com/']
    redis_key = 'fbsQueue'#表示的是可以被共享的调度器队列的名称
    rules = (
        Rule(LinkExtractor(allow=r'type=4&page=d+'), callback='parse_item', follow=True),
    )

    def parse_item(self, response):
        tr_list = response.xpath('//*[@id="morelist"]/div/table[2]//tr/td/table//tr')
        for tr in tr_list:
            title = tr.xpath('./td[2]/a[2]/text()').extract_first()
            status= tr.xpath('./td[3]/span/text()').extract_first()

            item = FbsproItem()
            item['title'] = title
            item['status'] = status

            yield item
Items.py 代码
# -*- coding: utf-8 -*-

# Define here the models for your scraped items
#
# See documentation in:
# https://docs.scrapy.org/en/latest/topics/items.html

import scrapy


class FbsproItem(scrapy.Item):
    # define the fields for your item here like:
    title = scrapy.Field()
    status = scrapy.Field()
5.settings配置文件的配置
- UA伪装
USER_AGENT = 'Mozilla/5.0 (Windows NT 10.0; Win64; x64) AppleWebKit/537.36 (KHTML, like Gecko) Chrome/76.0.3809.132 Safari/537.36'
- Robots协议
ROBOTSTXT_OBEY = False
- 管道的指定
ITEM_PIPELINES = {
    'scrapy_redis.pipelines.RedisPipeline': 400
}
- 指定调度器
# 增加了一个去重容器类的配置, 作用使用Redis的set集合来存储请求的指纹数据, 从而实现请求去重的持久化
DUPEFILTER_CLASS = "scrapy_redis.dupefilter.RFPDupeFilter"
# 使用scrapy-redis组件自己的调度器
SCHEDULER = "scrapy_redis.scheduler.Scheduler"
# 配置调度器是否要持久化, 也就是当爬虫结束了, 要不要清空Redis中请求队列和去重指纹的set。如果是True, 就表示要持久化存储, 就不清空数据, 否则清空数据
SCHEDULER_PERSIST = True
- 指定redis数据库
REDIS_HOST = 'redis服务的ip地址'
REDIS_PORT = 6379
代码如下:
# -*- coding: utf-8 -*-

# Scrapy settings for fbspro project
#
# For simplicity, this file contains only settings considered important or
# commonly used. You can find more settings consulting the documentation:
#
#     https://docs.scrapy.org/en/latest/topics/settings.html
#     https://docs.scrapy.org/en/latest/topics/downloader-middleware.html
#     https://docs.scrapy.org/en/latest/topics/spider-middleware.html

BOT_NAME = 'fbspro'

SPIDER_MODULES = ['fbspro.spiders']
NEWSPIDER_MODULE = 'fbspro.spiders'


# Crawl responsibly by identifying yourself (and your website) on the user-agent
#USER_AGENT = 'fbspro (+http://www.yourdomain.com)'

# Obey robots.txt rules
# UA伪装
USER_AGENT = 'Mozilla/5.0 (Macintosh; Intel Mac OS X 10_14_6) AppleWebKit/537.36 (KHTML, like Gecko) Chrome/79.0.3945.130 Safari/537.36'
# 不需要尊重Robots协议
ROBOTSTXT_OBEY = False
# 开启管道 默认reids RedisPipeline
ITEM_PIPELINES = {
    'scrapy_redis.pipelines.RedisPipeline': 400
}
CONCURRENT_REQUESTS = 3

# 指定调度器
# 增加了一个去重容器类的配置, 作用使用Redis的set集合来存储请求的指纹数据, 从而实现请求去重的持久化
DUPEFILTER_CLASS = "scrapy_redis.dupefilter.RFPDupeFilter"
# 使用scrapy-redis组件自己的调度器
SCHEDULER = "scrapy_redis.scheduler.Scheduler"
# 配置调度器是否要持久化, 也就是当爬虫结束了, 要不要清空Redis中请求队列和去重指纹的set。如果是True, 就表示要持久化存储, 就不清空数据, 否则清空数据
SCHEDULER_PERSIST = True

REDIS_HOST = '192.168.1.7'
REDIS_PORT = 6379

# Configure maximum concurrent requests performed by Scrapy (default: 16)
#CONCURRENT_REQUESTS = 32

# Configure a delay for requests for the same website (default: 0)
# See https://docs.scrapy.org/en/latest/topics/settings.html#download-delay
# See also autothrottle settings and docs
#DOWNLOAD_DELAY = 3
# The download delay setting will honor only one of:
#CONCURRENT_REQUESTS_PER_DOMAIN = 16
#CONCURRENT_REQUESTS_PER_IP = 16

# Disable cookies (enabled by default)
#COOKIES_ENABLED = False

# Disable Telnet Console (enabled by default)
#TELNETCONSOLE_ENABLED = False

# Override the default request headers:
#DEFAULT_REQUEST_HEADERS = {
#   'Accept': 'text/html,application/xhtml+xml,application/xml;q=0.9,*/*;q=0.8',
#   'Accept-Language': 'en',
#}

# Enable or disable spider middlewares
# See https://docs.scrapy.org/en/latest/topics/spider-middleware.html
#SPIDER_MIDDLEWARES = {
#    'fbspro.middlewares.FbsproSpiderMiddleware': 543,
#}

# Enable or disable downloader middlewares
# See https://docs.scrapy.org/en/latest/topics/downloader-middleware.html
#DOWNLOADER_MIDDLEWARES = {
#    'fbspro.middlewares.FbsproDownloaderMiddleware': 543,
#}

# Enable or disable extensions
# See https://docs.scrapy.org/en/latest/topics/extensions.html
#EXTENSIONS = {
#    'scrapy.extensions.telnet.TelnetConsole': None,
#}

# Configure item pipelines
# See https://docs.scrapy.org/en/latest/topics/item-pipeline.html
#ITEM_PIPELINES = {
#    'fbspro.pipelines.FbsproPipeline': 300,
#}

# Enable and configure the AutoThrottle extension (disabled by default)
# See https://docs.scrapy.org/en/latest/topics/autothrottle.html
#AUTOTHROTTLE_ENABLED = True
# The initial download delay
#AUTOTHROTTLE_START_DELAY = 5
# The maximum download delay to be set in case of high latencies
#AUTOTHROTTLE_MAX_DELAY = 60
# The average number of requests Scrapy should be sending in parallel to
# each remote server
#AUTOTHROTTLE_TARGET_CONCURRENCY = 1.0
# Enable showing throttling stats for every response received:
#AUTOTHROTTLE_DEBUG = False

# Enable and configure HTTP caching (disabled by default)
# See https://docs.scrapy.org/en/latest/topics/downloader-middleware.html#httpcache-middleware-settings
#HTTPCACHE_ENABLED = True
#HTTPCACHE_EXPIRATION_SECS = 0
#HTTPCACHE_DIR = 'httpcache'
#HTTPCACHE_IGNORE_HTTP_CODES = []
#HTTPCACHE_STORAGE = 'scrapy.extensions.httpcache.FilesystemCacheStorage'
6.Redis配置
下载Redis
链接:https://redis.io/download
下载mac版redis安装包,我下载的版本是4.0.14
按顺序进行下列步骤:
解压:
    tar zxvf redis-4.0.14.tar.gz

移动到:
    mv redis-4.0.14.tar.gz /Users/tank/

切换到:
    cd /Users/tank/redis-4.0.14/

进入到解压后的文件夹下面,路径改成你自己的文件夹存放的路径

编译测试:
    sudo make test

编译安装:
    sudo make install
启动
redis-server

代表启动redis服务端成功
停止
# 关闭 redis 服务端
redis-cli shutdown
首先我们修改一下redis配置文件
进入你安装的 reids目录
vim reids.conf
redis的配置文件进行配置redis.conf:
- 关闭默认绑定:注释掉 56Line:#bind 127.0.0.1
- 关闭保护模式:修改 75Line:protected-mode no
注意⚠️一定要在 redis目录下重启 reids.conf 配置文件
reids-server redis.conf
启动 redis 客户端
redis-cli

7.启动爬虫项目程序
scrapy runspdier fbs.py
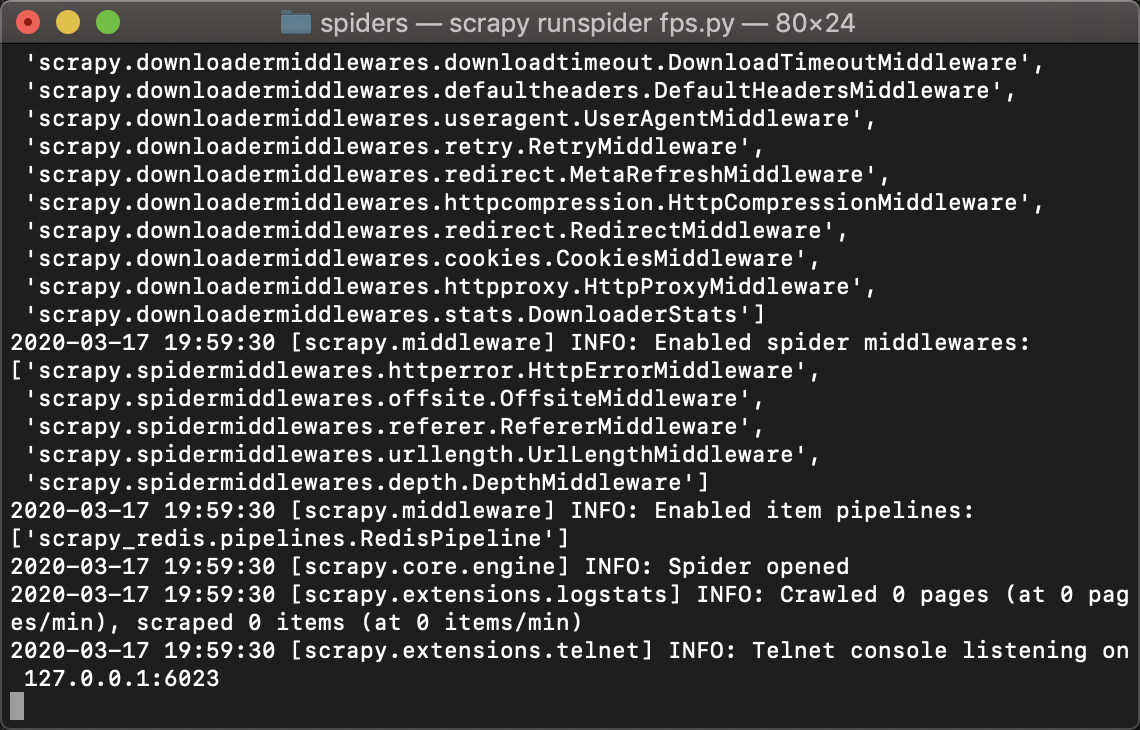
这时侯会直接阻塞在这里
8.向调度器的队列中仍入一个起始的url
-
队列是存在于redis中
-
开启redis的客户端:
fbsQueue 在 redis队列中 给redis_key = fbsQueue 给一个起始url
lpush fbsQueue http://wz.sun0769.com/index.php/question/questionType?type=4&page=
这个时候如果成功 爬虫代码 就会成功执行。
