一、环境准备
1.服务器准备
| 主机名 |
公网IP |
内网IP |
| stg-airflow001 |
68.79.16.69 |
172.31.47.207 |
2.安装版本说明
#1.安装版本限制
Python: 3.6, 3.7, 3.8

Databases:
PostgreSQL: 9.6, 10, 11, 12, 13
MySQL: 5.7, 8
SQLite: 3.15.0+

Kubernetes: 1.18.15 1.19.7 1.20.2

注意:
1)MySQL 5.x 版本不能或有运行多个调度程序的限制——请参阅:调度程序。MariaDB 未经过测试/推荐。
2)SQLite 用于 Airflow 测试。不要在生产中使用它。建议使用最新的 SQLite 稳定版本进行本地开发。
3)就 Python 3 支持而言,Airflow 2.0.0 已使用 Python 3.6、3.7 和 3.8 进行测试,但尚不支持 Python 3.9。

#2.安装工具
只有pip安装目前正式支持。
3.版本选择
| 安装工具 |
版本 |
用途 |
| Python |
3.8.6 |
安装airflow及其依赖包、开发airflow的dag使用 |
| MySQL |
5.7 |
作为airflow的元数据库 |
| Airflow |
2.1.0 |
任务调度平台 |
二、格式化文件系统
#1.查看所有磁盘分区情况
[stg-airflow001 ~]$ fdisk  -l

Disk /dev/nvme1n1: 107.4 GB, 107374182400 bytes, 209715200 sectors
Units = sectors of 1 * 512 = 512 bytes
Sector size (logical/physical): 512 bytes / 512 bytes
I/O size (minimum/optimal): 512 bytes / 512 bytes


Disk /dev/nvme0n1: 53.7 GB, 53687091200 bytes, 104857600 sectors
Units = sectors of 1 * 512 = 512 bytes
Sector size (logical/physical): 512 bytes / 512 bytes
I/O size (minimum/optimal): 512 bytes / 512 bytes
Disk label type: dos
Disk identifier: 0x000acf0a

        Device Boot      Start         End      Blocks   Id  System
/dev/nvme0n1p1   *        2048   104857566    52427759+  83  Linux

#2.进行磁盘分区
[stg-airflow001 ~]$ fdisk  /dev/nvme1n1
Welcome to fdisk (util-linux 2.23.2).

Changes will remain in memory only, until you decide to write them.
Be careful before using the write command.

Device does not contain a recognized partition table
Building a new DOS disklabel with disk identifier 0x39e17a4f.

Command (m for help): n
Partition type:
   p   primary (0 primary, 0 extended, 4 free)
   e   extended
Select (default p): p
Partition number (1-4, default 1):
First sector (2048-209715199, default 2048):
Using default value 2048
Last sector, +sectors or +size{K,M,G} (2048-209715199, default 209715199):
Using default value 209715199
Partition 1 of type Linux and of size 100 GiB is set

Command (m for help): w
The partition table has been altered!

Calling ioctl() to re-read partition table.
Syncing disks.
三、上传系统优化脚本
#1.编写系统优化脚本
[stg-airflow001 ~]$ vim  Opt-Centos.sh
#!/usr/bin/bash
# Author:jh
# Time:2021-04-11  18:48:19
# Name:Opt-Centos.sh
# Version: 1.0
# Discription: To

local_IP=`ifconfig |awk -F ' ' 'NR==2{print $2}'`
local_hostname=`hostname`
base_yum="CentOS-Base.repo"
epel_yum="epel.repo"
yum_dir="/etc/yum.repos.d/"
cron_dir="/var/spool/cron/root"
ssh_dir="/etc/ssh/sshd_config"

linux_comm_software=(net-tools vim tree htop iftop gcc gcc-c++ glibc iotop lrzsz sl wget unzip telnet nmap nc psmisc dos2unix bash-completion bash-completion-extra sysstat rsync nfs-utils httpd-tools expect)

#1.修改主机名
source /etc/init.d/functions
if [ $# -ne 1 ];then
    echo "/bin/sh $0 New hostname"
    exit 1
fi

hostnamectl set-hostname $1
if [ $? -eq 0 ];then
    action "hostname update is" /usr/bin/true
else
    action "hostname update is" /usr/bin/false
fi

#2.配置ssh连接成功显示
platform=`uname -i`
if [ $platform != "x86_64" ];then
    echo "this script is only for 64bit Operating System !"
    exit 1
fi
echo "the platform is ok"
cat << EOF
+---------------------------------------+
| your system is CentOS 7 x86_64 |
| start optimizing....... |
+---------------------------------------
EOF

#3.配置yum仓库
mv $yum_dir$base_yum  $yum_dir${base_yum}.bak
mv $yum_dir$epel_yum  $yum_dir${epel_yum}.bak
curl -o $yum_dir$base_yum http://mirrors.aliyun.com/repo/Centos-7.repo
curl -o $yum_dir$epel_yum http://mirrors.aliyun.com/repo/epel-7.repo
yum clean all
yum makecache

#4.安装基础软件包
for i in ${linux_comm_software[*]}
do
    rpm -q $i &>/dev/null
    if [ $? -eq 0 ];then
        echo "$i is installed"
    else
        yum -y install $i  &>/dev/null
        action "$i is installing"  /usr/bin/true
    fi
done

#5.关闭防火墙firewalld
#systemctl disable firewalld
#systemctl stop firewalld

#6.关闭selinux
#sed 's#SELINUX=enforcing#SELINUX=disabled#g' /etc/selinux/config

#7.修改本地解析
echo "$local_IP $local_hostname" >> /etc/hosts

#8.设置时间同步
timedatectl set-timezone Asia/Shanghai
/usr/sbin/ntpdate time1.aliyun.com
echo '#Timing synchronization time' >> $cron_dir
echo "* 4 * * * /usr/sbin/ntpdate time1.aliyun.com > /dev/null 2>&1" >> $cron_dir
systemctl restart crond.service

#9.ssh参数优化
#sed -i 's/^GSSAPIAuthentication yes$/GSSAPIAuthentication no/g' $ssh_dir
#sed -i 's/#UseDNS yes/UseDNS no/g' $ssh_dir
#sed -i 's/PermitRootLogin yes/PermitRootLogin no/g' $ssh_dir
#sed -i 's/#port 22/poort 520/g' $ssh_dir

#10.加大文件描述符
tail -1 /etc/security/limits.conf &>/dev/null
[ $? -eq 0 ] && echo "文件描述符以加大" || echo '*               -       nofile          65535 ' >>/etc/security/limits.conf

#11.环境变量及别名优化
cat>>/etc/profile.d/color.sh<<EOF
alias ll='ls -l --color=auto --time-style=long-iso'
PS1="[e[37;40m][[e[32;1m]u[e[37;40m]@h [e[36;40m]w[e[0m]][e[32;1m]\$ [e[0m]"
export HISTTIMEFORMAT='%F-%T '
EOF

source  /etc/profile

#12.内核优化
cat >>/etc/sysctl.conf<<EOF
net.ipv4.tcp_fin_timeout = 2
net.ipv4.tcp_tw_reuse = 1
net.ipv4.tcp_tw_recycle = 1
net.ipv4.tcp_syncookies = 1
net.ipv4.tcp_keepalive_time = 600
net.ipv4.ip_local_port_range = 4000    65000
net.ipv4.tcp_max_syn_backlog = 16384
net.ipv4.tcp_max_tw_buckets = 36000
net.ipv4.route.gc_timeout = 100
net.ipv4.tcp_syn_retries = 1
net.ipv4.tcp_synack_retries = 1
net.core.somaxconn = 16384
net.core.netdev_max_backlog = 16384
net.ipv4.tcp_max_orphans = 16384
net.ipv4.ip_forward = 1
net.ipv4.icmp_echo_ignore_all=1
EOF

sysctl  -p

#13.关闭NetworkManager
#systemctl  stop  NetworkManager
#systemctl  disable  NetworkManager

#14.更新软件
yum -y update && > /dev/null

#15.设置中文字符集
localectl set-locale LANG=zh_CN.UTF-8

#16.备份显示系统版本和内核的文件
cp /etc/issue{,.bak}
cp /etc/issue.net{,.bak}

> /etc/issue
> /etc/issue.net

#17.重读分区表
partprobe &&

#18.磁盘格式化
xfs_disk_info=`fdisk  -l |awk 'NR==10{print $1}'`
mkfs.xfs  $xfs_disk_info -f

#19.新建数据目录data
mkdir /data

#20.挂载目录
mount $xfs_disk_info /data/

#21.查看挂载点
df -h

#22.实现永久挂载
uuid_disk_info=`blkid  |awk  -F ' ' 'NR==2{print $2}' |awk -F '"' '{print $2}'`
echo "UUID=$uuid_disk_info /data                   xfs     defaults        0 0 ">>/etc/fstab

#23.查看挂载信息
tail -1 /etc/fstab

#24.优化完成
cat << EOF
+-------------------------------------------------+
| 优 化 已 完 成                                  |
| 请 重启 这台服务器 !                            |
+-------------------------------------------------+
EOF

sleep 5

rm -rf ./Opt-Centos.sh

#2.增加执行权限
[stg-airflow001 ~]$ chmod +x Opt-Centos.sh

#3.执行系统优化脚本
[stg-airflow001 ~]$ sh Opt-Centos.sh
四、安装python3
1.安装依赖
#1.安装相关依赖
[root@stg-airflow001 ~]$ yum -y install zlib zlib-devel
[root@stg-airflow001 ~]$ yum -y install bzip2 bzip2-devel
[root@stg-airflow001 ~]$ yum -y install ncurses ncurses-devel
[root@stg-airflow001 ~]$ yum -y install readline readline-devel
[root@stg-airflow001 ~]$ yum -y install openssl openssl-devel
[root@stg-airflow001 ~]$ yum -y install openssl-static
[root@stg-airflow001 ~]$ yum -y install xz lzma xz-devel
[root@stg-airflow001 ~]$ yum -y install sqlite sqlite-devel
[root@stg-airflow001 ~]$ yum -y install gdbm gdbm-devel
[root@stg-airflow001 ~]$ yum -y install tk tk-devel
[root@stg-airflow001 ~]$ yum -y install  db4-devel libpcap-devel libffi-devel
[root@stg-airflow001 ~]$ yum -y install epel-release
[root@stg-airflow001 ~]$ yum -y install gcc
2.下载安装包
#1.使用wget下载Python源码压缩包到/root目录下
[root@stg-airflow001 ~]$ cd /data/software
[root@stg-airflow001 /data/software]$ wget https://www.python.org/ftp/python/3.8.6/Python-3.8.6.tgz

#2.解压python3安装包
[root@stg-airflow001 /data/software]$ tar -zxvf Python-3.8.6.tgz -C /root

#3.进入安装目录
[root@stg-airflow001 /data/software]$ cd /root/Python-3.8.6/

#4.创建python3程序目录
[root@stg-airflow001 ~/Python-3.8.6]$ mkdir /usr/local/python3.8.6
3.生成Makefile文件
[root@stg-airflow001 ~/Python-3.8.6]$ mkdir bld
[root@stg-airflow001 ~/Python-3.8.6]$ cd bld/
[root@stg-airflow001 ~/Python-3.8.6/bld]$ ../configure --prefix=/usr/local/python3.8.6
4.编译安装
#1.编译安装
[root@stg-airflow001 ~/Python-3.8.6/bld]$ make && make install

#2.做软连接
[root@stg-airflow001 ~/Python-3.8.6/bld]$ cd /usr/local/
[root@stg-airflow001 /usr/local]$ ln -s python3.8.6 python3
5.配置环境变量
[root@stg-airflow001 ~/Python-3.8.6/bld]$ vim /etc/profile.d/python3.sh
export PATH=/usr/local/python3/bin:$PATH

[root@stg-airflow001 ~/Python-3.8.6/bld]$ source  /etc/profile
6.查看python版本
#1.查看Python版本
[root@stg-airflow001 ~/Python-3.8.6/bld]$ python3 -V
Python 3.8.6

#2.检测pip是否可用
[root@stg-airflow001 ~/Python-3.8.6/bld]$ pip3 -V
pip 20.2.3 from /usr/local/python3/lib/python3.8/site-packages/pip (python 3.9)

#3.升级pip
[root@stg-airflow001 ~/Python-3.8.6/bld]$ pip3 install --upgrade pip

#4.再次查看pip版本
[root@stg-airflow001 ~/Python-3.8.6/bld]$ pip3 -V
pip 21.1.2 from /usr/local/python3/lib/python3.8/site-packages/pip (python 3.9)
五、安装MySQL
#1.卸载mariadb
[root@stg-airflow001 ~]$ rpm -qa | grep mariadb
mariadb-libs-5.5.68-1.el7.x86_64
mariadb-devel-5.5.68-1.el7.x86_64
[root@stg-airflow001 ~]$ rpm -e --nodeps mariadb-libs-5.5.68-1.el7.x86_64
[root@stg-airflow001 ~]$ rpm -e --nodeps mariadb-devel-5.5.68-1.el7.x86_64

#2.下载mysql的repo源
[root@stg-airflow001 ~]$ wget -P /root http://repo.mysql.com/mysql-community-release-el7-5.noarch.rpm

#3.通过rpm安装
[root@stg-airflow001 ~]$ rpm -ivh mysql-community-release-el7-5.noarch.rpm
#安装mysql
[root@stg-airflow001 ~]$ yum -y install mysql-server
#授权
[root@stg-airflow001 ~]$ chown -R mysql:mysql /var/lib/mysql
#开启Mysql服务
[root@stg-airflow001 ~]$ service mysqld start
#用root用户连接登录mysql:
[root@stg-airflow001 ~]$ mysql -uroot  或者 /usr/bin/mysql -uroot
#重置mysql密码
mysql> use mysql;
mysql> update user set password=password('root') where user='root';
mysql> flush privileges;
#为Airflow建库、建用户
#建库:
mysql> CREATE DATABASE airflow CHARACTER SET utf8mb4 COLLATE utf8mb4_unicode_ci;
#建用户:
mysql> create user 'airflow'@'%' identified by 'airflow';
mysql> create user 'airflow'@'localhost' identified by 'airflow';
#为用户授权:
mysql> grant all on airflow.* to 'airflow'@'%';
mysql> grant all on airflow.* to 'root'@'%';
mysql> flush privileges;
mysql> quit
Bye


#4.配置my.cnf如下
内容如下
[client]
default-character-set=utf8mb4
[mysql]
default-character-set=utf8mb4
[mysqld]
collation-server = utf8mb4_unicode_ci
init-connect='SET NAMES utf8mb4'
character-set-server = utf8mb4
explicit_defaults_for_timestamp=1
六、安装 Airflow
1.安装Airflow相关包
 [root@stg-airflow001 ~]$ yum -y install mysql-devel
 [root@stg-airflow001 ~]$ yum -y install python-devel
 [root@stg-airflow001 ~]$ yum -y install python3-devel
 [root@stg-airflow001 ~]$ yum -y install mysql-devel
 [root@stg-airflow001 ~]$ pip3 install mysqlclient
 [root@stg-airflow001 ~]$ pip3 install apache-airflow
 [root@stg-airflow001 ~]$ pip3 install apache-airflow[mysql]
2.修改配置文件
#1.设置airflow的根目录,不设置默认当前家用户目录下生成airflow目录
[root@stg-airflow001 ~]$ echo "export AIRFLOW_HOME=/data/airflow" >> /root/.bashrc
[root@stg-airflow001 ~]$ source /root/.bashrc

# 初始化原始库 执行完以下命令后会生成airflow目录
[root@stg-airflow001 ~]$ airflow db init

[root@stg-airflow001 ~]$ cd airflow/
[root@stg-airflow001 ~]$ vim airflow.cfg
# 配置数据库,这里使用了mysql
executor = LocalExecutor
sql_alchemy_conn = mysql+pymysql://root:123456@localhost:3306/airflow
sql_alchemy_conn = mysql://user:password@IP:3306/airflow

# 设置时区
default_timezone = Asia/Shanghai

# web ui 界面使用的时区
default_ui_timezone = Asia/Shanghai
4.创建用户
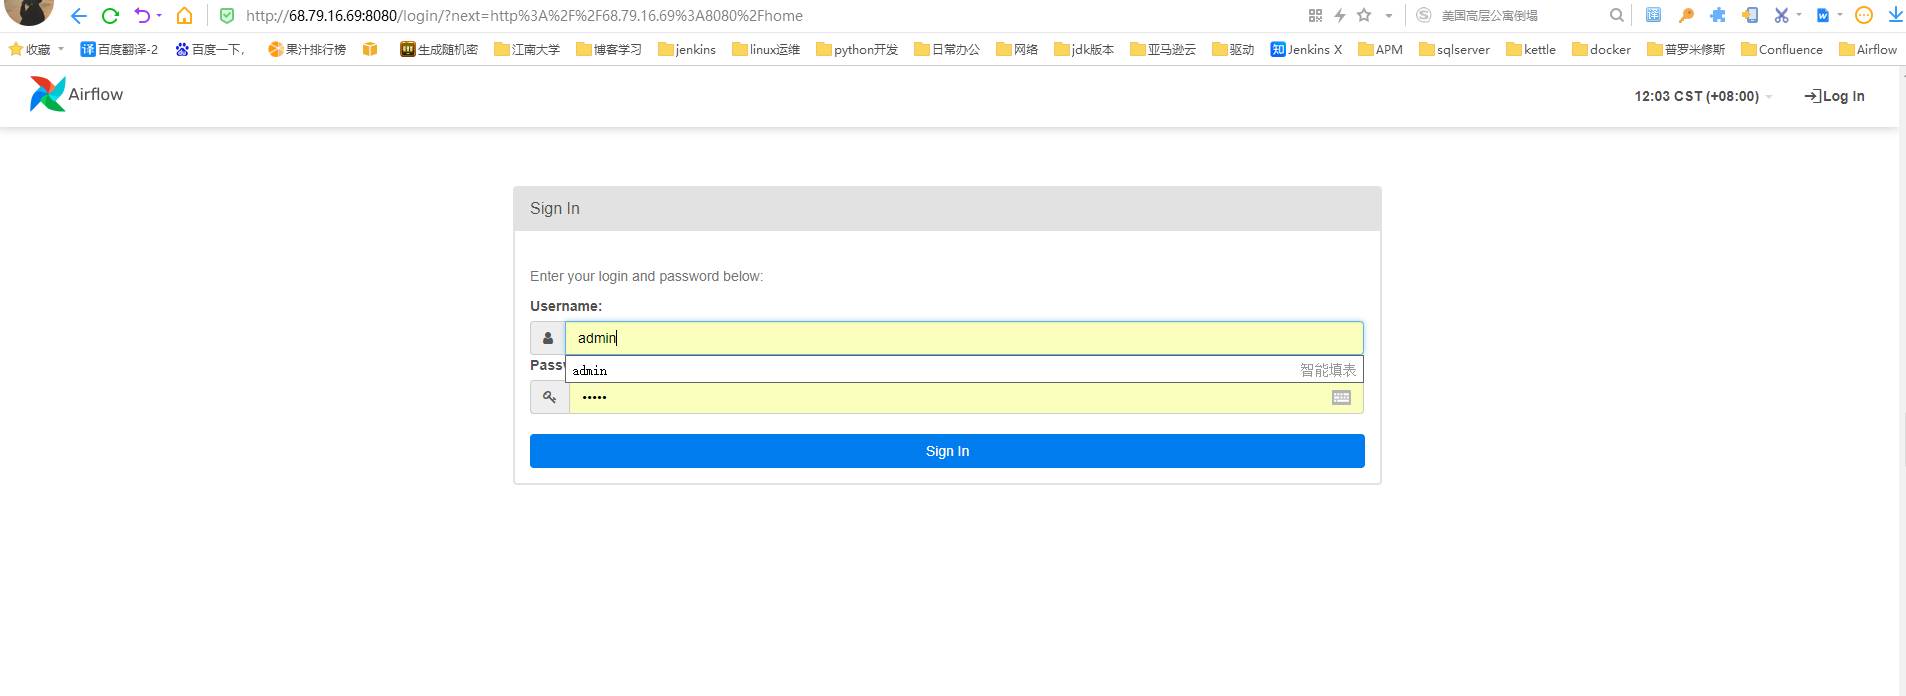
[root@stg-airflow001 ~]$ airflow users create --username admin --password admin --firstname admin --lastname admin --role Admin --email example@XX.com
七、启动 Airflow
1.命令行启动
#1.命令行启动
[root@stg-airflow001 ~]$ ps -ef|grep airflow|cut -c 9-15|xargs kill -9
[root@stg-airflow001 ~]$ nohup airflow webserver >>werserver.log 2>&1 &   #启动web服务,默认端口8080
[root@stg-airflow001 ~]$ nohup airflow scheduler >>scheduler.log 2>&1 &   #启动定时任务
2.system启动
#1.添加配置文件
[root@stg-airflow001 ~/airflow]$ vim /etc/sysconfig/airflow
AIRFLOW_CONFIG=/root/airflow/airflow.cfg
AIRFLOW_HOME=/root/airflow
HADOOP_USER_NAME=hdfs

#2.添加gunicorn软连接
[root@stg-airflow001 ~/airflow]$ ln -fs /usr/local/python3.8.6/bin/gunicorn /bin/gunicorn

#3.添加System启动
[root@stg-airflow001 ~/airflow]$ vim /usr/lib/systemd/system/airflow-webserver.service
[Unit]
Description=Airflow Webserver
Wants=network-online.target
After=network-online.target

[Service]
Type=simple
User=root
Group=root
Restart=on-failure
EnvironmentFile=/etc/sysconfig/airflow
ExecStart=/usr/local/python3/bin/airflow webserver
RestartSec=5s
PrivateTmp=true
LimitNOFILE=10000
TimeoutStopSec=20

[Install]
WantedBy=multi-user.target

[root@stg-airflow001 ~/airflow]$ vim /usr/lib/systemd/system/airflow-scheduler.service
[Unit]
Description=Airflow Scheduler
Wants=network-online.target
After=network-online.target

[Service]
User=root
Group=root
Type=simple
Restart=on-failure
EnvironmentFile=/etc/sysconfig/airflow
ExecStart=/usr/local/python3/bin/airflow scheduler
RestartSec=5s
PrivateTmp=true
LimitNOFILE=10000
TimeoutStopSec=20

[Install]
WantedBy=multi-user.target

#4.重载system服务
[root@stg-airflow001 ~/airflow]$ systemctl  daemon-reload

#5.启动服务
[root@stg-airflow001 ~]$ systemctl enable --now airflow-webserver.service
[root@stg-airflow001 ~]$ systemctl enable --now airflow-scheduler.service

#6.查看服务有没有设置开机启动
[root@stg-airflow001 ~]$ systemctl is-enabled airflow-webserver.service
enabled
[root@stg-airflow001 ~]$ systemctl is-enabled airflow-scheduler.service
enabled

#7.验证服务
[root@stg-airflow001 ~/airflow]$ systemctl  status  airflow-webserver.service
● airflow-webserver.service - Airflow Webserver
   Loaded: loaded (/usr/lib/systemd/system/airflow-webserver.service; disabled; vendor preset: disabled)
   Active: active (running) since 一 2021-06-28 11:18:06 CST; 11min ago
 Main PID: 26274 (airflow)
    Tasks: 19
   Memory: 430.9M
   CGroup: /system.slice/airflow-webserver.service
           ├─26274 /usr/local/python3.8.6/bin/python3.8 /usr/local/python3/bin/airflow webserver -D
           ├─26292 gunicorn: master [airflow-webserver]
           ├─26294 [ready] gunicorn: worker [airflow-webserver]
           ├─26295 [ready] gunicorn: worker [airflow-webserver]
           ├─26296 [ready] gunicorn: worker [airflow-webserver]
           └─26297 [ready] gunicorn: worker [airflow-webserver]

6月 28 11:18:06 stg-airflow001 systemd[1]: Started Airflow Webserver.
6月 28 11:18:07 stg-airflow001 airflow[26274]: ____________       _____________
6月 28 11:18:07 stg-airflow001 airflow[26274]: ____    |__( )_________  __/__  /________      __
6月 28 11:18:07 stg-airflow001 airflow[26274]: ____  /| |_  /__  ___/_  /_ __  /_  __ \_ | /| / /
6月 28 11:18:07 stg-airflow001 airflow[26274]: ___  ___ |  / _  /   _  __/ _  / / /_/ /_ |/ |/ /
6月 28 11:18:07 stg-airflow001 airflow[26274]: _/_/  |_/_/  /_/    /_/    /_/  \____/____/|__/
6月 28 11:18:07 stg-airflow001 airflow[26274]: [2021-06-28 11:18:07,513] {dagbag.py:487} INFO - Filling up the DagBag from /dev/null
6月 28 11:18:20 stg-airflow001 systemd[1]: Current command vanished from the unit file, execution of the command list won't be resumed.

[root@stg-airflow001 ~/airflow]$ systemctl  status airflow-scheduler.service
● airflow-scheduler.service - Airflow Scheduler
   Loaded: loaded (/usr/lib/systemd/system/airflow-scheduler.service; disabled; vendor preset: disabled)
   Active: active (running) since 一 2021-06-28 11:27:50 CST; 9s ago
 Main PID: 27436 (airflow)
    Tasks: 3
   Memory: 80.5M
   CGroup: /system.slice/airflow-scheduler.service
           ├─27436 /usr/local/python3.8.6/bin/python3.8 /usr/local/python3/bin/airflow scheduler
           ├─27439 /usr/local/python3.8.6/bin/python3.8 /usr/local/python3/bin/airflow scheduler
           └─27440 airflow scheduler -- DagFileProcessorManager

6月 28 11:27:50 stg-airflow001 airflow[27436]: WARNING: This is a development server. Do not use it in a production deployment.
6月 28 11:27:50 stg-airflow001 airflow[27436]: Use a production WSGI server instead.
6月 28 11:27:50 stg-airflow001 airflow[27436]: * Debug mode: off
6月 28 11:27:50 stg-airflow001 airflow[27436]: [2021-06-28 11:27:50,958] {_internal.py:113} INFO -  * Running on http://0.0.0.0:...o quit)
6月 28 11:27:50 stg-airflow001 airflow[27436]: [2021-06-28 11:27:50,960] {scheduler_job.py:1253} INFO - Starting the scheduler
6月 28 11:27:50 stg-airflow001 airflow[27436]: [2021-06-28 11:27:50,961] {scheduler_job.py:1258} INFO - Processing each file at ...1 times
6月 28 11:27:50 stg-airflow001 airflow[27436]: [2021-06-28 11:27:50,963] {dag_processing.py:254} INFO - Launched DagFileProcesso...: 27440
6月 28 11:27:50 stg-airflow001 airflow[27436]: [2021-06-28 11:27:50,964] {scheduler_job.py:1822} INFO - Resetting orphaned tasks...ag runs
6月 28 11:27:50 stg-airflow001 airflow[27436]: [2021-06-28 11:27:50,967] {settings.py:52} INFO - Configured default timezone Tim...('UTC')
6月 28 11:27:50 stg-airflow001 airflow[27436]: [2021-06-28 11:27:50,974] {dag_processing.py:529} WARNING - Because we cannot use...m to 1.
Hint: Some lines were ellipsized, use -l to show in full.

#7.验证端口
[root@stg-airflow001 ~/airflow]$ netstat  -lntp
Active Internet connections (only servers)
Proto Recv-Q Send-Q Local Address           Foreign Address         State       PID/Program name
tcp        0      0 0.0.0.0:111             0.0.0.0:*               LISTEN      25360/rpcbind
tcp        0      0 0.0.0.0:8080            0.0.0.0:*               LISTEN      26292/gunicorn: mas
tcp        0      0 0.0.0.0:22              0.0.0.0:*               LISTEN      18655/sshd
tcp        0      0 0.0.0.0:8793            0.0.0.0:*               LISTEN      27439/python3.8
tcp        0      0 127.0.0.1:25            0.0.0.0:*               LISTEN      24970/master
tcp6       0      0 :::111                  :::*                    LISTEN      25360/rpcbind
tcp6       0      0 :::22                   :::*                    LISTEN      18655/sshd
tcp6       0      0 ::1:25                  :::*                    LISTEN      24970/master
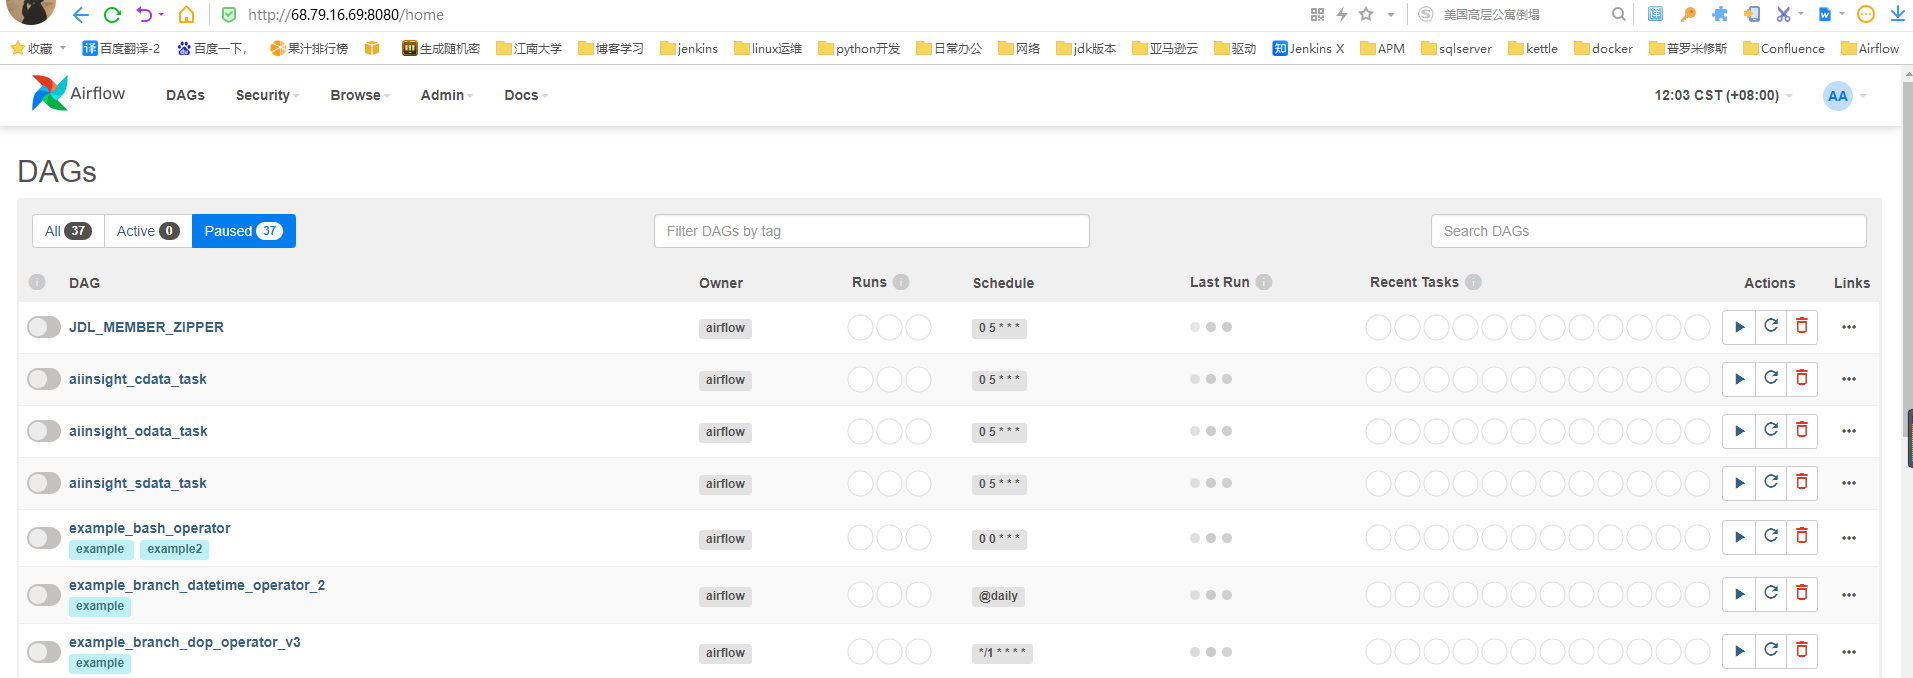
5.登录测试
# 浏览器输入:http://68.79.16.69:8080 ,输入创建的用户名和密码,登陆成功,至此安装Airflow结束