1. 插槽内容
假设我们有这样一个组件:
<template>
  <section class="eassy-container">
    <header class="eassy-header">
	lorem
    </header>
    <main class="eassy-main">
    lorem
    </main>
    <footer class="eassy-footer">
	lorem
    </footer>
  </section>
</template>
它看起来的效果就像是这样:
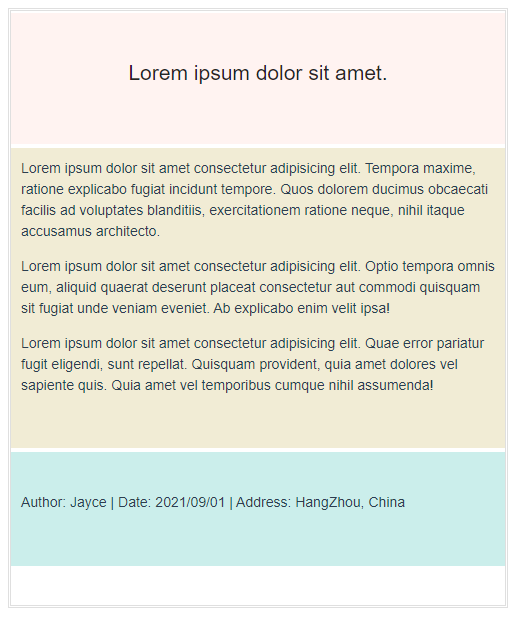
我们创建了一个文章模板组件,现在,假如你要将这个模板作为公用组件,那么通常,我们可能需要先在这个组件内部,用假数据,写好所有的样式。 然后在父组件中引用时,传入变量,去渲染文章的标题,文章主题,文章末尾等。
但是这样做,存在诸多问题,例如样式的兼容性,要让这个组件能够被通用是有难度的,主要是文章是需要排版的,内容是多变的。 如果你通过v-html 传入模板字符串,去拓展排版,插入多媒体去实现需求自然也是可行,不过这样一来,其实就失去了组件封装的初衷 ---- 简化,提高可维护性。
所以这时候,Vue 就提供了一种解决方式,我只保留这个组件封装的基本意义,例如基本的布局,结构,基本的样式,就好了。 其他的需要创造性,存在变动的地方,我全部都暴露给父级对应的"接口"。在本组件内,我只留下一个空位,以待内容插入。 实现高度自定义。
通俗的讲,我们只建造一面墙,这面墙上只留了插座, 至于你想要接什么电器,随你便。
首先,我们基本认识下,具体的是什么意思?
例如,文章的标题,当然应该是个变量,以往,我们肯定会通过Props等方式向下传参。 刚才我们简单分析了弊端,所以我们这里不期望使用传统传参的方式去实现。
我们仅需要在组件内需要被占位的地方,放置一个<slot></slot> 标签即可。即:
<!--Eassy.vue-->
<template>
  <section class="eassy-container">
    <header class="eassy-header">
      <h1>
        <slot></slot>
      </h1>
    </header>
    <main class="eassy-main">
      <p>Lorem ipsum dolor sit
      .......
然后在父组件,该组件标签的中间,写入内容,他就会被自动地插入到这个<slot></slot> 所占位的地方。
<template>
  <Eassy>Test Title</Eassy>
</template>
<script>
import Eassy from "./comps/Eassy.vue";
export default {
  components: {
    Eassy,
  },
  data() {
    return {
      user: {
        name: "jayce",
      },
    };
  },
};
</script>

2. 具名插槽
刚才,我们演示了文章标题的插槽用法。 现在如果我们类似的实现文章主体和结尾。 我们当然就需要指定多个<slot>用以占位了,可以预见的是,在上层组件(父组件)中,我们同时要塞一些内容到自封装组件内部,肯定需要让组件知道,哪些内容,插到哪里去。 所以,我们要在<slot>定义的地方指定一个name 属性, 在上层组件,插入的时候,也需要以某种方式显式的明确插入位置,具体的,如下:
自封装组件中:给<slot> 增加一个name 属性(attribute)
<template>
  <section class="eassy-container">
    <header class="eassy-header">
      <h1>
        <slot name="header"></slot>
      </h1>
    </header>
    <main class="eassy-main">
      <slot name="main"></slot>
    </main>
    <footer class="eassy-footer">
      <slot name="footer"></slot>
    </footer>
  </section>
</template>
上层组件中(父组件):通过v-slot:name 指定给一个<template> 以指明将要插入的位置
<template>
  <Eassy>
    <template v-slot:header>
      This should be a title
    </template>
    <template v-slot:main>
      eassy main part: balabala....main...main.....
    </template>
    <template v-slot:footer>
      eassy footer part: bala...foooooooter....
    </template>
  </Eassy>
</template>

你需要注意的是,上面我们在仅插入一个文章标题的时候,并没有指定
name属性,也没有通过v-slot指定这个唯一的<slot>插槽,其实并不是没有,而是如果不加指定,其name属性被隐式的指定为"default",这时候可以省略。
2.1 具名插槽的缩写
跟 v-on 和 v-bind 一样,v-slot 也有缩写,即把参数之前的所有内容 (v-slot:) 替换为字符 #。例如 v-slot:header 可以被重写为 #header
<template>
  <Eassy title="this is a title">
    <template #header="{ anyName }">
      {{ anyName.default1 }}
    </template>
    <template #main>
      eassy main part: balabala....main...main.....
    </template>
    <template #footer>
      eassy footer part: bala...foooooooter....
    </template>
  </Eassy>
</template>
3. 后备内容(默认slot内容)
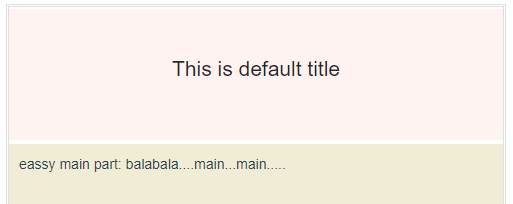
如果你希望插槽处有一个默认内容,你仅需要在<slot></slot> 中间写默认值即可。而当上层组件有后来的插值时,默认值将会立刻被自动的覆盖掉。
就像这样:
<!--自建组件内-->
<template>
  <section class="eassy-container">
    <header class="eassy-header">
      <h1>
        <slot name="header">This is default title</slot>
      </h1>
    </header>
........
<!--上层组件不指定该插值或者插入空值即可-->
<template>
  <Eassy>
    <!-- <template v-slot:header>
      This should be a title
    </template> -->
    <template v-slot:main>
      eassy main part: balabala....main...main.....
    </template>
    <template v-slot:footer>
      eassy footer part: bala...foooooooter....
    </template>
  </Eassy>
</template>
4. 传入变量
在文档中,这部门内容,称为编译作用域。
它的意思是, 自建组件的编译存在于一个作用域,该组件中的data中的属性,或者自上层组件传入的prop 都属于这个作用域。 而上层组件的编译则属于另一个作用域。 你可以正常的通过props 自上层组件向自建组件传递值, 但是,你不能直接在上层组件中直接取到自建组件作用域中的值。
换句话说,有时候你需要在上层组件(父组件)的插槽内容中引用来子自建组件(子组件),而这种行为默认是不被允许的。
文档是这样概括的:
父级模板里的所有内容都是在父级作用域中编译的;子模板里的所有内容都是在子作用域中编译的。
具体的演示,就像这样:
假设有这样一个自建组建:
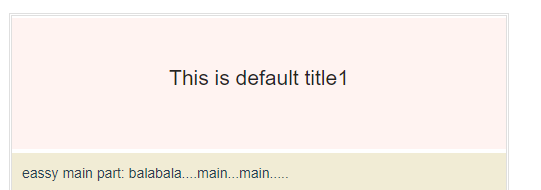
<!--自建组件--><template> <section class="eassy-container"> <header class="eassy-header"> <h1> <slot name="header">{{obj.default1}}</slot> </h1>..........<script>export default { data() { return { obj: { default1: "This is default title1", default2: "This is default title2" }..........
我们在data中定义一个对象obj,有两个key,我们将 obj.default1 以插值语法的形式将其作为了文章标题的默认值,而上层组件中,我们什么都没做:
<!--上层组件--><template> <Eassy title="this is a title"> <!-- <template v-slot:header> </template> --> <template v-slot:main> eassy main part: balabala....main...main..... </template> ............
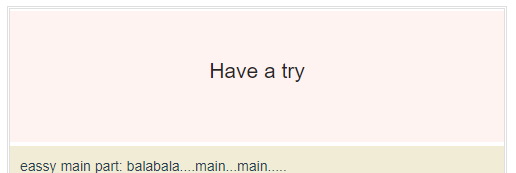
此时,并不会影响后来插槽值的覆盖:
<!--上层组件--><template> <Eassy title="this is a title"> <template v-slot:header> Have a try </template> <template v-slot:main> .......
那么现在,有一个问题,假如,现在有个需求,我想让上层组件具备控制这个默认值的能力,例如换做obj.default2 。 那该怎么办呢?
由于obj 属于自建组件的构建的作用域, 所以上层组建中,没有办法直接访问到obj ,也就没办法修改。
这时候你就需要用到作用域插槽,将obj 对上层组件暴露:
5. 作用域插槽
作用域插槽允许你将要向上层组建暴露的对象通过值绑定语法,绑定在<slot> 标签上,就像这样:
<!--自建组件--><template> <section class="eassy-container"> <header class="eassy-header"> <h1> <slot name="header" :anyName="obj">{{obj.default1}}</slot> </h1> </header>.......
这样就将obj 绑定给了一个我们自定义的属性anyName , 他将会传递给上层组建一个对象:
{ "anyName":{ default1:"xxx", default2:"xxx" }}
然后在上层组建中通过v-slot:name="自定义对象名"的方式,就可以接收到这个对象:
<template> <Eassy title="this is a title"> <template v-slot:header="slotProps"> {{slotProps.anyName.default2}}<!--将插槽值修改喂默认值default2--> </template> <template v-slot:main>.......
【拓展:解构语法】
以上的接收值过程还可以简化,使用解构语法去接受该对象:
<template> <Eassy title="this is a title"> <template v-slot:header="{ anyName }"> {{ anyName.default2 }} </template> <template v-slot:main>......
还能重命名接收的值key
<template> <Eassy title="this is a title"> <template v-slot:header="{ anyName:cusName }"> {{ cusName.default2 }} </template> <template v-slot:main>......
6. 一些拓展
6.1 动态插槽名
你可以像其他的动态指令一样,动态的去指定插槽名。
<base-layout> <template v-slot:[dynamicSlotName]> ... </template></base-layout>
6.2 Vue 2.6.0 之前的旧语法
现在有一些主流的前端UI库,使用的还是旧的语法。
6.2.1 带有slot 属性的具名插槽
和现在的v-slot 一样,
2.6.0 以前,允许通过一个slot 属性,指定插槽名,并且它不仅可以作用于template 标签,还可以作用于常规元素:
<base-layout><template slot="header"> <h1>Here might be a page title</h1></template><p>A paragraph for the main content.</p><p>And another one.</p><p slot="footer">Here's some contact info</p></base-layout>注意,这个示例中的中间
p元素所包裹的内容:<p>A paragraph for the main content.</p><p>And another one.</p>没有命名插槽名,将会同样被视作为默认插槽。 在下层组件中,
<base-layout>中,将会捕获所有未被匹配的内容。
6.2.2 带有slot-scope 属性的作用域插槽
<slot-example> <template slot="footer" slot-scope="slotProps"> {{ slotProps.msg }} </template></slot-example>
注意,不同于新的语法的是,slot-scope 属性还可以作用于普通元素:
<slot-example> <span slot-scope="slotProps"> {{ slotProps.msg }} </span></slot-example>