一、实现一个自定义的web容器服务
1-拉取nginx镜像
似乎在菜鸟教程上的Deckfile运用,是不需要这步的。(Deckfile内的FROM指令会自动拉取源镜像然后展开配置)
但参考大佬的范例,这步应该为了获得web存放目录的相关配置文件,即后面的defualt.conf。

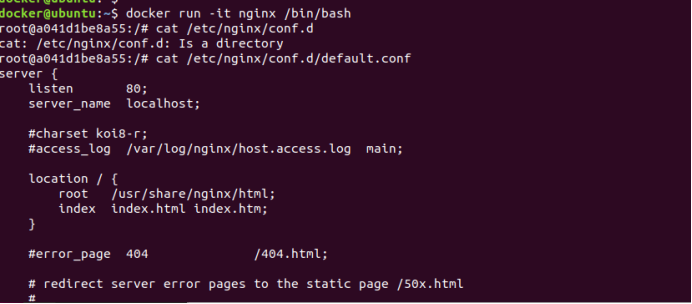
2-使用容器打开镜像,进入相关路径查看deflaut.conf配置文件
可以看到上面有我们所需要修改的信
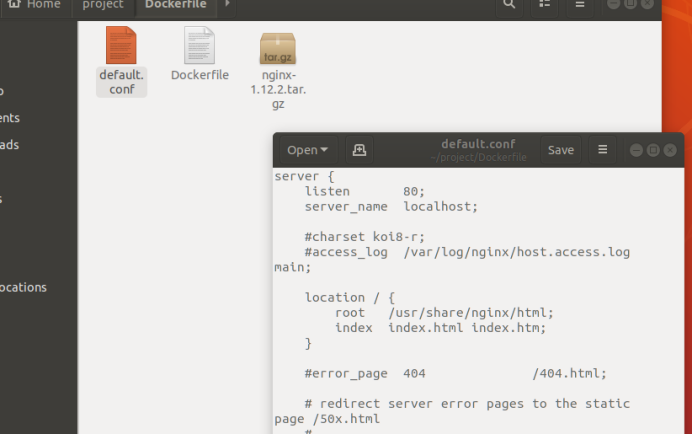
3、复制文件并进行修改

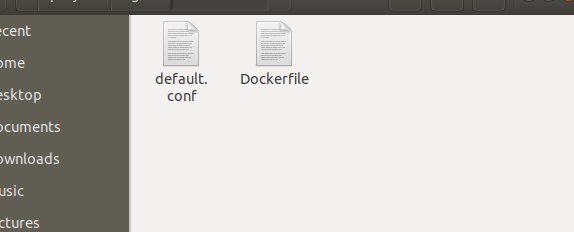
4、写Dockerfile文件,并在上下文路径来拉取定制nginx镜像
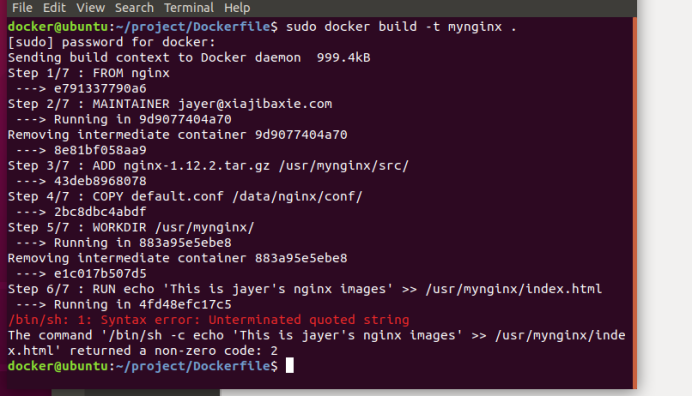
似乎其中的echo指令格式错了,修改后即成功
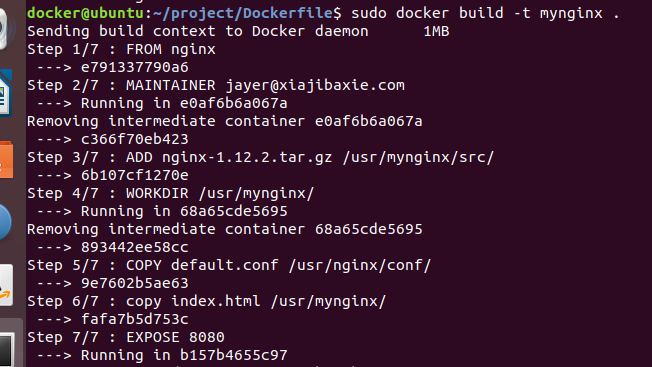
4、通过相关容器连接,并指定相关端口来开启web服务。

在浏览器访问web服务时发生错误...非常悲催

镜像是存在的,相关容器也有开启,端口也不存在占用问题,花了很久都没发现问题。一直以为是端口8080:8080的映射问题。

后来重新检查配置文件发现,其实是路径写错误了...应该放在讲defualt.conf文件放在etc/nginx/conf/里面

修改后成功
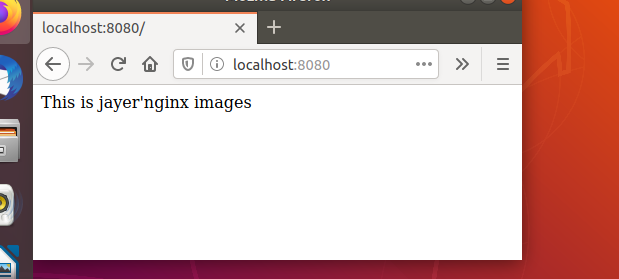
附:Dockerfile和deflaut配置文件
Dockfile:
FROM nginx

#MAINTAINER IFORMATION
MAINTAINER jayer@xiajibaxie.com

#WORKDIR
WORKDIR /usr/mynginx/

#CONFIGURATION
COPY default.conf /etc/nginx/conf.d/

#INDEX
RUN echo "This is jayer'nginx images" >> /usr/mynginx/index.html

#EXPOSE
EXPOSE 8080
defualt.conf:
server {
    listen       8080;
    server_name  localhost;

    #charset koi8-r;
    #access_log  /var/log/nginx/host.access.log  main;

    location / {
        root   /usr/mynginx/;
        index  index.html index.htm;
    }

    #error_page  404              /404.html;

    # redirect server error pages to the static page /50x.html
    #
    error_page   500 502 503 504  /50x.html;
    location = /50x.html {
        root   /usr/share/nginx/html;
    }

    # proxy the PHP scripts to Apache listening on 127.0.0.1:80
    #
    #location ~ .php$ {
    #    proxy_pass   http://127.0.0.1;
    #}

    # pass the PHP scripts to FastCGI server listening on 127.0.0.1:9000
    #
    #location ~ .php$ {
    #    root           html;
    #    fastcgi_pass   127.0.0.1:9000;
    #    fastcgi_index  index.php;
    #    fastcgi_param  SCRIPT_FILENAME  /scripts$fastcgi_script_name;
    #    include        fastcgi_params;
    #}

    # deny access to .htaccess files, if Apache's document root
    # concurs with nginx's one
    #
    #location ~ /.ht {
    #    deny  all;
    #}
}
二、实现一个自定义的数据库容器服务
1、展开Deckfile和相关文件的配置
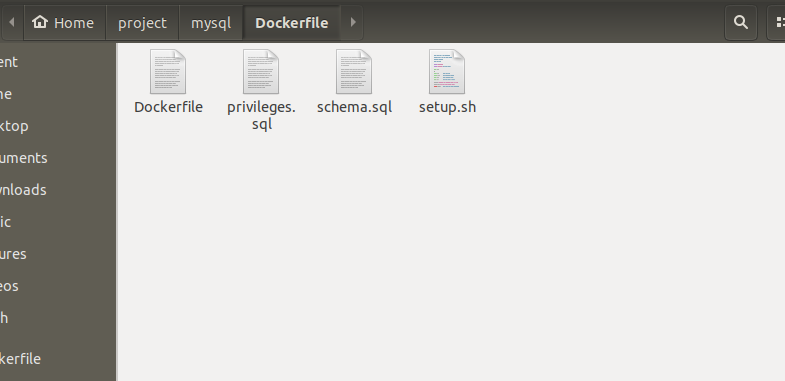
2、拉取定制镜像

3、容器连接,并进去容器


- PS:中间偶遇容器没有运行的BUG

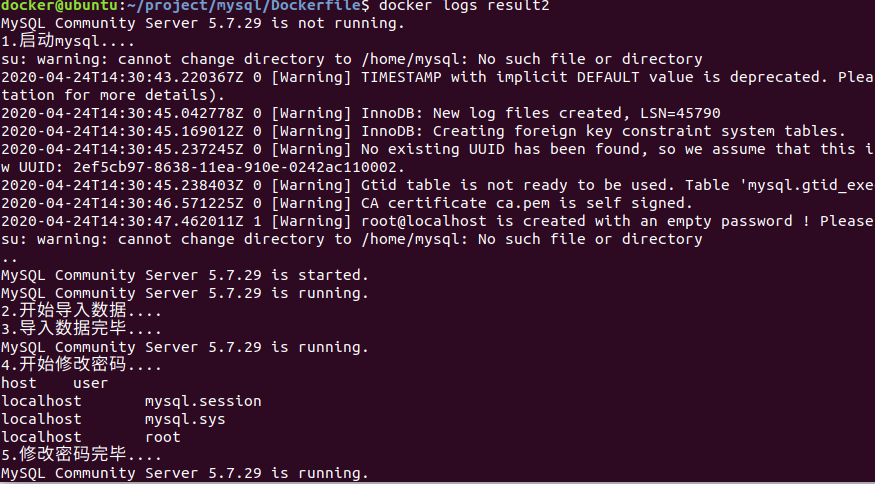
查看日志追根溯源发现应该是在schema.sql文件里面,那里的表格名字写错了

。。。成功后的日志文件
4、用户名登入

5、查看数据库和表

6、root用户登入

7、查看配置
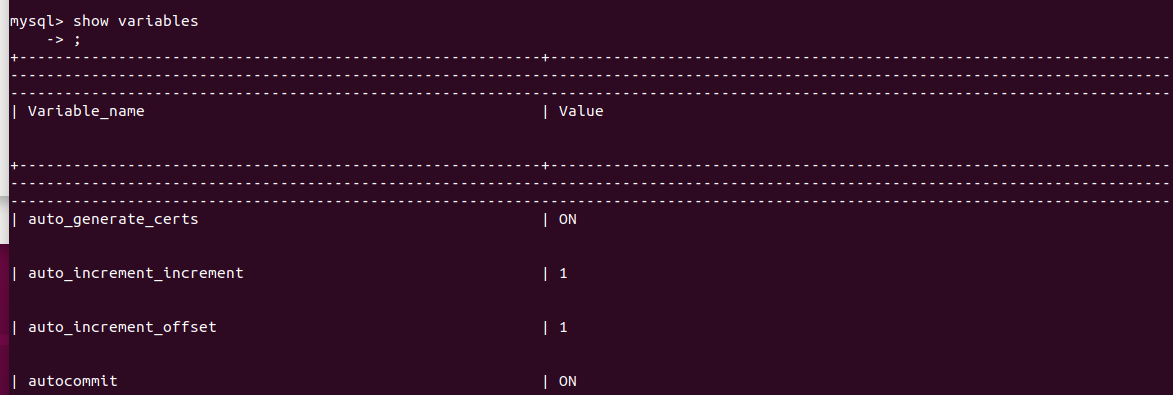
8、查看容器信息
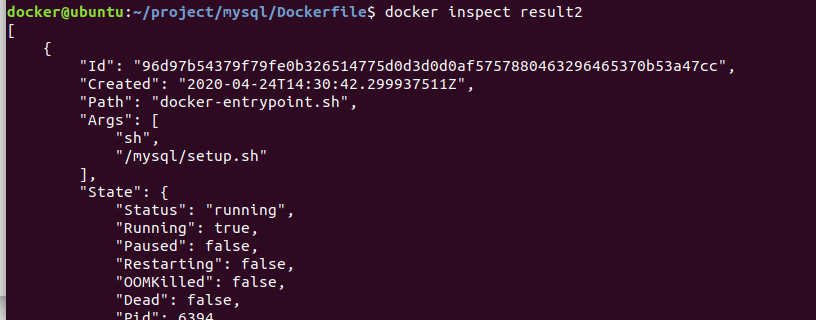
附:Dockerfile和相关配置文件
Dockerfile:
FROM mysql:5.7

#MAINTAINER INFORMATION
MAINTAINER jayer@xiajibaxie.com

#EVIRONMENT
ENV MYSQL_ALLOW_EMPTY_PASSWORD no
ENV MYSQL_ROOT_PASSWORD=123

#CONFIGURATION
COPY setup.sh /mysql/setup.sh
COPY schema.sql /mysql/schema.sql
COPY privileges.sql /mysql/privileges.sql

#COMMAND
CMD ["sh", "/mysql/setup.sh"]
setup.sh:
#!/bin/bash
set -e

#查看mysql服务的状态,方便调试,这条语句可以删除
echo `service mysql status`

echo '1.启动mysql....'
#启动mysql
service mysql start
sleep 3
echo `service mysql status`

echo '2.开始导入数据....'
#导入数据
mysql < /mysql/schema.sql
echo '3.导入数据完毕....'

sleep 3
echo `service mysql status`

#重新设置mysql密码
echo '4.开始修改密码....'
mysql < /mysql/privileges.sql
echo '5.修改密码完毕....'

#sleep 3
echo `service mysql status`
echo `mysql容器启动完毕,且数据导入成功`

tail -f /dev/null
~
privileges.sql:
use mysql;
select host, user from user;
create user jayer identified by '123456';
grant all on docker_mysql.* to jayer@'%' identified by '123456' with grant option;
flush privileges;
schema.sql:
create database `docker_mysql` default character set utf8 collate utf8_general_ci;

use docker_mysql;


DROP TABLE IF EXISTS Stu;

CREATE TABLE Stu (
  `Num` varchar(20) NOT NULL,
  `Name` varchar(20) DEFAULT NULL,
  `Class` varchar(10) DEFAULT NULL,
  PRIMARY KEY (`Num`)
) ENGINE=InnoDB DEFAULT CHARSET=latin1;

INSERT INTO Stu (`Num`, `Name`, `Class`)
VALUES
    ('123','jayer','1');