1.Install and configure the necessary dependencies
On CentOS 6 (and RedHat/Oracle/Scientific Linux 6), the commands below will also open HTTP and SSH access in the system firewall.
sudo yum install -y curl policycoreutils-python openssh-server cronie
sudo lokkit -s http -s ssh
注:如果出现“Another app is currently holding the yum lock; waiting for it to exit...”,执行“rm -f /var/run/yum.pid”把yum的进程杀掉就OK了
Next, install Postfix to send notification emails. If you want to use another solution to send emails please skip this step and configure an external SMTP server after GitLab has been installed.
sudo yum install postfix
sudo service postfix start
sudo chkconfig postfix on
During Postfix installation a configuration screen may appear. Select 'Internet Site' and press enter. Use your server's external DNS for 'mail name' and press enter.
If additional screens appear, continue to press enter to accept the defaults.
2. Add the GitLab package repository and install the package
Add the GitLab package repository.
curl https://packages.gitlab.com/install/repositories/gitlab/gitlab-ce/script.rpm.sh | sudo bash
Next, install the GitLab package. Change `http://gitlab.example.com` to the URL at which you want to access your GitLab instance.
Installation will automatically configure and start GitLab at that URL. HTTPS requires additional configuration after installation.
sudo EXTERNAL_URL="http://gitlab.example.com" yum -y install gitlab-ce
You can use GitLab instance URL like this:
sudo EXTERNAL_URL="https://mirrors.tuna.tsinghua.edu.cn/gitlab-ce/yum/el6" yum -y install gitlab-ce
有时会提示无法在线安装,出现error,让Trying other mirror...
只能选择自动下载rpm包,手动安装了:可以到 https://mirrors.tuna.tsinghua.edu.cn/gitlab-ce/yum/el6/ 下载

下载完成后,放到centos系统的某目录下,切换到该目录,执行:
rpm -ivh gitlab-ce-11.5.1-ce.0.el6.x86_64.rpm

出现以上信息,表示GitLab安装成功啦!
3. 安装成功后配置
首先就是端口占用问题,gitlab 启动会使用 80 端口,所以建议你在启动 gitlab 前先将不需要的服务都关掉,或者修改默认端口:
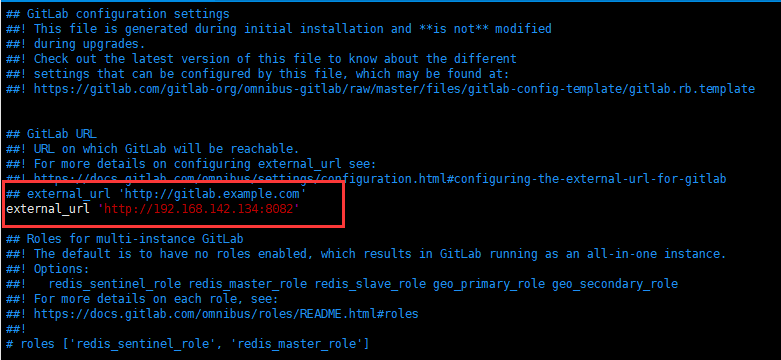
sudo vim /etc/gitlab/gitlab.rb
修改external_url

保存修改后,执行:
sudo gitlab-ctl reconfigure
过程可能比较长,请耐心等待...
4.启动gitlab服务
gitlab-ctl start
出现问题:

解决办法:查看防火墙状态,把防火墙关闭:

重启服务,再次访问:出现 502的错误...

除了 80 这个端口外,还有一个unicorn用的端口,默认是8080,如果8080端口被其他程序占用。
那么unicorn就会无法启动,显示为502错误,”GitLab is not responding”。
解决办法:修改 /etc/gitlab/gitlab.rb,增加以下内容:
unicorn['port'] = 8883
保存修改后,执行gitlab-ctl reconfigure,再重启gitlab服务即可。

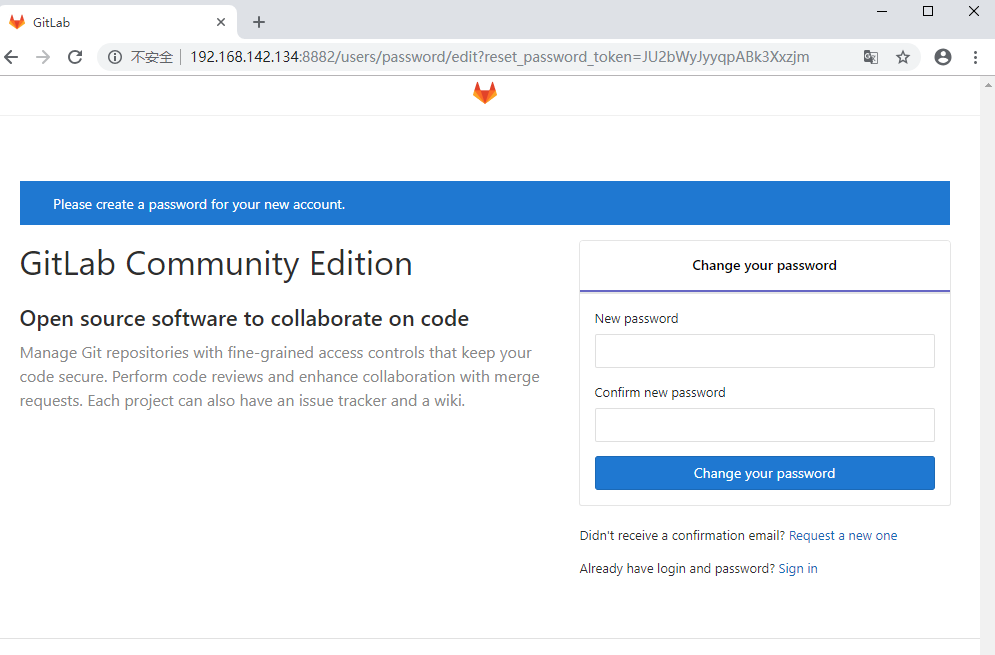
上面需要设置密码,对应的用户名是root
设置成功后,登录,进入登录成功页面:
