项目前言
之前已经写了一篇关于git和ansible的博客《Git+Gitlab+Ansible剧本实现一键部署Nginx–技术流ken》。关于git,gitliab,ansible在我以往的博客中都已经详细介绍,这里就不再赘述。
上一篇部署的nginx是一个静态的网站,本篇博客将使用这三个工具部署一个动态网站。
本项目将使用wordpress为例。

项目需求
需求一.、使用gitlab创建项目
需求二、 使用ansible的roles实现一键化部署wordpress
每次部署需要备份之前的网站数据
使用roles
使用templates
脚本对网站监控检测
需求三、 完成之后项目上传至gitlab
项目部署环境
centos7
Gitlab服务器: 10.220.5.137
Ansible服务器: 10.220.5.138
wordpress服务器1: 10.220.5.139
防火墙以及selinux关闭状态
创建gitlab项目
使用gitlab创建一个项目
相信大家对这个已经很熟悉了,所以我就不再详细演示该过程
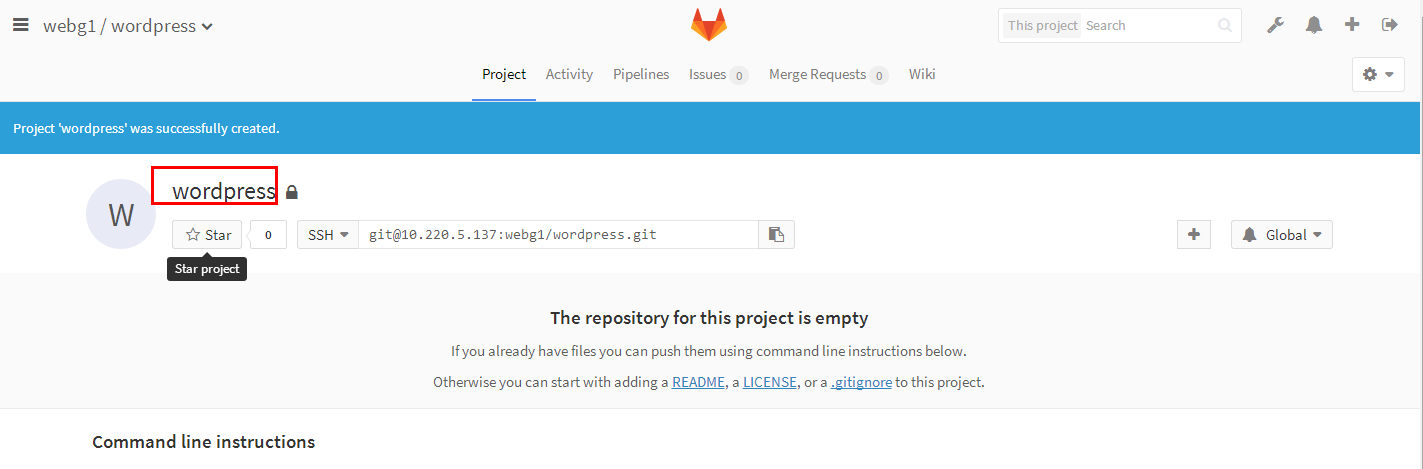
第一步:打开浏览器创建项目
这里我创建了一个wordpress的项目
上传安装包到远程仓库
上传wordpress到gitlab
第一步:创建目录
[root@ken ~]# mdkir /k
[root@ken ~]# cd /k
第二步:找到远程仓库的位置
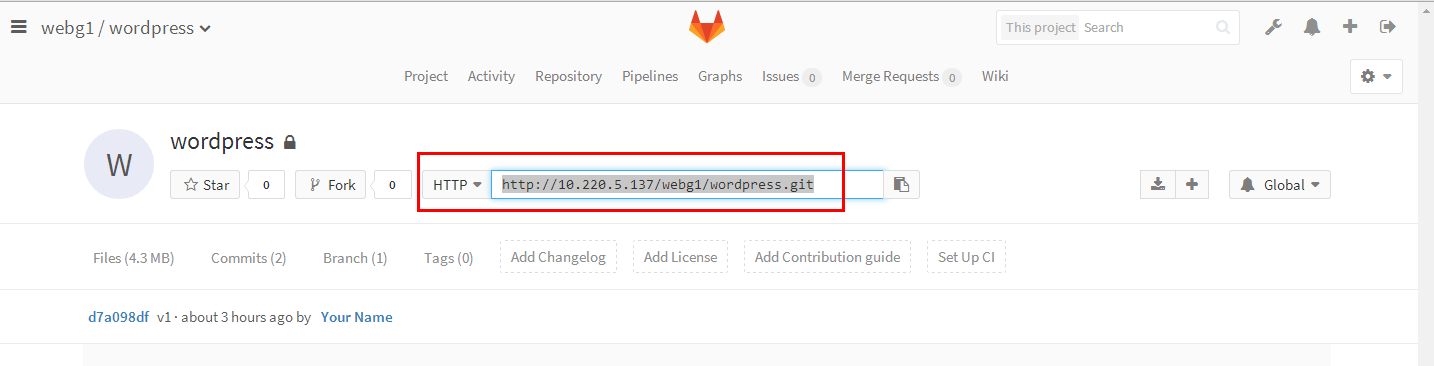

第三步:下载远程仓库项目

[root@ken k]# git clone http://10.220.5.137/webg1/wordpress.git
Cloning into 'wordpress'...
Username for 'http://10.220.5.137': root
Password for 'http://root@10.220.5.137':
remote: Counting objects: 1045, done.
remote: Compressing objects: 100% (957/957), done.
remote: Total 1045 (delta 68), reused 1042 (delta 68)
Receiving objects: 100% (1045/1045), 4.14 MiB | 0 bytes/s, done.
Resolving deltas: 100% (68/68), done.
[root@ken k]#
第四步:上传本地安装包至远程目录
[root@ken k]# git add wordpress
[root@ken k]# git commit -m "v1"
[root@ken k]# git push
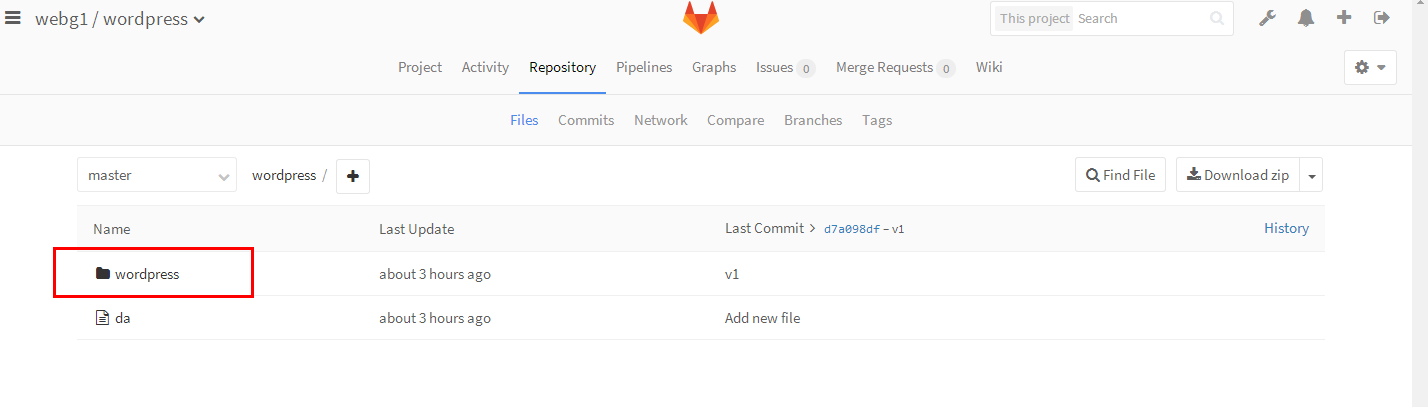
第五步:web端查看

编写ansible剧本
上一篇博客已经详细讲解了有关roles的使用,这里我们依然是使用roles来完成该项目
第一步:创建相关目录
在ansible服务器端操作
[root@ken ~]# mkdir /project/roles/wordpress/{vars,tasks,files,templates} -pv
第二步:编写templates模版
  [root@ken ~]# cp /etc/httpd/conf/httpd.conf /project/roles/wordpress/templates/httpd.conf.j2
  [root@ken ~]# grep -v -E '^#|^$| +#' /project/roles/wordpress/templates/httpd.conf.j2
  ServerRoot "/etc/httpd"
  Listen {{ port }}    #定义成变量
  Include conf.modules.d/*.conf
  User {{ user }}       #定义成变量
  Group apache
  ServerAdmin root@localhost
  ServerName {{ ansible_eth0.ipv4.address }}  #引用内置变量
  DocumentRoot {{ root }}               #定义成变量
第三步:编辑hosts配置文件
[root@ken project]# vim /etc/ansible/hosts
[devser]
10.220.5.139
第四步:编写测试文件
[root@ken project]# vim roles/wordpress/files/index.php
<?php
phpinfo();
?>
第五步:编写网站健康监测脚本
[root@ken project]# cd roles/wordpress/files/
[root@ken files]# ls
[root@ken files]# vim check.sh
[root@ken files]# cat check.sh
#!/bin/bash
URL=$1
PORT=$2
curl -I http://$1:$2/index.php | grep "200 OK" &>/dev/null
if [ $? -eq 0 ];then
    echo "$1 status is ok"
else
    echo "$1 status is not ok"
fi
第六步:编写tasks下的文件
[root@ken wordpress]# cat tasks/main.yml
######## 安装 httpd php mysql ###############
- name: install httpd
  yum: name=httpd state=present
- name: install mysql
  yum: name=mariadb-server state=present
- name: install php
  shell: yum install php php-mysql -y
######## 配置httpd #########################
- name: make configrantion file
  template: src=httpd.conf.j2 dest=/etc/httpd/conf/httpd.conf
- name: install test page
  copy: src=index.php dest={{ root }}
######## 启动服务 ####################
- name: start httpd
  service: name=httpd state=restarted
- name: start mysql
  service: name=mariadb state=restarted
######### 检查部署结果是否正常 ##########
- name: make health check
  shell: sh roles/wordpress/files/check.sh {{ ansible_eth0.ipv4.address }} {{ port }}
  delegate_to: localhost
  register: health_status
- debug: msg="{{ health_status.stdout }}"
########## 从gitlab拉取代码 #################
- name: backup old files
  shell: mv {{ root }} {{ backup_to }}
- name: close ssl authtication
  shell: git config --global http.sslVerify false
- name: git clone wordpress from gitlab
  git: "repo=http://{{ gitlab_user }}:{{ gitlab_pass }}@10.220.5.137/webg1/wordpress.git dest={{ root }} version=master"
第七步:编写vars下的文件
[root@ken ~] # cat /project/roles/wordpress/vars/main.yml
port: 82
user: apache
root: /var/www
gitlab_user: root
gitlab_pass: 12345678
第八步:编辑剧本
剧本一定要和roles在同一个目录之中
执行剧本的时候也要在roles同级目录下执行
[root@ken ~]# vim /project/wordpress.yaml
- hosts: all
  vars:
     backup_to: "{{ root }}_{{ ansible_date_time.epoch }}"
  roles:
   - wordpress
第九步:一键部署wordpress
[root@ken ~]# cd /project/
[root@ken project]# ansible-playbook -i wordpress.yaml
第十步:查看执行过程
可以发现没有报错
第一个警告是提示我们port这个我们定义的变量是保留变量
第二个警告是提示我们应当使用yum来安装软件,我们是使用了shell
这两个警告都可以忽略
[root@ken project]# ansible-playbook dev.yaml
 [WARNING]: Found variable using reserved name: port


PLAY [all] ************************************************************************************

TASK [Gathering Facts] ************************************************************************
ok: [10.220.5.139]

TASK [wordpress : install httpd] **************************************************************
ok: [10.220.5.139]

TASK [wordpress : install mysql] **************************************************************
ok: [10.220.5.139]

TASK [wordpress : install php] ****************************************************************
 [WARNING]: Consider using the yum module rather than running yum.  If you need to use command
because yum is insufficient you can add warn=False to this command task or set
command_warnings=False in ansible.cfg to get rid of this message.

changed: [10.220.5.139]

TASK [wordpress : make configrantion file] ****************************************************
ok: [10.220.5.139]

TASK [wordpress : install test page] **********************************************************
changed: [10.220.5.139]

TASK [wordpress : start httpd] ****************************************************************
changed: [10.220.5.139]

TASK [wordpress : start mysql] ****************************************************************
ok: [10.220.5.139]

TASK [wordpress : make health check] **********************************************************
changed: [10.220.5.139 -> localhost]

TASK [wordpress : debug] **********************************************************************
ok: [10.220.5.139] => {
    "msg": "10.220.5.139 status is ok"
}

TASK [wordpress : backup old files] ***********************************************************
changed: [10.220.5.139]

TASK [wordpress : close ssl authtication] *****************************************************
changed: [10.220.5.139]

TASK [wordpress : git clone wordpress from gitlab] ********************************************
changed: [10.220.5.139]

PLAY RECAP ************************************************************************************
10.220.5.139               : ok=13   changed=7    unreachable=0    failed=0
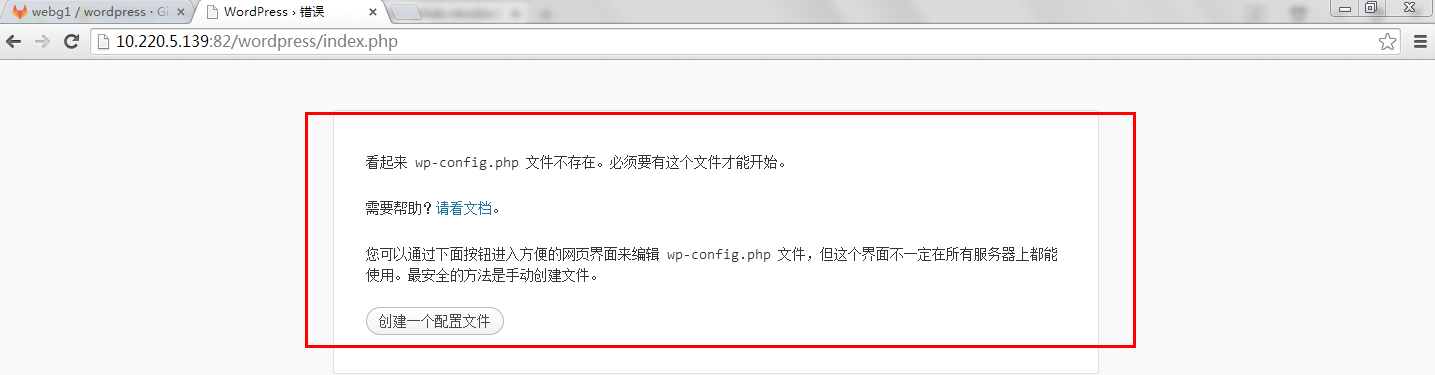
第十一步:浏览器查查
访问成功!
接下来就可以进行数据库的配置了

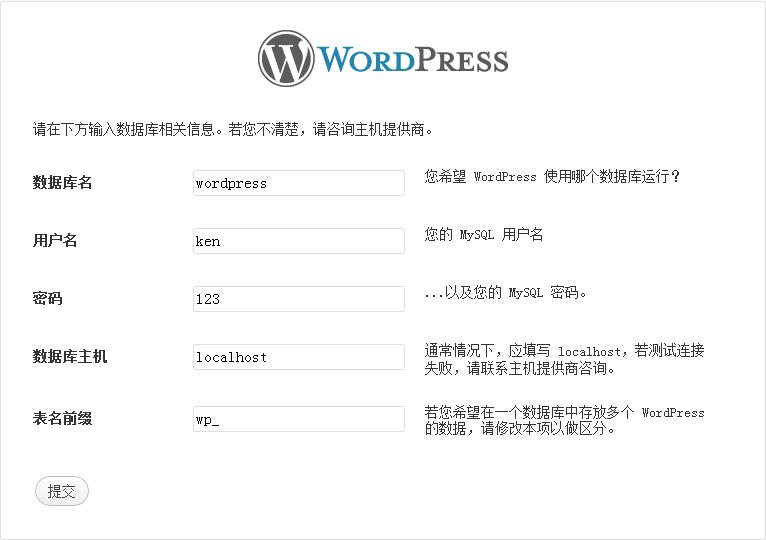
第十二步:配置数据库
因为数据很重要,建议不要写在剧本,还是自己手动设置吧!
第一步:创建库和用户
[root@ken ~]# mysql -uroot -p123
Welcome to the MariaDB monitor.  Commands end with ; or g.
Your MariaDB connection id is 4
Server version: 5.5.60-MariaDB MariaDB Server

Copyright (c) 2000, 2018, Oracle, MariaDB Corporation Ab and others.

Type 'help;' or 'h' for help. Type 'c' to clear the current input statement.

MariaDB [(none)]> create database wordpress;
Query OK, 1 row affected (0.02 sec)

MariaDB [(none)]> grant all on wordpress.* to ken@'localhost' identified by '123';
Query OK, 0 rows affected (0.03 sec)

MariaDB [(none)]> flush privileges;
Query OK, 0 rows affected (0.02 sec)

MariaDB [(none)]> exit
Bye
第二步:浏览器访问
填写你刚才创建数据库的信息
点击提交即可

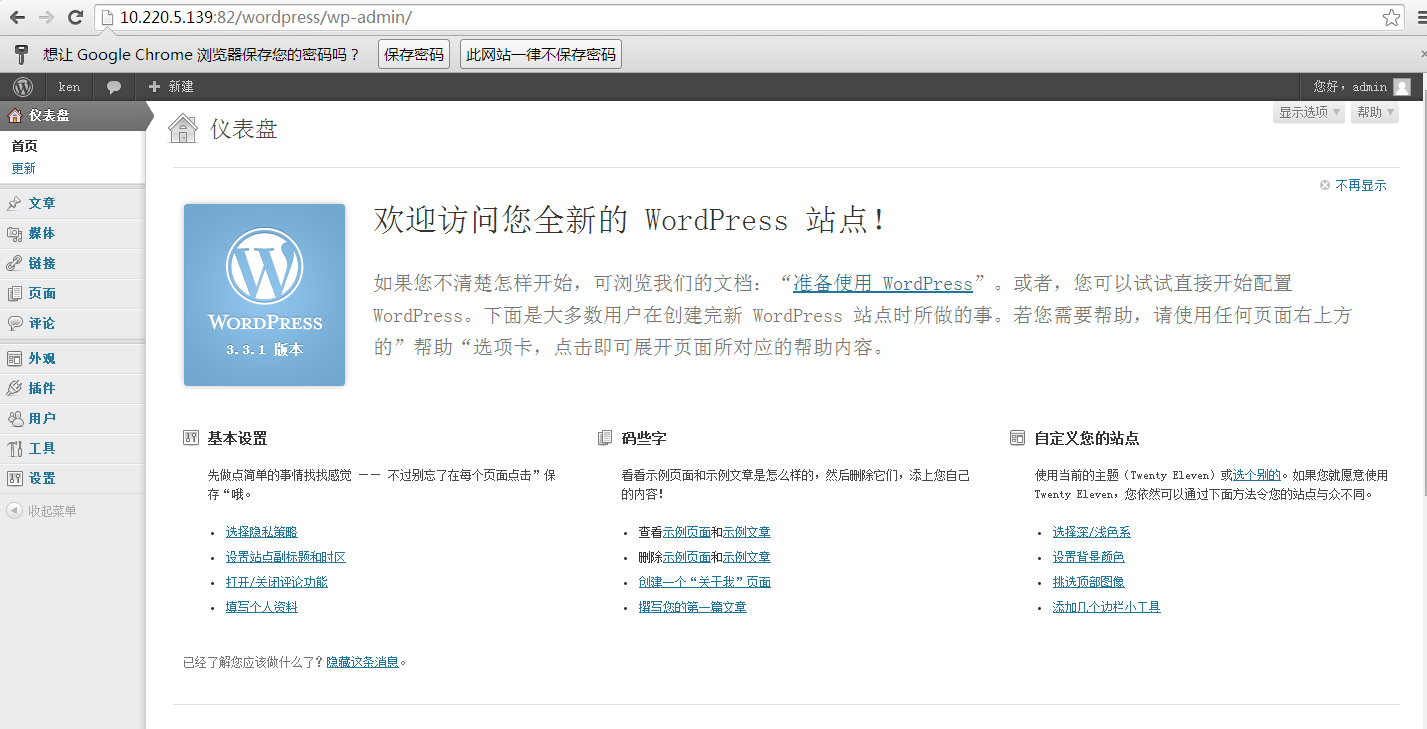
第三步:网站部署成功

代码提交
第一步:创建目录
[root@ken project]# mkdir /ke
[root@ken project]# cd /ke
第二步:下载仓库
[root@ken ke]# git clone http://10.220.5.137/webg1/wordpress.git
[root@ken ke]# cd wordpress/
第三步:代码提交
[root@ken wordpress]# cp /project -a ./
[root@ken wordpress]# git add project
[root@ken wordpress]# git commit -m "v2"
[root@ken wordpress]# git push
第四步:web端查看
可以发现v2的版本已经被提交上来了

