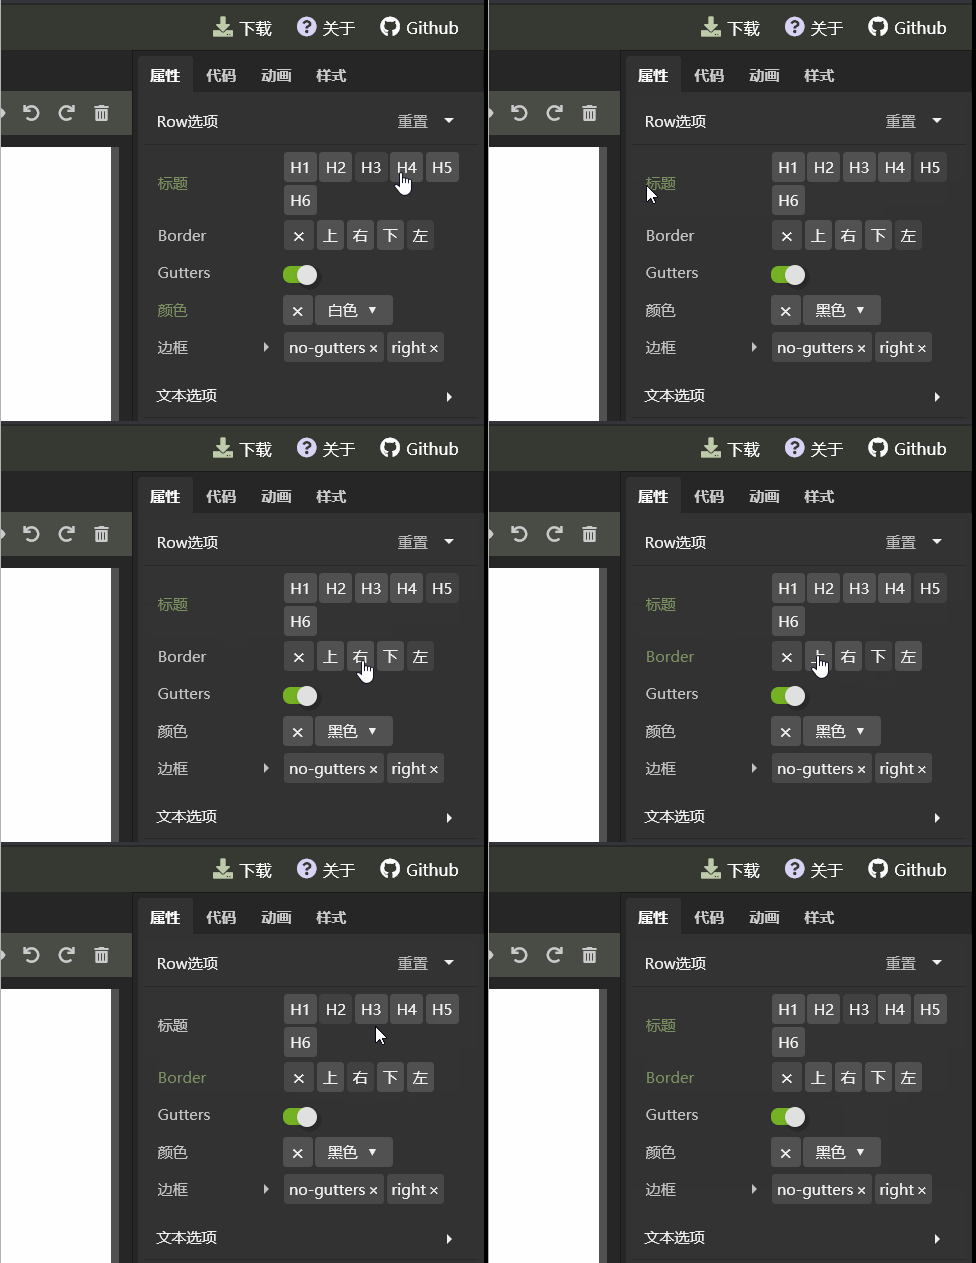
按钮点选输入,是一个非常简单的控件,20分钟就能完成的一个控件。先看效果:

根据以前的设定,通过json数据动态生成这两个按钮,示例中这两个按钮对应的json代码:
      {
        label:'标题',
        value:'h2',
        defaultValue:'h2',
        inputName:'RxButtonSelect',
        props:{
          canClear:false,
          list:{
            h1:'H1',
            h2:'H2',
            h3:'H3',
            h4:'H4',
            h5:'H5',
            h6:'H6',
          },
        },
      },
      {
        label:'Border',
        value:'left',
        defaultValue:'left',
        inputName:'RxButtonSelect',
        props:{
          canClear:true,
          list:{
            top:'上',
            right:'右',
            bottom:'下',
            left:'左',
          },
        },
      },
RxInputRow会把这个数据转化成上面的按钮。
按钮实现代码:
<template>
  <div class="rx-button-select">
    <div class="clear-button"
      v-if="canClear"
      @click="clear"
    >×</div>
    <div class="select-button"
      v-for = "(name, value) in list"
      :class = "inputValue === value ? 'selected' : ''"
      @click = "itemClick(value)"
      v-html = "name"
    >
    </div>
  </div>
</template>

<script>
export default {
  name: 'RxButtonSelect',
  props:{
    value:{ default:'' },
    canClear:{ default:false },
    list:{ default:{} },
  },

  computed:{
    inputValue: {
      get:function() {
        return this.value;
      },
      set:function(val) {
        this.$emit('input', val);
      },
    },
  },

  data () {
    return {
    }
  },

  methods: {
    clear(event){
      this.inputValue = ''
    },

    itemClick(value){
      this.inputValue = value
    },
  },
}
</script>

<style>
.rx-button-select{
  display: flex;
  flex-flow: row;
  flex-wrap: wrap;
  align-items: center;
}

.rx-button-select .clear-button{
  display: flex;
  align-items: center;
  justify-content: center;
  width: 24px;
  height: 24px;
  background: rgba(255,255,255,0.1);
  border-radius: 3px;
  margin:1px;
  font-size: 16px;
  cursor: pointer;
}

.rx-button-select .select-button{
  display: flex;
  align-items: center;
  justify-content: center;
  height: 24px;
  padding: 0 5px;
  background: rgba(255, 255, 255, 0.15);
  border-radius: 3px;
  margin:1px;
  font-size: 12px;
  cursor: pointer;
}

.rx-button-select .select-button.selected{
  background: rgba(255, 255, 255, 0.07);
}
</style>
canClear属性用与指示按钮,是否可以清空数值。
之前的文章中没提的是,按钮的颜色变化,是通过给按钮设置白色半透明背景实现的,这样只要主题背景是深颜色,就会有同样的效果,不会出现色系冲突。
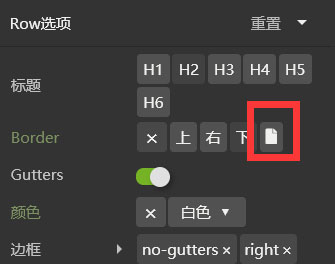
渲染按钮的时候,使用了v-html,如果想给按钮加图标,直接在list里放入图标代码,如:left:"<i class='fas fa-file'></i>",效果如下:

详细代码,请参考Github:https://github.com/vularsoft/studio-ui
若有有问题,请留言交流。