1.先看一段英文代码The Python Imaging Library (PIL) adds image processing capabilities to your Python interpreter. This library supports many file formats, and provides powerful image processing and graphics capabilities,意思是说PIL给Python增加了图像处理功能,这个库可以处理多种文件格式图像,提供了强大的图像处理和图形处理能力。
2.安装PIL,目前一般的PIL版本只支持python2.x版本,如果想用3.0以后的,先下载anaconda这个平台,使用起来分方便,自带spyder和qtpython插件,下载地址见https://repo.continuum.io/archive/,里面有各种平台的安装包,根据你的平台具体下载,这个平台安装好后可以很方便下载很多python支持库,本人用的Anaconda3这个版本系列。
3.这个PIL使用起来很精单首先导入模块:from PIL import Image,并查看模块内容,里面有好多组件,Image就是一个常用组件
from PIL import Image
dir(PIL)
Out[17]:
['BmpImagePlugin',
 'GifImagePlugin',
 'GimpGradientFile',
 'GimpPaletteFile',
 'Image',
 'ImageChops',
 'ImageColor',
 'ImageEnhance',
 'ImageFile',
 'ImageFilter',
 'ImageMode',
 'ImagePalette',
 'ImageSequence',
 'ImageStat',
 'JpegImagePlugin',
 'JpegPresets',
 'PILLOW_VERSION',
 'PaletteFile',
 'PngImagePlugin',
 'PpmImagePlugin',
 'TiffImagePlugin',
 'TiffTags',
 'VERSION',
 '__builtins__',
 '__cached__',
 '__doc__',
 '__file__',
 '__loader__',
 '__name__',
 '__package__',
 '__path__',
 '__spec__',
 '__version__',
 '_binary',
 '_imaging',
 '_plugins',
 '_util',
 'version']
3.打开一幅图像:open(fp, mode="r")第一个参数为文件路径,第二个为打开模式一般默认只读
img = Image.open('girl1.jpg')
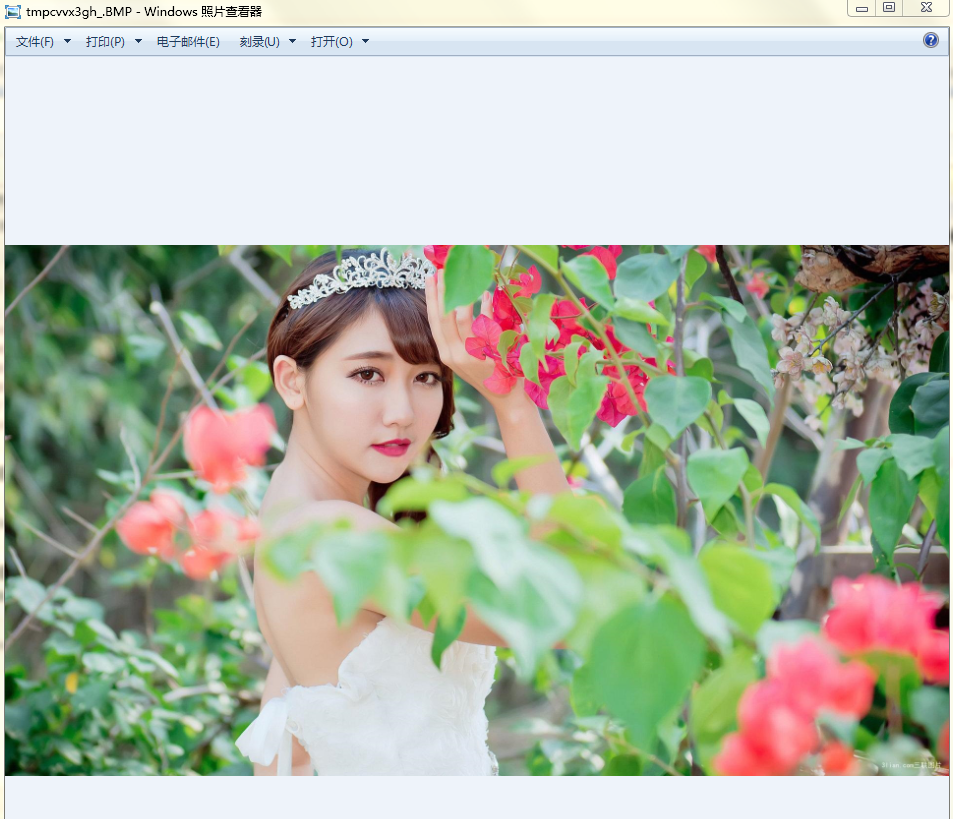
4.将打开的图像显示出来调用:show(self, title=None, command=None), On Windows, it saves the image to a temporary BMP file, and usesthe standard BMP display utility to show it (usually Paint).:param title: Optional title to use for the image window,where possible.:param command: command used to show the image,一般会产生一幅临时图像,然后调用默认的图像查看器显示图像
img.show()
5.查看图像尺寸img.size
w,h = img.size
w
Out[27]: 1920
h
Out[28]: 1080
6.缩放图像img:thumbnail(self, size, resample=BICUBIC),第二个参数是缩放尺寸,第三个参数可以指定缩放模式,有`PIL.Image.NEAREST`, `PIL.Image.BILINEAR`,`PIL.Image.BICUBIC`, `PIL.Image.LANCZOS`.这四种模式
In:img.thumbnail((w/2,h/2))
In:img.size
Out[33]: (960, 540)

7.保存图像save(self, fp, format=None, **params)
img.save('D:\girl.jpeg','jpeg')
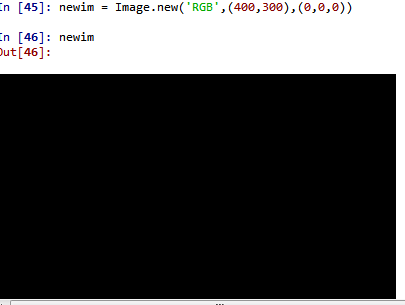
8.根据所给的模式和尺寸创建一幅新图像new(mode, size, color=0),模式,尺寸,颜色
9.选中图片一部分进行复制crop(self, box=None) The crop rectangle, as a (left, upper, right, lower)-第二个参数为一个矩形也就是一个四个元素的元组

10.粘贴图像paste(self, im, box=None, mask=None)
