这里面我们总结一下es的一些基础使用。
es的基础用法
一、es索引的创建
在postman中,请求url地址:192.168.1.112:9200/user。请求方式:PUT。请求内容如下:
{
    "settings": {
        "number_of_shards": 3,
        "number_of_replicas": 1
    },
    "mapping": {
        "man": {
            "properties": {
                "name": {"type": "text"},
                "country": {"type": "keyword"},
                "age": {"type": "integer"},
                "date": {"type": "date", "format": "yyyy-MM-dd HH:mm:ss || yyyy-MM-dd"}
            }
        },
        "woman": {

        }
    }
}
请求返回的内容如下:
{
    "acknowledged": true,
    "shards_acknowledged": true,
    "index": "user"
}
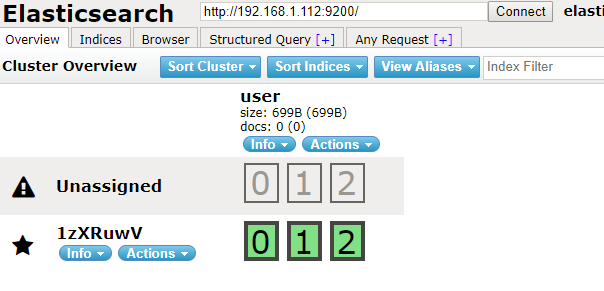
在es-head里面可以看到创建的user索引
二、数据的插入
在postman中,请求url地址:192.168.1.112:9200/user/man/1。请求方式:PUT。请求内容如下:
{
    "name": "huhx",
    "country": "China",
    "age": 33,
    "date": "2017-12-17"
}
请求返回的内容如下:
{
    "_index": "user",
    "_type": "man",
    "_id": "1",
    "_version": 1,
    "result": "created",
    "_shards": {
        "total": 2,
        "successful": 1,
        "failed": 0
    },
    "_seq_no": 0,
    "_primary_term": 1
}
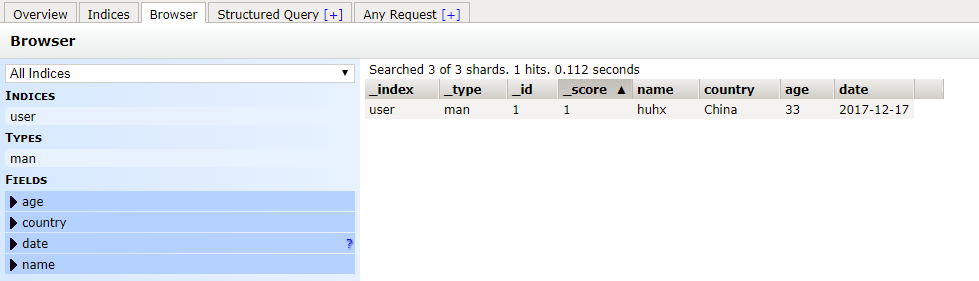
在es-head里面的BrowserKnow可以看到插入的数据
三、数据的修改
es数据的修改分为两种,一种是直接的修改,一种是通过脚本去修改。
- 直接的修改:
在postman中,请求url地址:192.168.1.112:9200/user/man/1/_update。请求方式:POST。请求内容如下:
{
    "doc": {
        "name": "linux"
    }
}
返回的内容如下:
{
    "_index": "user",
    "_type": "man",
    "_id": "1",
    "_version": 2,
    "result": "updated",
    "_shards": {
        "total": 2,
        "successful": 1,
        "failed": 0
    },
    "_seq_no": 1,
    "_primary_term": 1
}
es-head查看结果:

- 通过脚本修改
在postman中,请求url地址:192.168.1.112:9200/user/man/1/_update。请求方式:POST。请求内容如下:
{
    "script": {
        "lang": "painless",
        "inline": "ctx._source.age += 20"
    }
}
返回的内容如下:
{
    "_index": "user",
    "_type": "man",
    "_id": "1",
    "_version": 3,
    "result": "updated",
    "_shards": {
        "total": 2,
        "successful": 1,
        "failed": 0
    },
    "_seq_no": 2,
    "_primary_term": 1
}
es-head查看结果:

四、es中删除的操作
- 文档的删除
在postman中,请求url地址:192.168.1.112:9200/user/man/1。请求方式:DELETE。没有请求的内容,返回的内容如下:
{
    "_index": "user",
    "_type": "man",
    "_id": "1",
    "_version": 4,
    "result": "deleted",
    "_shards": {
        "total": 2,
        "successful": 1,
        "failed": 0
    },
    "_seq_no": 3,
    "_primary_term": 1
}
es-head查看数据,可以看到已经被删除:

- 索引的删除
在postman中,请求url地址:192.168.1.112:9200/user。请求方式:DELETE。没有请求的内容,返回的内容如下:
{
    "acknowledged": true
}
在es-head中可以看到user的索引已经被删除了。
