当下.net中比较火的模式MVC模式,说实话对于菜鸟的我还没有遇到一个比较健全的MVC模式的项目也是比较遗憾。偶然间在网上看到WebForm实现MVC中的模式(主要是控制器。。。)就学习了一波,下面是介绍一下是如何实现的。
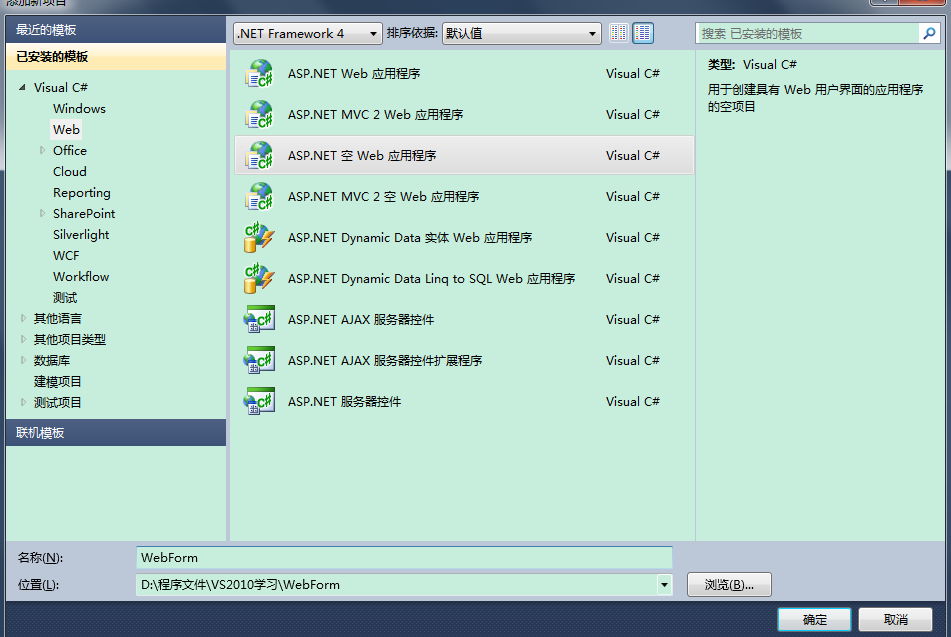
小主用的是VS2010,首先打开VS新建一个空Web应用程序:

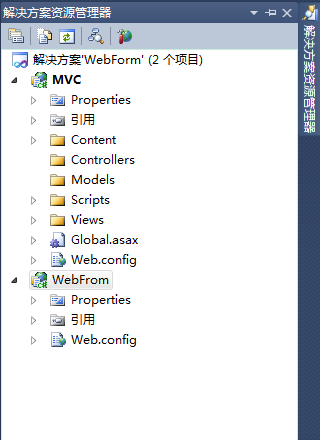
之后在新建一个MVC的Web如下图。。。

项目新建完成后,如下图

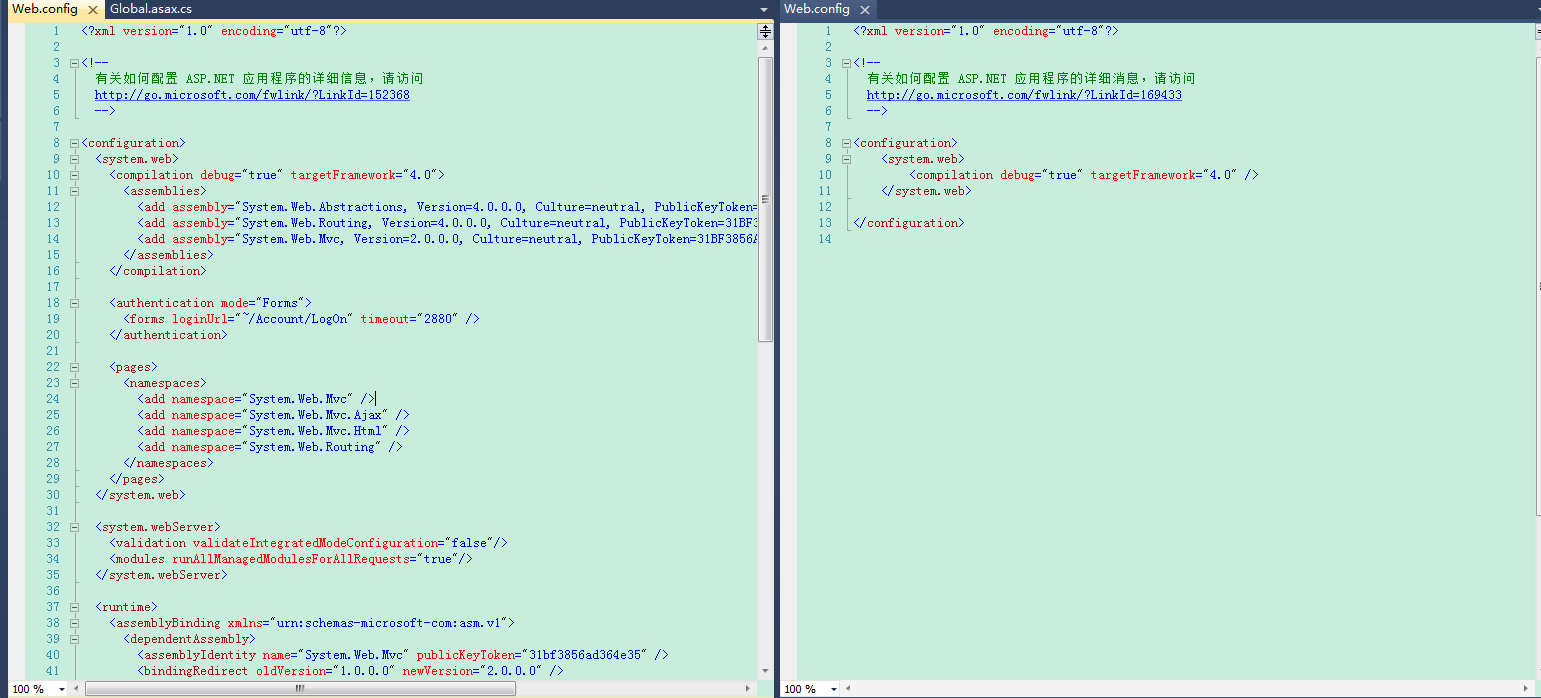
分别打开MVC与WebForm的Web.config配置文件如图(左:MVC,右:WebForm)

左边的<system.web>下面的
<compilation debug="true" targetFramework="4.0">
<assemblies>
<add assembly="System.Web.Abstractions, Version=4.0.0.0, Culture=neutral, PublicKeyToken=31BF3856AD364E35" />
<add assembly="System.Web.Routing, Version=4.0.0.0, Culture=neutral, PublicKeyToken=31BF3856AD364E35" />
<add assembly="System.Web.Mvc, Version=2.0.0.0, Culture=neutral, PublicKeyToken=31BF3856AD364E35" />
</assemblies>
</compilation>
配置引用三个程序集,先在WebForm引入System.Web.Abstractions、System.Web.Routing、System.Web.Mvc程序集,然后添加上面标签。(引入程序集,我们可以在MVC下面的引用中查看该程序集的位置,可以直接复制粘贴过来)。
上述操作完成后,发现WebForm下面没有Global.asax,这时候我们新增一个‘全局应用程序类’,如下图:

查看MVC与WebForm的Global里面的不同,我们发现MVC里面进行了路由配置。所以我们也像这边配置,我们可以新建MVC文件夹在里面新增RouteConfig.cs和Controllers文件夹

 internal static void RegisterRoutes(RouteCollection routes)
        {
            routes.IgnoreRoute("{resource}.axd/{*pathInfo}");

            routes.MapRoute(
                "Default", // 路由名称
                "{controller}/{action}/{id}", // 带有参数的 URL
                new { controller = "Home", action = "Index", id = UrlParameter.Optional } // 参数默认值
            );
        }
再在Global里面配置路由:
  protected void Application_Start(object sender, EventArgs e)
        {
            AreaRegistration.RegisterAllAreas();
            RouteConfig.RegisterRoutes(RouteTable.Routes);
        }
然后在Controllers文件夹中,新建类继承Controller(新建类必须以Controller结尾)
using System;
using System.Collections.Generic;
using System.Linq;
using System.Web;
using System.Web.Mvc;

namespace WebFrom.MVC.Controllers
{
    public class TestController : Controller
    {
        public string GetMsg(string msg)
        {
            //var msg=Request[""]
            return msg+"测试成功";
        }
    }
}
最后新建页面进行测试:
<body>
    <form id="form1" runat="server">
    <div>
        <input id="test" type="button" value="test" onclick="fnGetMsg()" />
    </div>
    </form>
    <script>
        function fnGetMsg() {
            var msg = $("#test").val();
            $.post("../../Test/GetMsg", { msg: msg }, function (data) {
                if (data)
                    alert(data);
            });
        }
    </script>
</body>
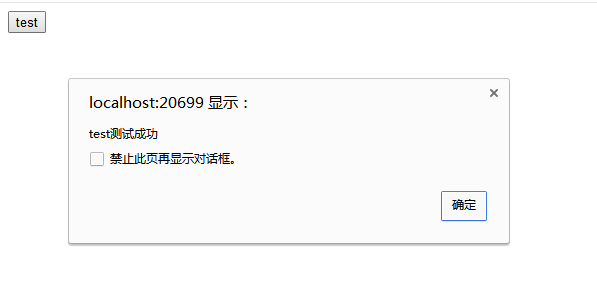
运行结果:

大功告成。。。。。