1、安装pytest 版本
pip3 install pytest==4.0.2
2、pytest的用例编写规则
- 测试文件以test_开头(以_test结尾也可以),注意:pytest 文件名.py不受此规则限制。
- 测试类以Test开头,并且不能带有 __init__ 方法
- 测试函数以test_开头
- 断言使用基本的assert即可
3、为什么使用pytest:可以通过命令行来对测试用例进行控制
举例:test_a.py
import pytest

def test_case1():
    print("--- test_a ---")
    assert True

def test_case2():
    print("--- test_b ---")
    assert True
执行1:pytest #会执行所有test_ 开头的文件

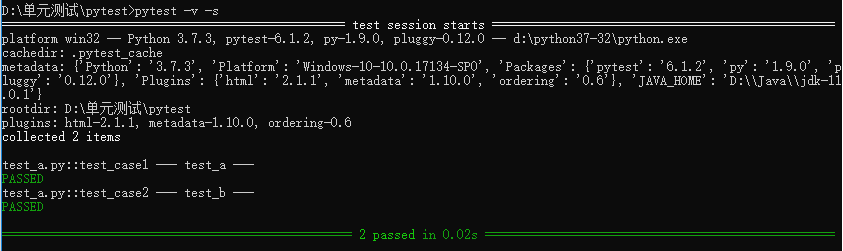
执行2:pytest -v -s # -v显示运行的函数,-s运行显示内部的打印信息
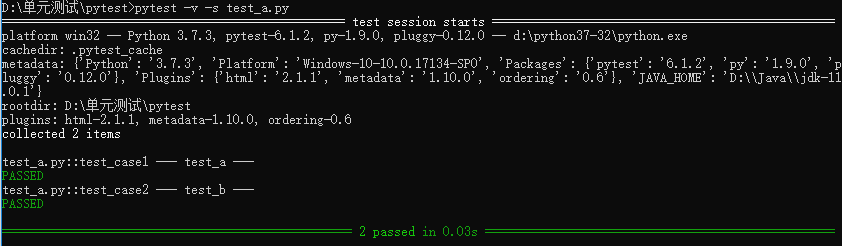
执行3:pytest -v -s test_a.py
执行4: pytest -k case2 #case2 是关键字,筛选测试文件、测试类名、测试方法中包含关键字的,均可被执行

执行5:pytest test_a.py::test_case1 -s -v #执行指定的测试方法

4、执行某个测试方法
代码举例:
import pytest

class Calc(object):
    @classmethod
    def add(cls, x, y, *d):
        # 加法计算
        result = x + y
        for i in d:
            result += i
        return result

    @classmethod
    def sub(cls, x, y, *d):
        # 减法计算
        result = x - y
        for i in d:
            result -= i
        return result

    @classmethod
    def mul(cls, x, y, *d):
        # 乘法计算
        result = x * y
        for i in d:
            result *= i
        return result

    @staticmethod
    def div(x, y, *d):
        # 除法计算
        if y != 0:
            result = x / y
        else:
            return -1
        for i in d:
            if i != 0:
                result /= i
            else:
                return -1
        return result


def test_add():
    assert Calc.add(1, 2, 3) == 6

def test_sub():
    assert Calc.sub(100, 20, 30) == 50


class TestCalc():
    def test_mul(self):
        assert Calc.mul(2, 3, 4) == 24

    def test_div(self):
        assert Calc.div(32, 8, 4) == 2
执行1:pytest test_c.py::TestCalc::test_mul -s -v #执行指定的函数

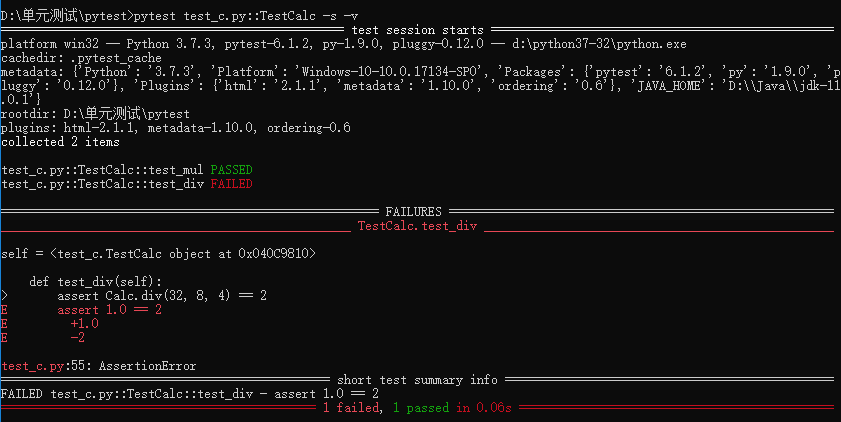
执行2:pytest test_c.py::TestCalc -s -v #执行指定的类
执行3:pytest test_c.py::TestCalc -s -v --reruns 3 #3表示重跑3次

5、生成pytest测试报告
- 安装包:pip install pytest-html
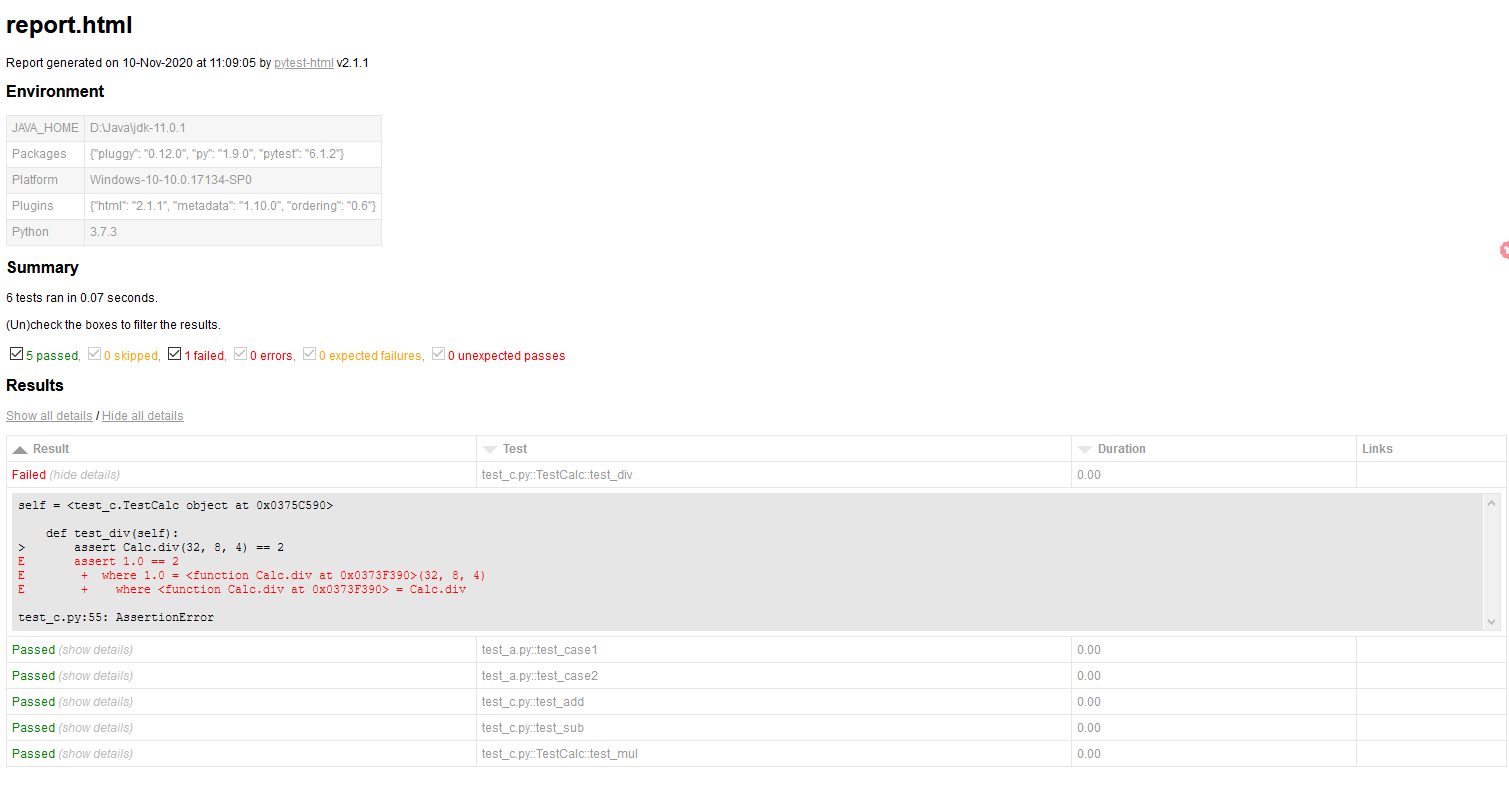
- 执行命令:pytest --html=report.html
-
生成report.html 测试报告
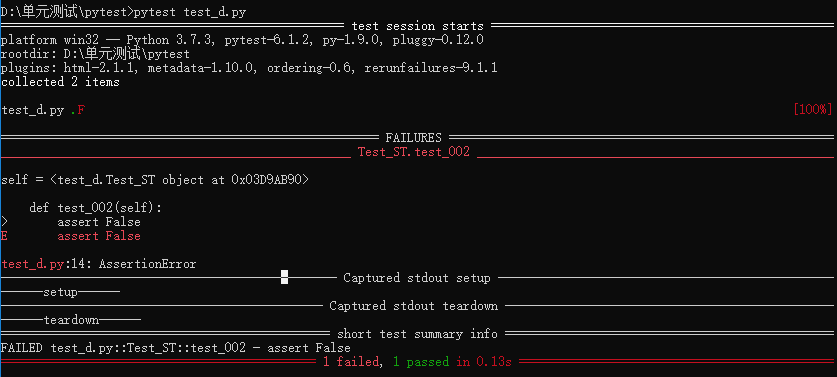
 6、setup 和 teardown 函数
import pytest

class Test_ST():
    def setup(self):
        print("------setup------")

    def teardown(self):
        print("------teardown------")

    def test_001(self):
        assert True

    def test_002(self):
        assert False
7、确定执行顺序
1)安装包:
pip install pytest-ordering
2)使用 @pytest.mark.run(order=x) 标记被测试函数
3)运行的顺序由order传入的参数决定,order从小到大的顺序执行
import pytest
class Test_ST():

    @pytest.mark.run(order=3) #第三个被执行
    def test_001(self):
        print("001...")
        assert True

    @pytest.mark.run(order=2) #第二个被执行
    def test_002(self):
        print("002...")
        assert True

    @pytest.mark.run(order=1) #第一个被执行
    def test_003(self):
        print("003...")
        assert True

8、@pytest.fixture
pytest中加入fixture装饰器来标记固定的工厂函数,使测试能够可靠、重复地执行,fixture函数可以在测试执行前和执行后进行必要的准备和清理工作,和unitest测试框架中的setup、teardown类似。但是pytest fixture和传统风格的setuo/teardown函数相比,有了巨大的改进:
1)fixture具有明确的名称,并且通过在测试函数、模块、类或整个项目中申明它们的使用来激活。
2)fixture是以模块化的方式实现的,因为每个fixture名称都会触发fixture函数,其本身也可以使用其他fixture、
3)fixture管理从简单的单元扩展到复制的函数测试,允许根据配置和组件选项参数化fixture和测试,或者在函数、类、模块或整个测试会话范围内重复使用fixture。
fixture(scope='function',params=None,autouse=False,ids=None,name=None):
scope:被标记方法的作用域,有四个级别参数
"function"(默认),作用于每个测试方法,每个test都运行一次
"class",作用于整个类,每个class的所有test只运行一次
"module",作用于每个模块,每个module的所有test只运行一次
"session",作用于整个session,每个session只运行一次
params:(list类型)提供参数数据,供调用标记方法的函数使用。
autouse:如果True,则为所有测试激活fixture func可以看到它。如果为False则显示需要参考来激活fixture。
ids:每个字符串id的列表,每个字符串对应于params这样他们就是测试ID的一部分。如果没有提供ID它们将从params自动生成
name:fixture的名称。这默认为装饰函数的名称。如果fixture在定义它的统一模块中使用,夹具的功能名称将被请求夹具的功能arg遮蔽,解决这个问题的一种方法时将装饰函数命令"fixture_<fixturename>"然后使用"@pytest.fixture(name='<fixturename>')"。
使用场景:
-
作为参数引用
- 作为函数引用
- 设置自动执行
-
设置作用域为function
- 设置作用域class
- 设置作用域module
-
设置作用域为 session
- 参数化
9、@pytest.mark
使用方法举例:@pytest.mark.skipif(condition,reason=None)
参数:
condition:跳过的条件,True(跳过、不执行)/False(不跳过、执行),必传参数
reason:标注原因
作用:
1)跳过测试函数:@pytest.mark.skipif(2>1,reason="故意的")
2)标记函数为失败函数:@pytest.mark.xfail(True,reason="故意的")
3)传参(要传参数的名称,且和参数化中定义的一致):
单个参数:@pytest.mark.parametrize('name', ["tom", "lisa", "lucy"])
多个参数:@pytest.mark.parametrize("username,password",[('wang','wang123'),('li','li23'),('zhao','zhao123')])