环境
- Ubuntu18.04
- dlib19
下载安装
下载
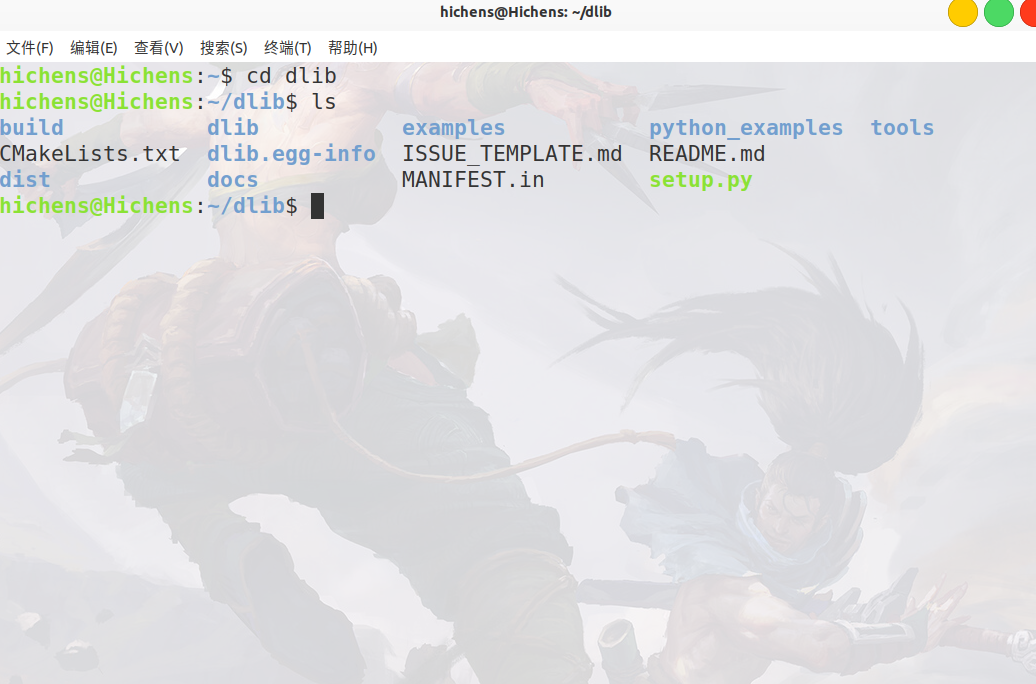
从github下载 dlib
git clone https://github.com/davisking/dlib.git
安装
在dlib目录下, 依次执行。
mkdir build; cd build; cmake .. ; cmake --build .
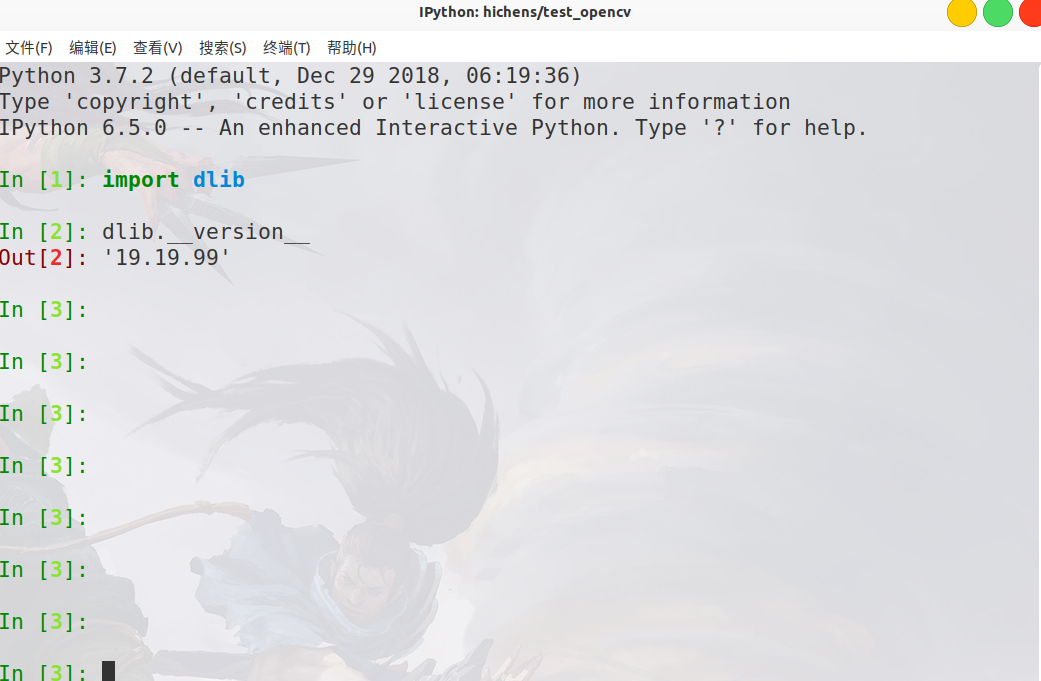
Python使用
python setup.py install
安装成功
python_examples 目录下有很多例子, 可以试试
python opencv_webcam_face_detection.py # 打开电脑摄像头检测人脸
C++使用
创建测试文件 3d_point_cloud_ex.cpp
#include <dlib/gui_widgets.h>
#include <dlib/image_transforms.h>
#include <cmath>

using namespace dlib;
using namespace std;

int main()
{
    // Let's make a point cloud that looks like a 3D spiral.
    std::vector<perspective_window::overlay_dot> points;
    dlib::rand rnd;
    for (double i = 0; i < 20; i+=0.001)
    {
        // Get a point on a spiral
        dlib::vector<double> val(sin(i),cos(i),i/4);

        // Now add some random noise to it
        dlib::vector<double> temp(rnd.get_random_gaussian(),
                                  rnd.get_random_gaussian(),
                                  rnd.get_random_gaussian());
        val += temp/20;

        // Pick a color based on how far we are along the spiral
        rgb_pixel color = colormap_jet(i,0,20);

        // And add the point to the list of points we will display
        points.push_back(perspective_window::overlay_dot(val, color));
    }

    // Now finally display the point cloud.
    perspective_window win;
    win.set_title("perspective_window 3D point cloud");
    win.add_overlay(points);
    win.wait_until_closed();
}
编写CMakelists.txt
project(test_dlib)
cmake_minimum_required(VERSION 2.8)

add_subdirectory(../dlib dlib_build) # 找到dlib下的源码文件
add_executable(hc 3d_point_cloud_ex.cpp) # 生成执行文件名字为hc

target_link_libraries(hc dlib::dlib) # hc这个执行文件需要链接到 dlib
说明:../dlib 可以使相对路径也可以是绝对路径
编译
mkdir build
cd build
cmake ..
make
执行
.hc
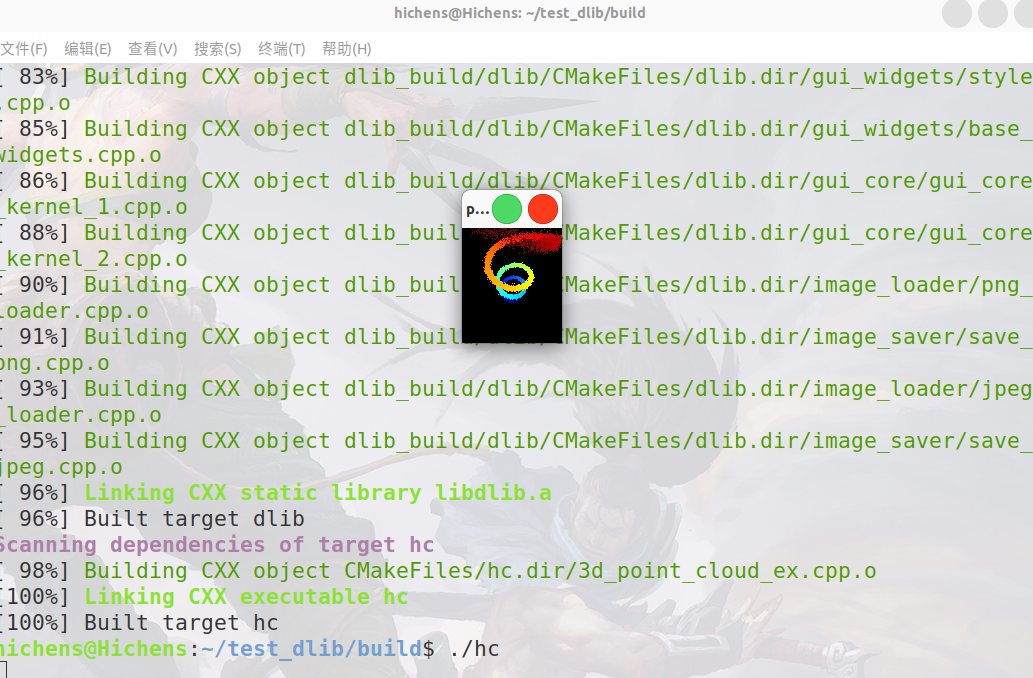
注:中间遇到一些warning没有关系
GPU版本使用
使用GPU则需要添加如下几个参数
git clone https://github.com/davisking/dlib.git
cd dlib
mkdir build
cd build
cmake .. -DDLIB_USE_CUDA=1 -DUSE_AVX_INSTRUCTIONS=1
cmake --build .
cmake 成功找到cuda和cudnn结果是这样的
-- Found CUDA: /usr/local/cuda-9.2 (found suitable version "9.2", minimum required is "7.5")
-- Looking for cuDNN install...
-- Found cuDNN: /usr/local/cuda-9.2/lib64/libcudnn.so
-- Building a CUDA test project to see if your compiler is compatible with CUDA...
-- Checking if you have the right version of cuDNN installed.
-- Enabling CUDA support for dlib.  DLIB WILL USE CUDA
-- C++11 activated.
-- Configuring done
-- Generating done
-- Build files have been written to: /home/xxx/dlib/build
给python使用。
cd ..
python setup.py install --set USE_AVX_INSTRUCTIONS=yes --set DLIB_USE_CUDA=yes
多数博客会写成这样
#python setup.py install --yes USE_AVX_INSTRUCTIONS --yes DLIB_USE_CUDA  # dlib 已经取消yes参数了。
安装成功
import dlib
dlib.DLIB_USE_CUDA # 结果为True则可以使用了
