【本文涉及ES版本】
7.11.1
【elasticsearch.yml中设置】
增加以下两项设置:
xpack.security.enabled: true
xpack.security.transport.ssl.enabled: true
【启动es后使用elasticsearch-setup-passwords进行密码设置】
在完成修改elasticsearch.yml后,先启动es;
之后再打开一个终端如putty,以同一用户登录,进入es的bin目录,敲入命令:./elasticsearch-setup-passwords interactive
之后分别给elastic, kibana, logstash_system,beats_system等用户设置密码,具体如下:
[hy@localhost bin]$ ./elasticsearch-setup-passwords interactive
Initiating the setup of passwords for reserved users elastic,apm_system,kibana,kibana_system,logstash_system,beats_system,remote_monitoring_user.
You will be prompted to enter passwords as the process progresses.
Please confirm that you would like to continue [y/N]y


Enter password for [elastic]:
passwords must be at least [6] characters long
Try again.
Enter password for [elastic]:
Reenter password for [elastic]:
Enter password for [apm_system]:
Reenter password for [apm_system]:
Enter password for [kibana_system]:
Reenter password for [kibana_system]:
Enter password for [logstash_system]:
Reenter password for [logstash_system]:
Enter password for [beats_system]:
Reenter password for [beats_system]:
Enter password for [remote_monitoring_user]:
Reenter password for [remote_monitoring_user]:
Changed password for user [apm_system]
Changed password for user [kibana_system]
Changed password for user [kibana]
Changed password for user [logstash_system]
Changed password for user [beats_system]
Changed password for user [remote_monitoring_user]
Changed password for user [elastic]
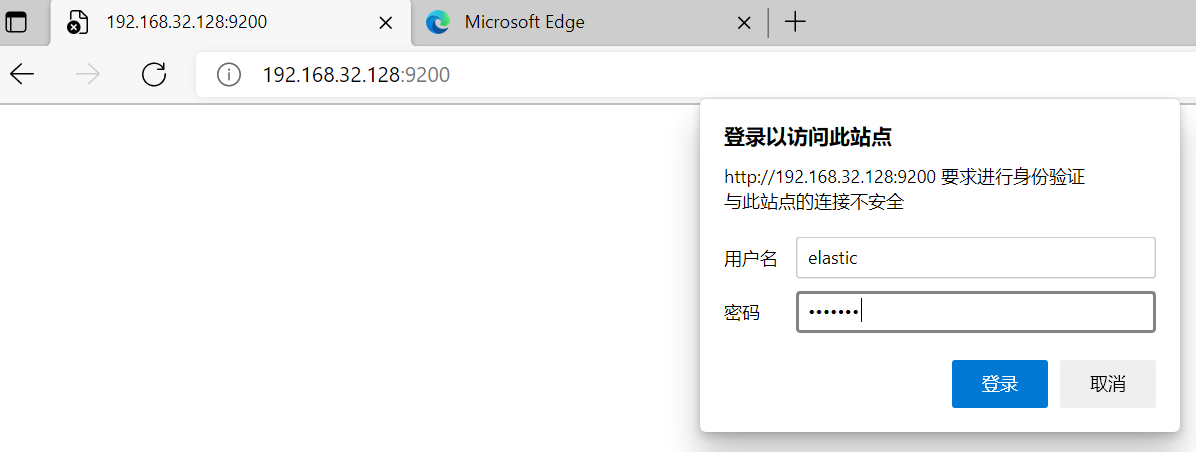
执行完毕之后,访问es节点就需要用户名密码了,如下:
如果密码不对就会输出:
{"error":{"root_cause":[{"type":"security_exception","reason":"missing authentication credentials for REST request [/]","header":{"WWW-Authenticate":"Basic realm=\"security\" charset=\"UTF-8\""}}],"type":"security_exception","reason":"missing authentication credentials for REST request [/]","header":{"WWW-Authenticate":"Basic realm=\"security\" charset=\"UTF-8\""}},"status":401}
输对了密码才会有正常的:
{
  "name" : "node-1",
  "cluster_name" : "liangshan",
  "cluster_uuid" : "h6AscLaBS0qyOKdfq1DO8w",
  "version" : {
    "number" : "7.11.1",
    "build_flavor" : "default",
    "build_type" : "tar",
    "build_hash" : "ff17057114c2199c9c1bbecc727003a907c0db7a",
    "build_date" : "2021-02-15T13:44:09.394032Z",
    "build_snapshot" : false,
    "lucene_version" : "8.7.0",
    "minimum_wire_compatibility_version" : "6.8.0",
    "minimum_index_compatibility_version" : "6.0.0-beta1"
  },
  "tagline" : "You Know, for Search"
}
加了密码后,用RestTemplate访问es的方式也需要进行调整. 可以参考:https://www.cnblogs.com/heyang78/p/15945626.html
END