1、自己编写分页。
分页类Page。
start :开始位置。
count:每页显示的数据个数。
last:最后一页的位置。
caculateLast()方法:通过总数total和每页的个数计算出最后一页的位置。
package com.hengx.util;

public class Page {
    int start = 0;//起始数据位置
    int count = 5;//每页展示的数据个数
    int last = 0;//最后一页的位置

    public int getStart() {
        return start;
    }

    public void setStart(int start) {
        this.start = start;
    }

    public int getCount() {
        return count;
    }

    public void setCount(int count) {
        this.count = count;
    }

    public int getLast() {
        return last;
    }

    public void setLast(int last) {
        this.last = last;
    }

    public void caculateLast(int total){
        if(0 == total % count){
            last = total - count;
        }else{
            last = total - total % count;
        }
    }
}
2、*Mapper.xml中添加分页查询。
<!--    增加分页查询-->
    <select id="list" resultType="com.hengx.model.HengxUser">
        select * from hengx_user
        <if test="start != null and start >=0 and count != null">
            limit #{start},#{count}
        </if>
    </select>
    <select id="total" resultType="int">
        select count(1) from hengx_user
    </select>
Dao层、service层、ServiceImpl层添加响应接口和实现。最后是controller层。
//分页查询
    @GetMapping("/list")
    public String list(Model model, Page page){
        List<HengxUser> userList = hengxUserService.list(page);
        int total = hengxUserService.total();
        page.caculateLast(total);
        model.addAttribute("userList",userList);
        return "userList";
    }
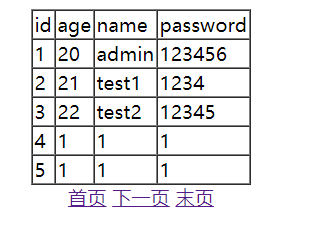
视图展示层。
<%@ page contentType="text/html;charset=UTF-8" language="java" import="java.util.*" %>
<%@ taglib  uri="http://java.sun.com/jsp/jstl/core" prefix="c" %>
<%@ page isELIgnored="false" %>
<html>
<head>
    <title>用户列表</title>
    <meta http-equiv="Content-Type" content="text/html;charset=UTF-8" />
</head>
<body>
<div style=" 500px;margin: 0px auto; text-align: center">
    <table align="center" border="1" cellspacing="0">
        <tr>
            <td>id</td>
            <td>age</td>
            <td>name</td>
            <td>password</td>
        </tr>
        <c:forEach items="${userList}" var="c" varStatus="st">
            <tr>
                <td>${c.id}</td>
                <td>${c.age}</td>
                <td>${c.name}</td>
                <td>${c.password}</td>
            </tr>
        </c:forEach>

    </table>
    <div style="text-align: center">
        <a href="?start=0">首页</a>
        <c:if test="${page.start-page.count >=0 }">
            <a href="?start=${page.start-page.count}">上一页</a>
        </c:if>
        <c:if test="${page.last - page.start > 0 }">
            <a href="?start=${page.start+page.count}">下一页</a>
        </c:if>

        <a href="?start=${page.last}">末页</a>
    </div>

</div>


</body>
</html>
二、使用PageHelper分页插件。
修改applicationContext.xml,增加PageHelper插件配置。
<dependency>
      <groupId>com.github.pagehelper</groupId>
      <artifactId>pagehelper</artifactId>
      <version>5.1.4</version>
    </dependency>
<!--3、配置SqlSessionFactory对象-->
    <bean id="sqlSessionFactory" class="org.mybatis.spring.SqlSessionFactoryBean">
        <!--注入数据库连接池-->
        <property name="dataSource" ref="dataSource"/>
        <!--扫描sql配置文件:mapper需要的xml文件-->
        <property name="mapperLocations" value="classpath:mapper/*.xml"/>
        <!-- mybatis配置文件的位置 -->
        <property name="configLocation" value="classpath:mybatis-config.xml"></property>
        <!-- 配置分页插件 -->
        <property name="plugins">
            <array>
                <bean class="com.github.pagehelper.PageInterceptor">
                    <property name="properties">
                        <value>
                            helperDialect=mysql
                            reasonable=true
                        </value>
                    </property>
                </bean>
            </array>
        </property>

    </bean>
*Mapper.xml增加查询语句。其余接口实现类编写一下。
<!--    增加分页查询 PageHelper插件-->
    <select id="list1" resultType="com.hengx.model.HengxUser">
        select * from hengx_user
    </select>
重点在Controller 层。
//分页查询 PageHelper
    @GetMapping("/list1")
    public String list1(Model model,Page page){
        PageHelper.offsetPage(page.getStart(),5);
        List<HengxUser> userList = hengxUserService.list1();
        int total = (int) new PageInfo<>(userList).getTotal();
        page.caculateLast(total);
        model.addAttribute("userList",userList);
        return "userList";
    }
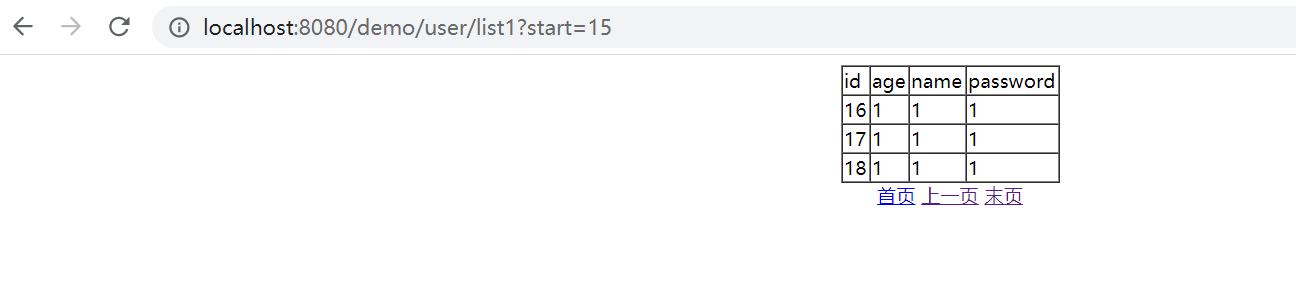
测试完成,效果一致。