前言
最近project中有关于delaunay的实现问题,查找资料,看到learnopencv这个网站,有很多peoject的实现,本文主要是实现Delaunay Triangulation and Voronoi Diagram using OpenCV这个project,基于Python实现的。
环境
系统环境:win7_64
python版本:python3.5.2
实现过程
1.下载代码和依赖的资源;
github上列出了learnopencv用到的全部代码,非常不错!推荐~
2.基于python的代码;


#!/usr/bin/python
#RE:http://www.learnopencv.com/delaunay-triangulation-and-voronoi-diagram-using-opencv-c-python/

import cv2
import numpy as np
import random

# Check if a point is inside a rectangle
def rect_contains(rect, point) :
    if point[0] < rect[0] :
        return False
    elif point[1] < rect[1] :
        return False
    elif point[0] > rect[2] :
        return False
    elif point[1] > rect[3] :
        return False
    return True

# Draw a point
def draw_point(img, p, color ) :
    #cv2.circle( img, p, 2, color, cv2.cv.CV_FILLED, cv2.CV_AA, 0 )
    cv2.circle( img, p, 2, color, cv2.FILLED, 0 )


# Draw delaunay triangles
def draw_delaunay(img, subdiv, delaunay_color ) :

    triangleList = subdiv.getTriangleList();
    size = img.shape
    r = (0, 0, size[1], size[0])

    for t in triangleList :

        pt1 = (t[0], t[1])
        pt2 = (t[2], t[3])
        pt3 = (t[4], t[5])

        if rect_contains(r, pt1) and rect_contains(r, pt2) and rect_contains(r, pt3) :

            cv2.line(img, pt1, pt2, delaunay_color, 1, 0)
            cv2.line(img, pt2, pt3, delaunay_color, 1, 0)
            cv2.line(img, pt3, pt1, delaunay_color, 1, 0)


# Draw voronoi diagram
def draw_voronoi(img, subdiv) :

    ( facets, centers) = subdiv.getVoronoiFacetList([])

    for i in range(0,len(facets)) :
        ifacet_arr = []
        for f in facets[i] :
            ifacet_arr.append(f)

        ifacet = np.array(ifacet_arr, np.int)
        color = (random.randint(0, 255), random.randint(0, 255), random.randint(0, 255))

        cv2.fillConvexPoly(img, ifacet, color, 0);
        ifacets = np.array([ifacet])
        cv2.polylines(img, ifacets, True, (0, 0, 0), 1, 0)
        cv2.circle(img, (centers[i][0], centers[i][1]), 3, (0, 0, 0), cv2.FILLED, 0)


if __name__ == '__main__':

    # Define window names
    win_delaunay = "Delaunay Triangulation"
    win_voronoi = "Voronoi Diagram"

    # Turn on animation while drawing triangles
    animate = True

    # Define colors for drawing.
    delaunay_color = (255,255,255)
    points_color = (0, 0, 255)

    # Read in the image.
    img = cv2.imread("obama.jpg");

    # Keep a copy around
    img_orig = img.copy();

    # Rectangle to be used with Subdiv2D
    size = img.shape
    rect = (0, 0, size[1], size[0])

    # Create an instance of Subdiv2D
    subdiv = cv2.Subdiv2D(rect);

    # Create an array of points.
    points = [];

    # Read in the points from a text file
    with open("obama.txt") as file :
        for line in file :
            x, y = line.split()
            points.append((int(x), int(y)))

    # Insert points into subdiv
    for p in points :
        subdiv.insert(p)

        # Show animation
        if animate :
            img_copy = img_orig.copy()
            # Draw delaunay triangles
            draw_delaunay( img_copy, subdiv, (255, 255, 255) );
            cv2.imshow(win_delaunay, img_copy)
            cv2.waitKey(100)

    # Draw delaunay triangles
    draw_delaunay( img, subdiv, (255, 255, 255) );

    # Draw points
    for p in points :
        draw_point(img, p, (0,0,255))

    # Allocate space for Voronoi Diagram
    img_voronoi = np.zeros(img.shape, dtype = img.dtype)

    # Draw Voronoi diagram
    draw_voronoi(img_voronoi,subdiv)

    # Show results
    cv2.imshow(win_delaunay,img)
    cv2.imshow(win_voronoi,img_voronoi)
    cv2.waitKey(0)
注意:官网上的代码由于版本的不同不能正常运行,需要调试通过;
3.代码调试;
调试代码的过程中遇到较多的问题,针对出现的问题一一进行解决;
3.1)ImportError: No module named 'cv2'

原因:没有安装cv2第三方库;
解决方法:
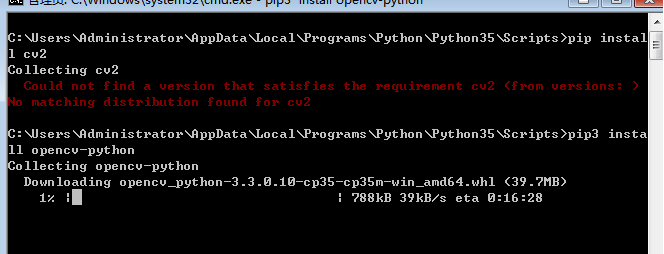
在Python的安装目录下打开.Scripts路径,再次目录下打开cmd,使用以下命令安装cv2
pip3 install opencv-python
尝试过的方法
第一次安装使用的命令是
pip install cv2
但是没有正确安装;
后来找到另一个方法,刚看的时候觉得很不错,不过仔细看发现主要是针对python2.7版本的,之后就放弃了;
3.2)忘记加载资源文件;

原因:程序代码中需要用到图片和txt文件,将其加载到合适的路径下即可;
3.3)版本有关;

解决方法:直接将cv2.CV_AA remove即可;
3.4)版本问题;
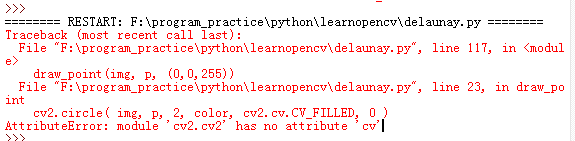
解决方法:将cv2.cv.CV_FILLED替换为cv2.CV_FILLED即可;
3.5)版本问题;
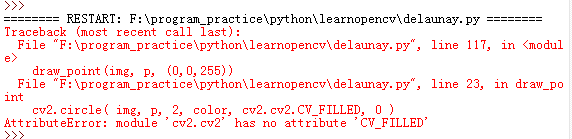
解决方法:直接将cv2.CV_FILLED替换为cv2.FILLED即可;
3.6)不同版本的语法问题;

解决方法:将xrange替换为range即可;
之前也遇到过这个问题,现在想想应该是不同版本的Python的语法不同造成的;
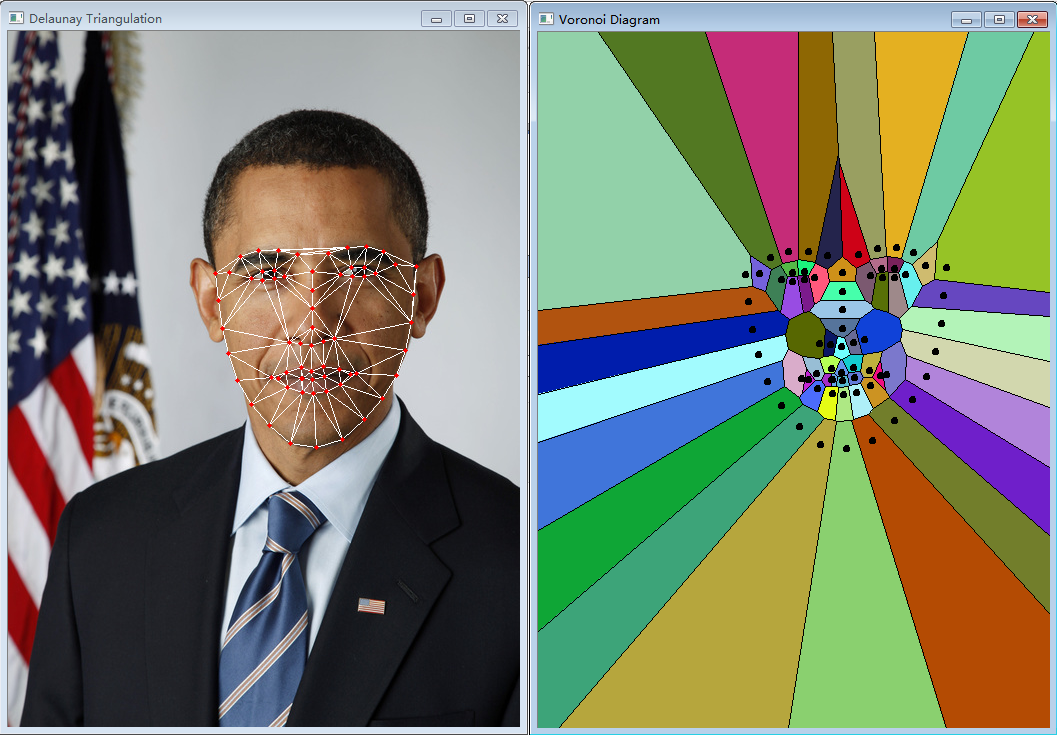
4.运行结果;
参考
完