前言
项目开发完成之后,需要程序打包发行,本文使用Inno Setup工具制作安装软件包。
系统环境
系统:win7_x64
工具:Inno Setup Complier
实现步骤
1.下载安装Inno Setup打包工具;
2.使用Inno Setup工具打包应用程序;
3.脚本程序;
实现过程
1.下载安装Inno Setup打包工具;
1)度娘;
2)官网;
2.使用Inno Setup工具打包应用程序;
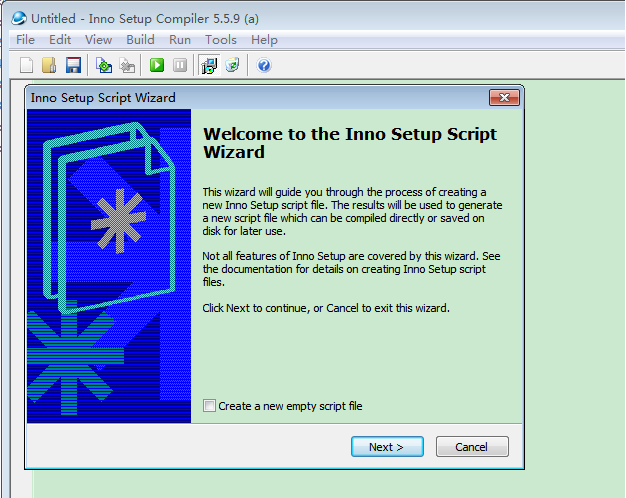
1)打开Inno Setup Complier,新建一个脚本向导程序;
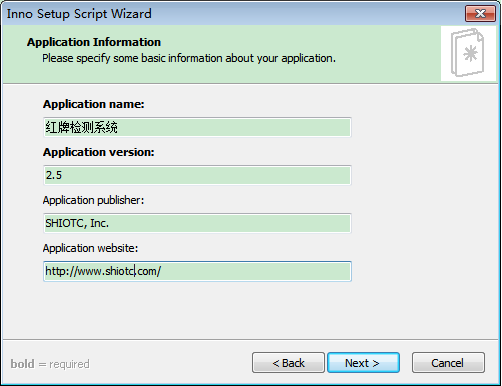
2)点击下一步,在应用程序信息中输入产品的名称、版本号、发行单位、公司网址等,这些信息会自动在脚本中生成;
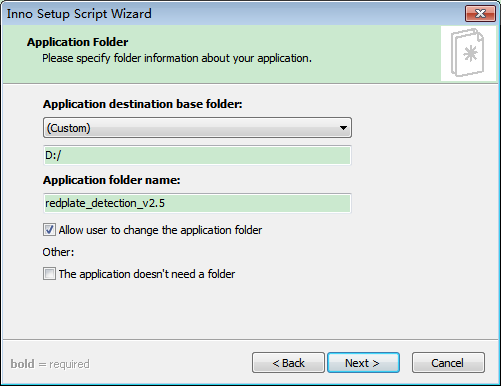
3)点击下一步,自定义打包文件的的输出地址以及输出文件夹的名称;
4)点击下一步,选择应用程序主要的可执行文件,添加其它必需用到的文件或者文件夹;
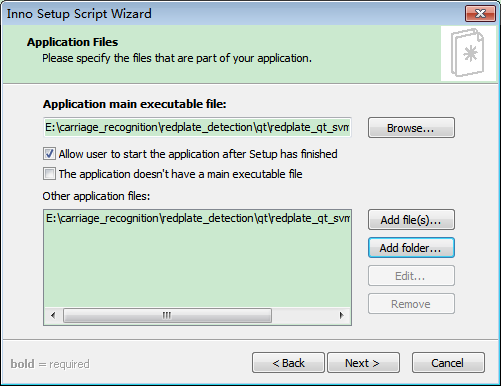
注意:整个安装包需要包含的文件必须全部包含在内;
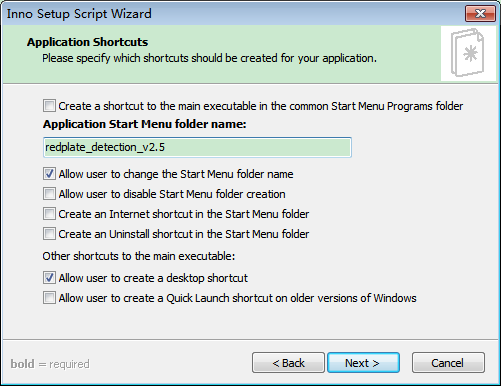
5)点击下一步,输入应用程序在开始菜单中显示的名字;
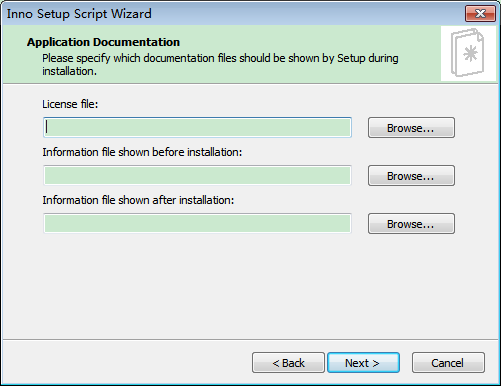
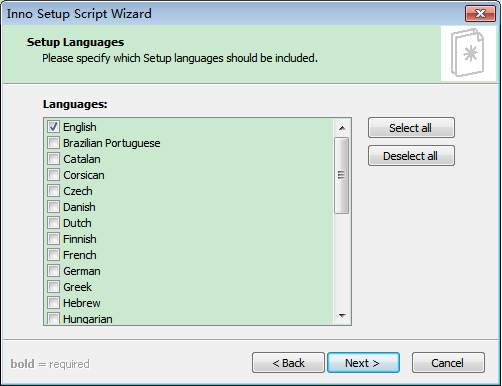
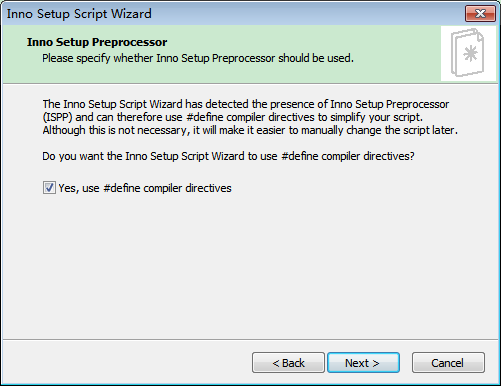
6)下一步,选择安装时需要显示的信息、安装语言、安装名称等;
7)下一步,选择编译程序输出文件夹、文件名称、ICON文件及安装密码;
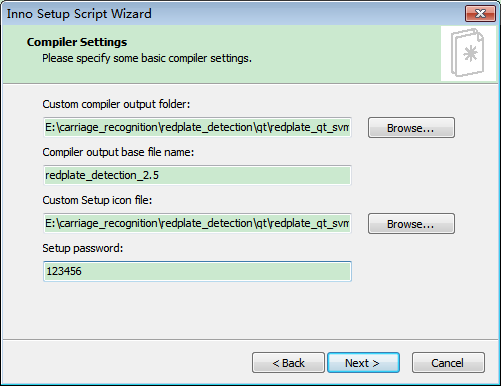
注意:第一个选项表示的是安装包*.exe输出的目录;
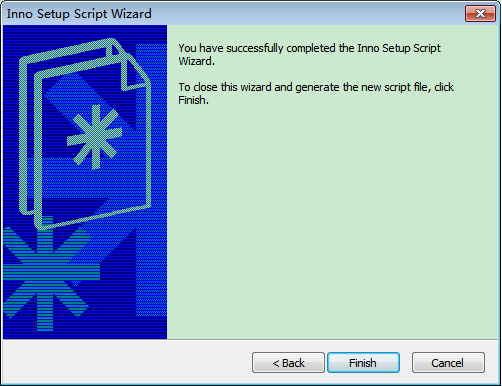
8)下一步,打包完成;
3.脚本程序;

; Script generated by the Inno Setup Script Wizard.
; SEE THE DOCUMENTATION FOR DETAILS ON CREATING INNO SETUP SCRIPT FILES!

#define MyAppName "红牌检测系统"
#define MyAppVersion "2.5"
#define MyAppPublisher "SHIOTC, Inc."
#define MyAppURL "http://www.shiotc.com/"
#define MyAppExeName "redplate_qt.exe"

[Setup]
; NOTE: The value of AppId uniquely identifies this application.
; Do not use the same AppId value in installers for other applications.
; (To generate a new GUID, click Tools | Generate GUID inside the IDE.)
AppId={{D21B4F6B-401E-4575-B6E1-612A9CA50D58}
AppName={#MyAppName}
AppVersion={#MyAppVersion}
;AppVerName={#MyAppName} {#MyAppVersion}
AppPublisher={#MyAppPublisher}
AppPublisherURL={#MyAppURL}
AppSupportURL={#MyAppURL}
AppUpdatesURL={#MyAppURL}
DefaultDirName=D:/redplate_detection_v2.5
DefaultGroupName=redplate_detection_v2.5
OutputDir=E:carriage_recognition
edplate_detectionqt
edplate_qt_svm2x64Release
OutputBaseFilename=redplate_detection_2.5
;SetupIconFile=E:carriage_recognition
edplate_detectionqt
edplate_qt_svm2x64ReleaseICON.ico
Password=123456
Compression=lzma
SolidCompression=yes

[Languages]
Name: "english"; MessagesFile: "compiler:Default.isl"

[Tasks]
Name: "desktopicon"; Description: "{cm:CreateDesktopIcon}"; GroupDescription: "{cm:AdditionalIcons}"; Flags: unchecked

[Files]
Source: "E:carriage_recognition
edplate_detectionqt
edplate_qt_svm2x64Release
edplate_qt.exe"; DestDir: "{app}"; Flags: ignoreversion
Source: "E:carriage_recognition
edplate_detectionqt
edplate_qt_svm2x64Release*"; DestDir: "{app}"; Flags: ignoreversion recursesubdirs createallsubdirs
; NOTE: Don't use "Flags: ignoreversion" on any shared system files

[Icons]
Name: "{group}{#MyAppName}"; Filename: "{app}{#MyAppExeName}"
Name: "{commondesktop}{#MyAppName}"; Filename: "{app}{#MyAppExeName}"; Tasks: desktopicon

[Run]
Filename: "{app}{#MyAppExeName}"; Description: "{cm:LaunchProgram,{#StringChange(MyAppName, '&', '&&')}}"; Flags: nowait postinstall skipifsilent
可以直接保存应用程序,这样再次打包可以直接运行打包程序进行;另外,运行过程中出现错误,可以直接在脚本中进行修改;
问题
1.使用自定义的图标,脚本语句如下,出现下图所示的错误,将*.png文件更改为*.ico文件,仍然出错,可能需要使用ico文件生成工具生成*.ico文件;
SetupIconFile=E:carriage_recognition
edplate_detectionqt
edplate_qt_svm2x64ReleaseICON.ico

参考
1.Inno打包教程
2.CSDN大神博客
完
