创建 Scrapy 项目
scrapy startproject 项目名
scrapy genspider name 起始网址

运行 Scrapy框架

scrapy crawl 名称
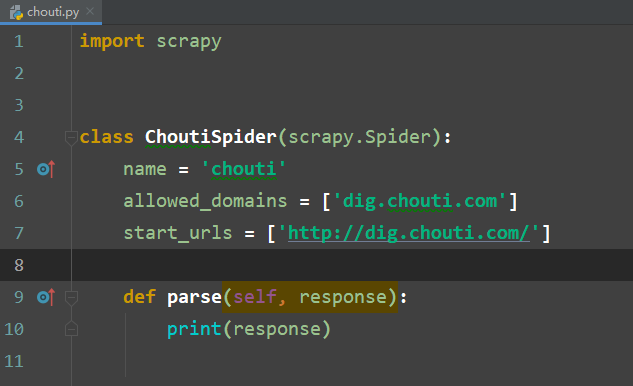
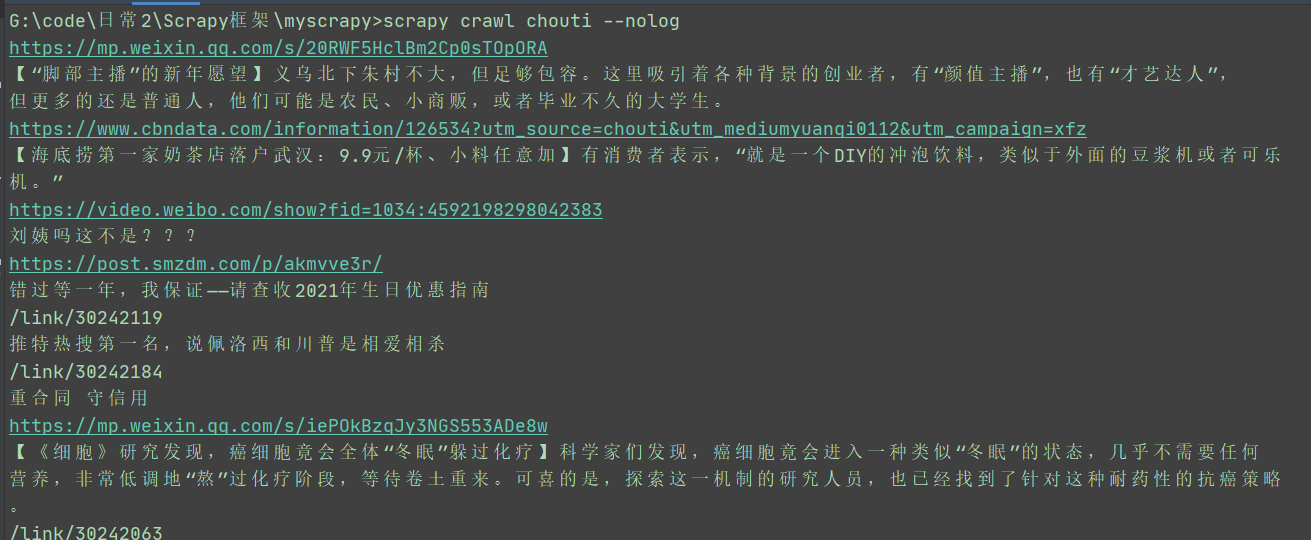
修改 chouti.py 下的 parse 方法,打印 response
没有日志写法为
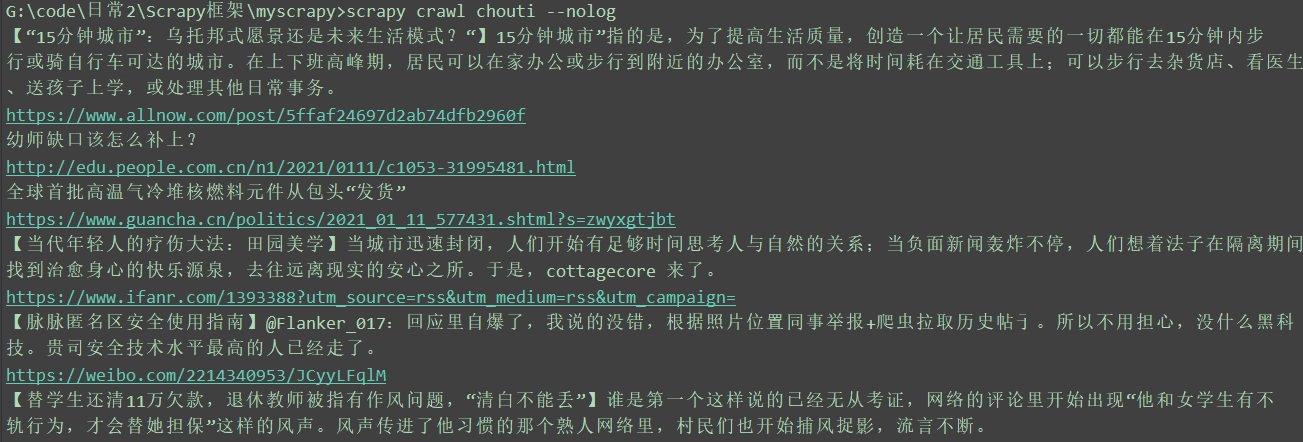
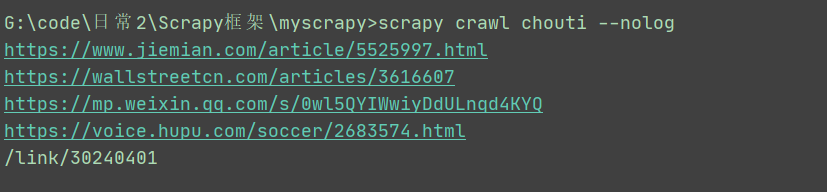
scrapy crawl chouti --nolog

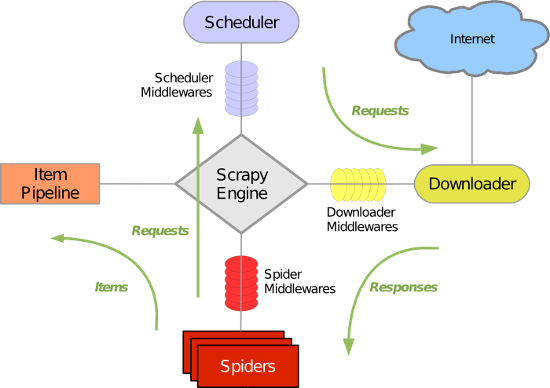
流程图
抽屉 爬取标题和对应 url 链接
import scrapy
from scrapy.selector import Selector
class ChoutiSpider(scrapy.Spider):
name = 'chouti'
allowed_domains = ['dig.chouti.com']
start_urls = ['http://dig.chouti.com/']
def parse(self, response):
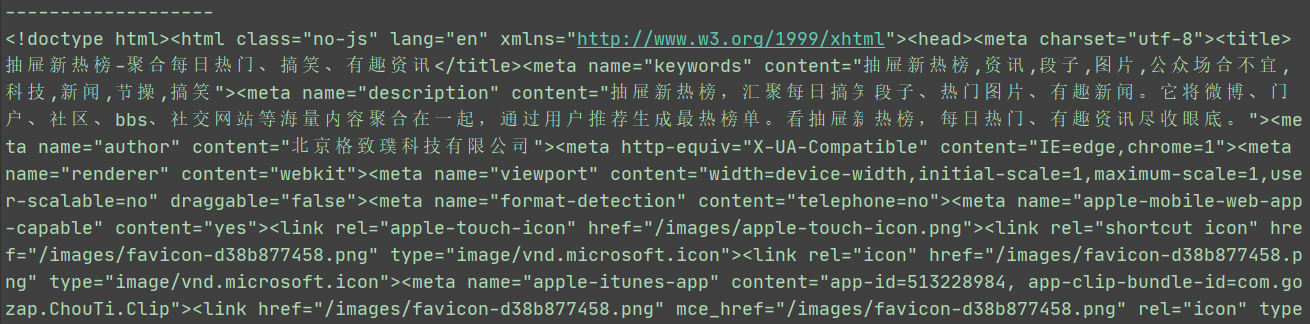
# print(response.text) 打印网页内容
a_list = Selector(response = response).xpath('//div[@class="link-detail"]')
for a in a_list:
# //div[@class="link-detail"]/a
title = a.xpath('.//a/text()').extract()[1]
href = a.xpath('./a/@href').extract()[0]
print(title)
print(href)
md5 加密 网址 等长名称进行存储
def md5(self,href):
    import hashlib
    obj = hashlib.md5()
    obj.update(bytes(href,encoding = 'utf-8'))
    return obj.hexdigest()
进行页面请求使用 ,一直递归调用访问网址
yield Request(url = href,callback = self.parse)
import scrapy
from scrapy.selector import Selector
from scrapy.http import Request
# 导入 Request 请求
class ChoutiSpider(scrapy.Spider):
name = 'chouti'
allowed_domains = ['dig.chouti.com']
start_urls = ['http://dig.chouti.com/']
all_urls = set()
def parse(self, response):
a_list = Selector(response = response).xpath('//div[@class="link-detail"]')
# 查看所有的 div ,class 为 link-detail 的
for a in a_list:
href = a.xpath('./a/@href').extract_first()
# div 下的 a 链接的 href 属性
text = a.xpath('./a/text()').extract_first()
# div 下的 a 链接的 内容
# print(href,text)
if href not in self.all_urls:
# 如果还没有进行访问
self.all_urls.add(href)
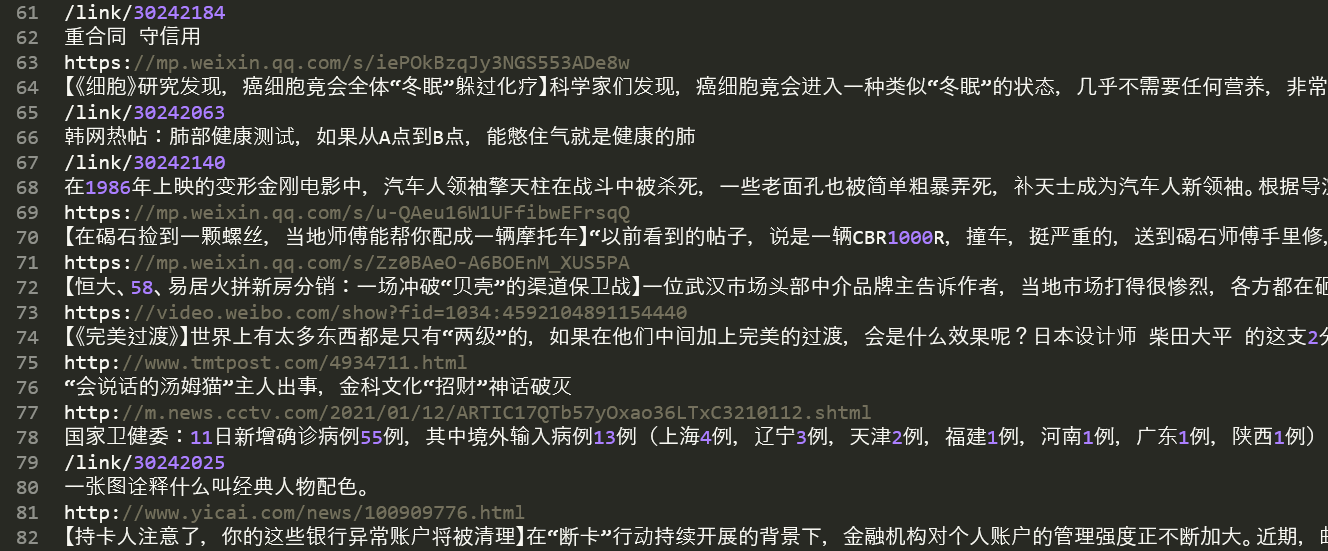
print(href)
# Request(url = href) -> 发送到调度器
yield Request(url = href,callback = self.parse)
print(self.all_urls)
def md5(self,href):
import hashlib
obj = hashlib.md5()
obj.update(bytes(href,encoding = 'utf-8'))
return obj.hexdigest()
设置访问页面的深度
在 settings.py 中添加

DEPTH_LIMIT = 2
使用 pipelines 进行持久化保存数据
在 settings 中开启 pipeline

ITEM_PIPELINES = {
   'myscrapy.pipelines.MyscrapyPipeline': 300,
   # 打开管道,进行保存到本地
}
修改 items 中字段

class MyscrapyItem(scrapy.Item):
    # define the fields for your item here like:
    # name = scrapy.Field()
    href = scrapy.Field()
    title = scrapy.Field()
修改 pipelines 字段

class MyscrapyPipeline:
    def process_item(self, item, spider):
        contents = f"{item['href']}
{item['title']}
"
        f = open('news.json','a')
        f.write(contents)
        f.close()
注:使用 item['href'] 而不是 item.href
chouti.py 代码
import scrapy
from scrapy.selector import Selector
from scrapy.http import Request
# 导入 Request 请求
from ..items import MyscrapyItem


class ChoutiSpider(scrapy.Spider):
    name = 'chouti'
    allowed_domains = ['dig.chouti.com']
    start_urls = ['http://dig.chouti.com/']
    all_urls = set()

    def parse(self, response):
        a_list = Selector(response = response).xpath('//div[@class="link-detail"]')
        # 查看所有的 div ,class 为 link-detail 的
        for a in a_list:
            href = a.xpath('./a/@href').extract_first()
            # div 下的 a 链接的 href 属性
            title = a.xpath('./a/text()').extract_first()
            # div 下的 a 链接的 内容
            # print(href,text)
            if href not in self.all_urls:
                # 如果还没有进行访问
                self.all_urls.add(href)
                print(href)
                print(title)
                item_obj = MyscrapyItem(href = href,title = title)
                # 创建 item 对象,在items.py中创建 href 和 title
                '''
                    href = scrapy.Field()
                    title = scrapy.Field()
                '''

                yield item_obj

                # Request(url = href) -> 发送到调度器
                # yield Request(url = href,callback = self.parse)

    def md5(self,href):
        import hashlib
        obj = hashlib.md5()
        obj.update(bytes(href,encoding = 'utf-8'))
        return obj.hexdigest()
注:
    使用 extract_first 转换为字符串
    使用 extract 方法转换为列表
    一定要使用 yield item_obj
运行结果
news.json 内容
爬取多个网站
allowed_domains = [网站1,网站2]

allowed_domains = ['dig.chouti.com']
关于递归查询
设置请求
from scrapy.http import Request

设置
yield Request(url = href,callback = self.parse)

注:href 为 网址内容,回调函数 callback 为固定用法,最好不要修改 parse名称
parse 下的 response 参数
response.meta

response.url

response.text
response.body

某一个标签的属性以某一个值开头

//标签[starts-with(@属性,"值")]

starts-with 为 武老师博客整理 Q2Day81
链接:
https://www.cnblogs.com/wupeiqi/articles/6229292.html
使用 re 进行筛选
//标签[re:test(@属性,"匹配规则")]

//标签[contains(@属性,"值")]

某一个标签的属性值里面含有值

Scrapy 会自动去掉重复 url,不用进行判断
RFPDupeFilter 类进行判断

from scrapy.dupefilters import RFPDupeFilter

可以自己创建一个 py 文件,进行自定义判断是否重复
但是要在 settings 中进行配置
DUPEFILTER_CLASS = "项目名.py文件名.类名"
可以判断数据库中是否存在记录
使用 from_settings 使用 cls 进行创建对象
创建 py 文件进行定义判断是否重复流程
    1.使用 from_settings 进行创建对象
    2.使用 __init__ 方法对对象进行初始化
    3.open 方法开始进行爬取
    4.request_seen 检查是否已经访问过
    5.close 方法进行关闭
pipelines 文件补充
# Define your item pipelines here
#
# Don't forget to add your pipeline to the ITEM_PIPELINES setting
# See: https://docs.scrapy.org/en/latest/topics/item-pipeline.html


# useful for handling different item types with a single interface
from itemadapter import ItemAdapter
from scrapy.exceptions import DropItem

class MyscrapyPipeline:

    def open_spider(self,spider):
        print("开始进行爬取")
        self.f = open('news.json', 'w')

    def close_spider(self,spider):
        print("爬取完毕")
        self.f.close()

    def process_item(self, item, spider):
        # yield item_obj 时,进行执行 process_item 方法
        # item_obj = MyscrapyItem(href = href,title = title)
        contents = f"{item['href']}
{item['title']}
"
        self.f.write(contents)

        # return item # 返还给另一个 pipeline 对象
        # raise DropItem() # 丢弃 item
获取 settings 中的 DB 数据库
# Define your item pipelines here
#
# Don't forget to add your pipeline to the ITEM_PIPELINES setting
# See: https://docs.scrapy.org/en/latest/topics/item-pipeline.html
# useful for handling different item types with a single interface
from itemadapter import ItemAdapter
from scrapy.exceptions import DropItem
# 交给下一个 pipeline 对象
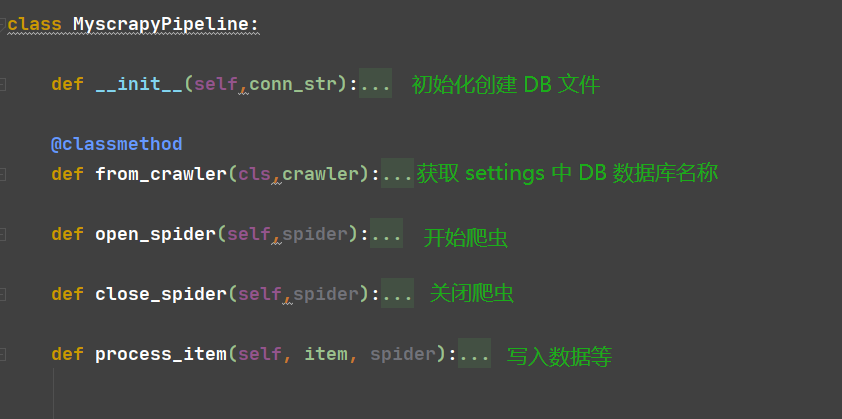
class MyscrapyPipeline:
def __init__(self,conn_str):
# 对 from_crawler 对象进行初始化
self.conn_str = conn_str
self.conn = None
@classmethod
def from_crawler(cls,crawler):
# 创建 pipeline 对象,可以创建与数据库的连接
conn_str = crawler.settings.get('DB')
return cls(conn_str)
def open_spider(self,spider):
print("开始进行爬取")
self.conn = open(self.conn_str,'w')
def close_spider(self,spider):
print("爬取完毕")
self.conn.close()
def process_item(self, item, spider):
# yield item_obj 时,进行执行 process_item 方法
# item_obj = MyscrapyItem(href = href,title = title)
contents = f"{item['href']}
{item['title']}
"
self.conn.write(contents)
# return item # 返还给另一个 pipeline 对象
# raise DropItem() # 丢弃 item
注:需要在 settings 中添加
DB = '数据库名称'

DB = 'choutidb'
# 数据库
Cookies 基础使用

from scrapy.http.cookies import CookieJar
# 导入 CookieJar
cookie_obj = CookieJar()
# 创建 cookies 对象
cookie_obj.extract_cookies(response,response.request)
# 将 cookie 放入到 cookie_obj
print(cookie_obj._cookies)

response 方法
['_DEFAULT_ENCODING', '__class__', '__delattr__', '__dict__', '__dir__', '__doc__', '__eq__', '__format__', '__ge__',
'__getattribute__', '__gt__', '__hash__', '__init__', '__init_subclass__', '__le__', '__lt__', '__module__', '__ne__',
 '__new__', '__reduce__', '__reduce_ex__', '__repr__', '__setattr__', '__sizeof__', '__slots__', '__str__', '__subclas
shook__', '__weakref__', '_auto_detect_fun', '_body', '_body_declared_encoding', '_body_inferred_encoding', '_cached_b
enc', '_cached_decoded_json', '_cached_selector', '_cached_ubody', '_declared_encoding', '_encoding', '_get_body', '_g
et_url', '_headers_encoding', '_set_body', '_set_url', '_url', 'body', 'body_as_unicode', 'cb_kwargs', 'certificate',
'copy', 'css', 'encoding', 'flags', 'follow', 'follow_all', 'headers', 'ip_address', 'json', 'meta', 'replace', 'reque
st', 'selector', 'status', 'text', 'url', 'urljoin', 'xpath']
带有 Cookie 的页面请求
yield Request(
    url = '网站',
    method = "POST",
    body = {
        "用户名":"密码"
    },
    headers = {
        "请求头":"内容"
    },
    cookies = cookie_obj._cookies,
    # cookie 内容
    callback = self.函数名
    # 回调函数
)
def 函数名(self,response):
    print(response.text)
Scrapy 扩展 EXTENSIONS
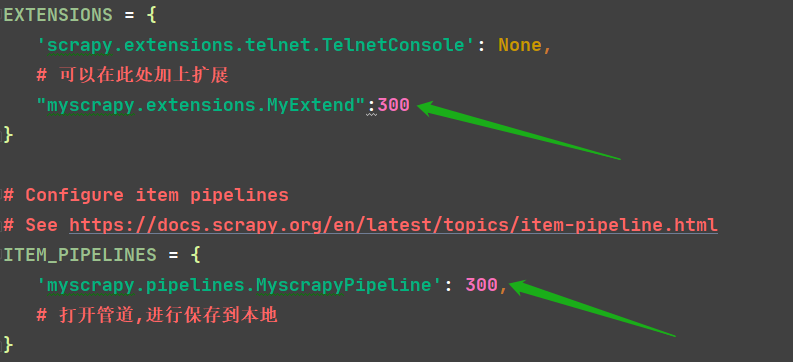
settings 中 EXTENSIONS
EXTENSIONS = {
'scrapy.extensions.telnet.TelnetConsole': None,
# 可以在此处加上扩展
"myscrapy.extensions.MyExtend":300
}
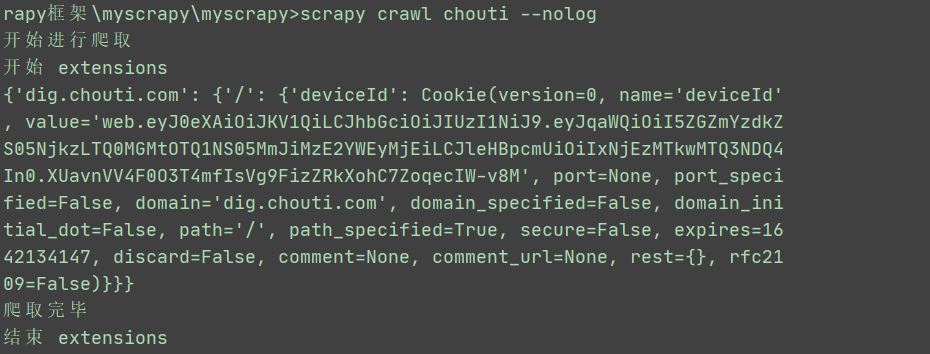
创建了 extensions.py文件,类名为 MyExtend
extensions.py 文件内容
from scrapy import signals

class MyExtend:
    def __init__(self,crawler):
        self.crawler = crawler
        crawler.signals.connect(self.start, signals.engine_started)
        crawler.signals.connect(self.close, signals.spider_closed)

    @classmethod
    def from_crawler(cls,crawler):
        return cls(crawler)

    def start(self):
        print("开始 extensions")

    def close(self):
        print("结束 extensions")
运行结果
settings 配置文件简单理解
BOT_NAME = 'myscrapy'
# 爬虫的名字

SPIDER_MODULES = ['myscrapy.spiders']
NEWSPIDER_MODULE = 'myscrapy.spiders'
# 爬虫的路径

# Crawl responsibly by identifying yourself (and your website) on the user-agent
# USER_AGENT = 'myscrapy (+http://www.yourdomain.com)'
USER_AGENT = 'Mozilla/5.0 (Windows NT 10.0; Win64; x64) AppleWebKit/537.36 (KHTML, like Gecko) Chrome/87.0.4280.88 Safari/537.36'
# 当前客户端

# Obey robots.txt rules
ROBOTSTXT_OBEY = True
# 是否遵循网站的 robots.txt 配置文件

# Configure maximum concurrent requests performed by Scrapy (default: 16)
CONCURRENT_REQUESTS = 16
# 并发请求数,默认 16 个,最大 32 个

# Configure a delay for requests for the same website (default: 0)
# See https://docs.scrapy.org/en/latest/topics/settings.html#download-delay
# See also autothrottle settings and docs
DOWNLOAD_DELAY = 3
# 下载延迟,3秒

# The download delay setting will honor only one of:
CONCURRENT_REQUESTS_PER_DOMAIN = 16
# 针对某一个 域名
CONCURRENT_REQUESTS_PER_IP = 16
# 针对某一个 ip

# Disable cookies (enabled by default)
COOKIES_ENABLED = True
# 是否去爬取 Cookie
COOKIES_DEBUG = True
# 是否在运行时显示 Cookie

# Disable Telnet Console (enabled by default)
TELNETCONSOLE_ENABLED = False
# 是否暂停爬虫发送请求

EXTENSIONS = {
   'scrapy.extensions.telnet.TelnetConsole': None,
   # 可以在此处加上扩展
   "myscrapy.extensions.MyExtend":300
}

# Configure item pipelines
# See https://docs.scrapy.org/en/latest/topics/item-pipeline.html
ITEM_PIPELINES = {
   'myscrapy.pipelines.MyscrapyPipeline': 300,
   # 打开管道,进行保存到本地
}

DEPTH_LIMIT = 2
# 爬取深度
DEPTH_PRIORITY = 0
# 0 深度优先 ,1 广度优先
DB = 'choutidb'
# 数据库
数字越小越优先
2021-01-25