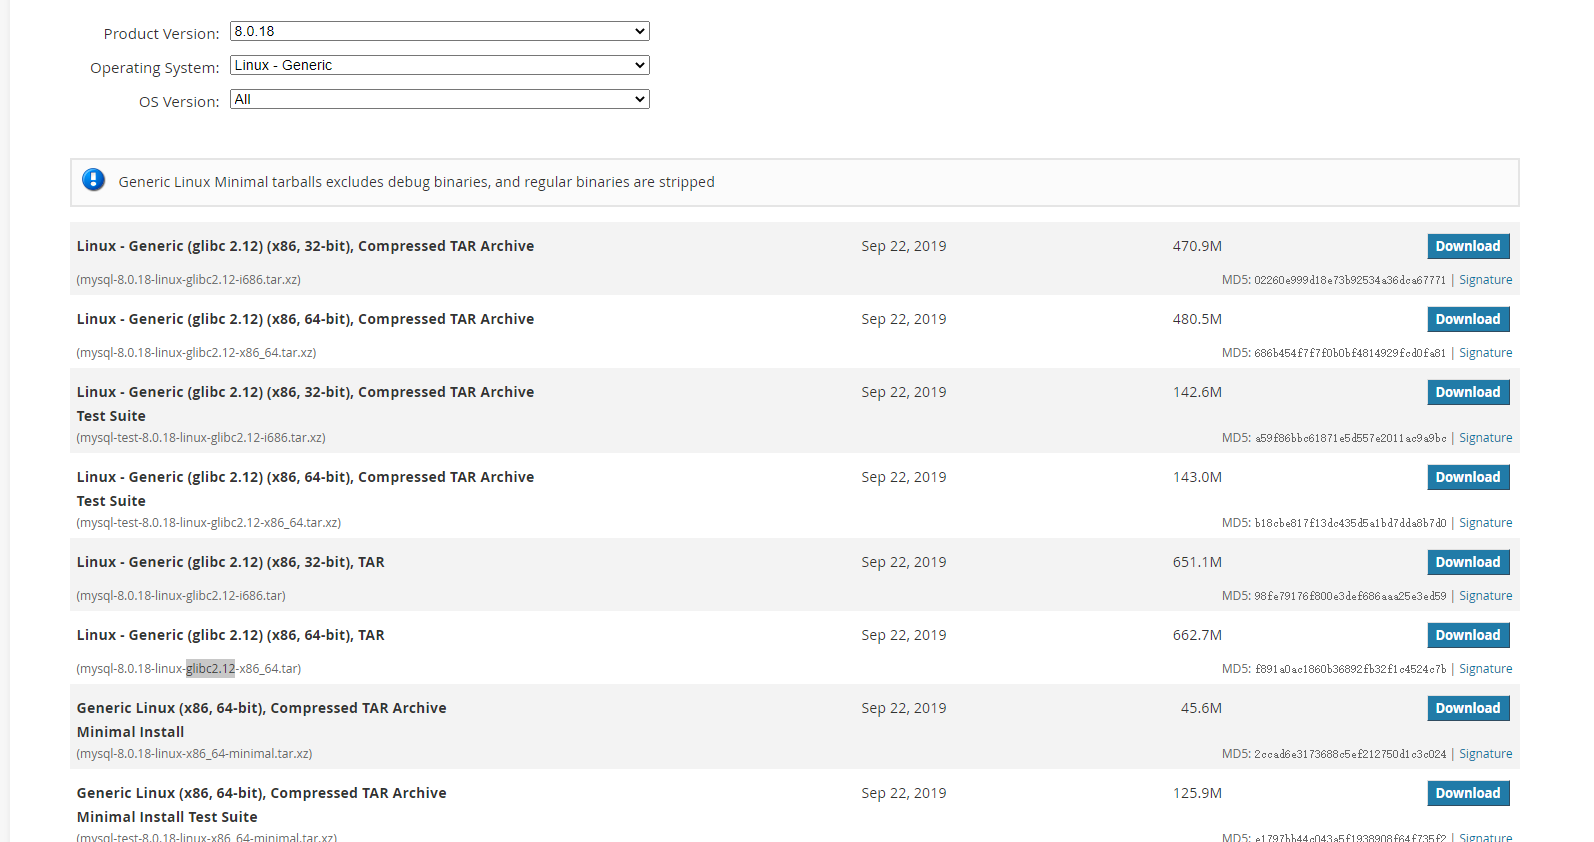
1、官网下载安装包https://downloads.mysql.com/archives/community/
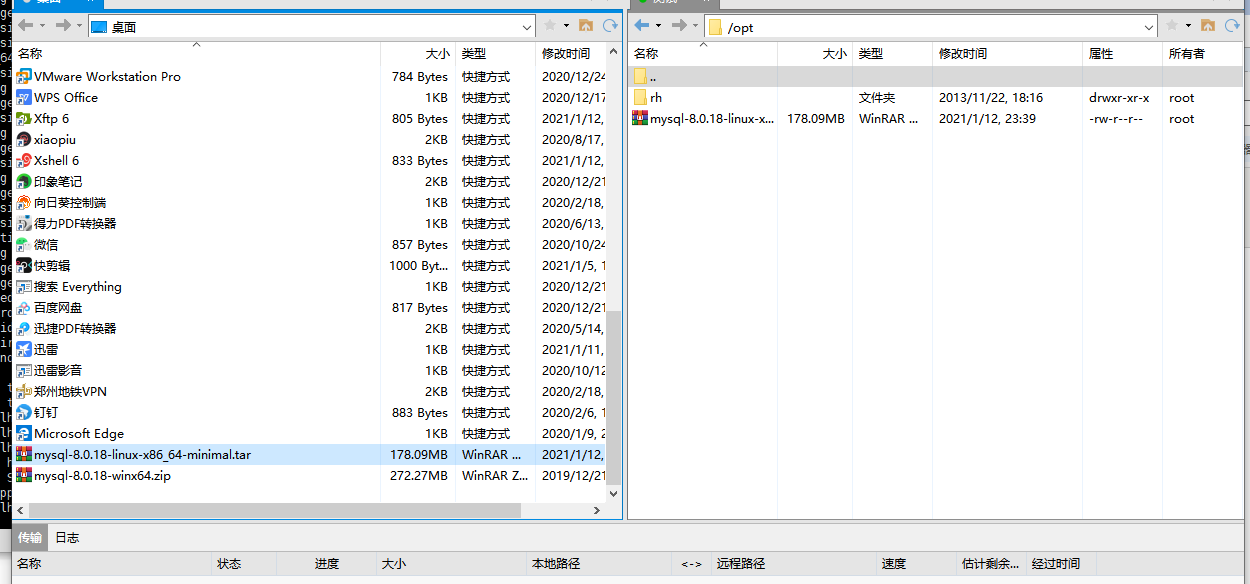
2、通过xftp将安装包上传至Linux服务器
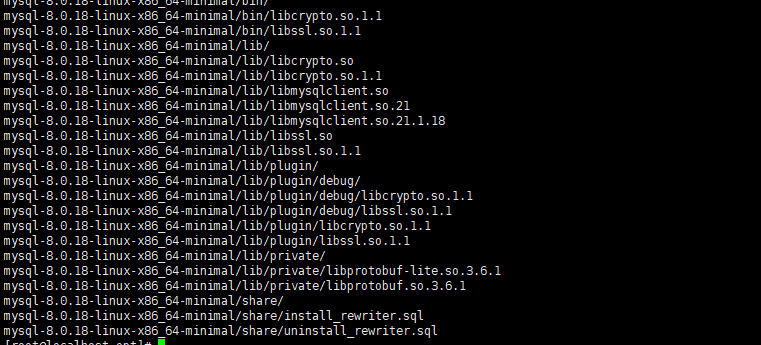
3、解压压缩包tar -xvf mysql-8.0.18-linux-x86_64-minimal.tar

4、继续解压需要的那一个, tar -xvf mysql-8.0.18-linux-x86_64-minimal.tar.xz
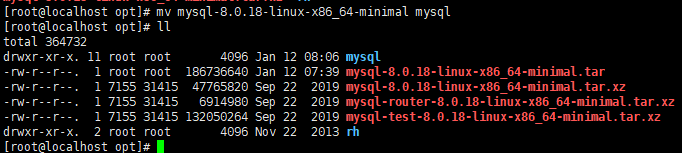
5、输入命令ll,得到文件夹名字

6、重命名 : mv mysql-8.0.18-linux-x86_64-minimal mysql
7、移动到usr/local文件夹 mv mysql /usr/local

8、 在/usr/local/mysql下创建data文件夹 mkdir data

9、初始化数据库,自动生成密码 需记录 等下要用
bin/mysqld --initialize --user=mysql --basedir=/usr/local/mysql --datadir=/usr/local/mysql/data

10、修改/usr/local/mysql 当前目录的用户
chown -R root:root ./
chown -R mysql:mysql data
11、复制my-default.cnf这个文件到etc/my.cnf去
cd support-files/
touch my-default.cnf
chmod 777 ./my-default.cnf
cd ../
cp support-files/my-default.cnf /etc/my.cnf

12、配置my.cnf
vi /etc/my.cnf
[mysqld]

# Remove leading # and set to the amount of RAM for the most important data
# cache in MySQL. Start at 70% of total RAM for dedicated server, else 10%.
# innodb_buffer_pool_size = 128M

# Remove leading # to turn on a very important data integrity option: logging
# changes to the binary log between backups.
# log_bin

# These are commonly set, remove the # and set as required.
basedir = /usr/local/mysql
datadir = /usr/local/mysql/data
socket = /tmp/mysql.sock
log-error = /usr/local/mysql/data/error.log
pid-file = /usr/local/mysql/data/mysql.pid
tmpdir = /tmp
port = 5186
#lower_case_table_names = 1
# server_id = .....
# socket = .....
#lower_case_table_names = 1
max_allowed_packet=32M
default-authentication-plugin = mysql_native_password
#lower_case_file_system = on
#lower_case_table_names = 1
log_bin_trust_function_creators = ON
# Remove leading # to set options mainly useful for reporting servers.
# The server defaults are faster for transactions and fast SELECTs.
# Adjust sizes as needed, experiment to find the optimal values.
# join_buffer_size = 128M
# sort_buffer_size = 2M
# read_rnd_buffer_size = 2M

sql_mode=NO_ENGINE_SUBSTITUTION,STRICT_TRANS_TABLES
如果后期mysql运行报错,可以直接到log-error = /usr/local/mysql/data/error.log目录下直接查看错误日志
命令:cat /usr/local/mysql/data/error.log
13、开机自启,进入/usr/local/mysql/support-files进行设置
cd support-files/
cp mysql.server /etc/init.d/mysql
chmod +x /etc/init.d/mysql

14、注册服务
chkconfig --add mysql

15、查看是否成功
chkconfig --list mysql

16、etc/ld.so.conf要配置路径,不然报错
vi /etc/ld.so.conf
添加内容/usr/local/mysql/lib

17、配置环境变量
vm /etc/profile
添加如下内容
#MYSQL ENVIRONMENT

export PATH=$PATH:/usr/local/mysql/bin:/usr/local/mysql/lib
source /etc/profile
18、登录 需要用到上面的生成的密码
service mysql start

mysql -u root -p

ALTER USER 'root'@'localhost' IDENTIFIED BY 'root';
完成