一、效果
1. 启动进入蓝色视图界面
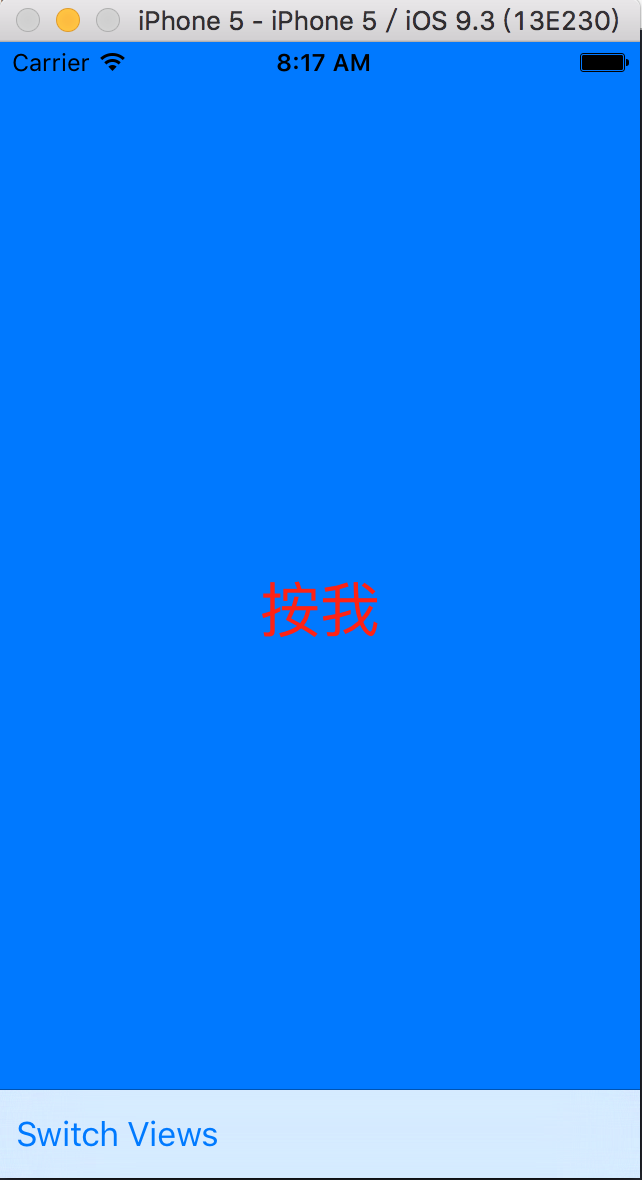
2. 点击“按我”按钮跳出警告框

3. 点击最下按钮“Switch View”跳转到黄色视图

二、分析
1. 由三个控制器组成,一个根控制器,控制蓝色视图控制器与黄色视图控制器的转换
2. 最下方的工具栏始终位于视图的最顶层,才不至于被视图覆盖
3. 程序启动只需加载其一,所以用懒加载加载另一视图
三、 实现
1. 使用Main.Storyboard搭建布局

2. 创建蓝、黄控制器模型

3.SwichingViewController.m实现代码
 1 //
 2 //  ViewController.m
 3 //  6.1-多视图应用
 4 //
 5 //  Created by LinKun on 16/7/15.
 6 //  Copyright © 2016年 Apress. All rights reserved.
 7 //
 8 #pragma mark - 根控制器复制两个视图控制器的转换,所以应该包含它们
 9 #import "SwitchingViewController.h"
10 #import "BlueViewController.h"
11 #import "YellowViewController.h"
12
13 @interface SwitchingViewController ()
14 // 两个子视图控制器
15 @property (strong, nonatomic) YellowViewController *yellowViewController;
16 @property (strong, nonatomic) BlueViewController *blueViewController;
17
18 @end
19
20 @implementation SwitchingViewController
21
22 - (void)viewDidLoad {
23     [super viewDidLoad];
24     // Do any additional setup after loading the view, typically from a nib.
25
26     // 实例化storyboard中标记为“Blue”的视图控制器,及蓝色视图控制器的位置大小
27     self.blueViewController = [self.storyboard instantiateViewControllerWithIdentifier:@"Blue"];
28     self.blueViewController.view.frame = self.view.frame;
29     // 切换控制器
30     [self switchViewFromViewController:nil toViewController:self.blueViewController];
31
32 }
33
34 #pragma mark - 按钮动作
35 - (IBAction)switchViews:(id)sender {
36     // 懒加载:加载将要切换到的控制器
37     if (!self.yellowViewController.view.superview) {
38         if (!self.yellowViewController) {
39             self.yellowViewController = [self.storyboard instantiateViewControllerWithIdentifier:@"Yellow"];
40         }
41     }else {
42             if (!self.blueViewController) {
43                 self.blueViewController = [self.storyboard instantiateViewControllerWithIdentifier:@"Blue"];
44             }
45         }
46
47     // 动画效果:开始动画,持续0.4s,运动曲线
48     [UIView beginAnimations:@"View Flip" context:NULL];
49     [UIView setAnimationDuration:0.4];
50     [UIView setAnimationCurve:UIViewAnimationCurveEaseInOut];
51
52
53     if (!self.yellowViewController.view.superview) {
54         // 动画过渡
55         [UIView setAnimationTransition:UIViewAnimationTransitionFlipFromRight forView:self.view cache:YES];
56         self.yellowViewController.view.frame = self.view.frame;
57         [self switchViewFromViewController:self.blueViewController toViewController:self.yellowViewController];
58     } else {
59         [UIView setAnimationTransition:UIViewAnimationTransitionFlipFromLeft forView:self.view cache:YES];
60         self.blueViewController.view.frame = self.view.frame;
61         [self switchViewFromViewController:self.yellowViewController toViewController:self.blueViewController];
62     }
63     [UIView commitAnimations];
64 }
65
66 #pragma mark - 转换控制器
67 - (void)switchViewFromViewController:(UIViewController *)fromVC toViewController:(UIViewController *)toVC {
68    // 把当前控制器移除
69     if (fromVC != nil) {
70         [fromVC willMoveToParentViewController:nil];
71         [fromVC.view removeFromSuperview];
72         [fromVC removeFromParentViewController];
73     }
74     // 把转换的控制器加进来
75     if (toVC != nil) {
76         [self addChildViewController:toVC];
77         [self.view insertSubview:toVC.view atIndex:0];
78         [toVC didMoveToParentViewController:self];
79     }
80
81 }
82
83 @end
备注:要切换控制器,先将要切换到的控制器加载出来,然后移除当前控制器,把另一控制器加载到根控制器
4. BlueViewController.h
 1 //
 2 //  BlueViewController.m
 3 //  6.1-多视图应用
 4 //
 5 //  Created by LinKun on 16/7/15.
 6 //  Copyright © 2016年 Apress. All rights reserved.
 7 //
 8
 9 #import "BlueViewController.h"
10
11 @interface BlueViewController ()
12
13 @end
14
15 @implementation BlueViewController
16
17 - (void)viewDidLoad {
18     [super viewDidLoad];
19     // Do any additional setup after loading the view.
20 }
21
22 #pragma mark - 蓝色视图按钮动作
23 - (IBAction)blueButtonPressed:(id)sender {
24
25     // 创建警告表单
26     UIAlertController *alert = [UIAlertController alertControllerWithTitle:@"Blue View Button Pressed" message:@"You pressed the button on the blue view" preferredStyle:UIAlertControllerStyleAlert];
27     // 创建按钮
28     UIAlertAction *action = [UIAlertAction actionWithTitle:@"Yes i did" style:UIAlertActionStyleDefault handler:nil];
29     // 把按钮加到表单,把控制权交给表单
30     [alert addAction:action];
31     [self presentViewController:alert animated:YES completion:nil];
32 }
33
34 @end
5. YellowViewController.m
 1 //
 2 //  YellowViewController.m
 3 //  6.1-多视图应用
 4 //
 5 //  Created by LinKun on 16/7/15.
 6 //  Copyright © 2016年 Apress. All rights reserved.
 7 //
 8
 9 #import "YellowViewController.h"
10
11 @interface YellowViewController ()
12
13 @end
14
15 @implementation YellowViewController
16
17 - (void)viewDidLoad {
18     [super viewDidLoad];
19     // Do any additional setup after loading the view.
20 }
21
22 #pragma mark - 黄色视图按钮动作
23 - (IBAction)yellowButtonPressed:(id)sender {
24     // 创建警告表单
25     UIAlertController *alert = [UIAlertController alertControllerWithTitle:@"Yellow View Button Pressed" message:@"You pressed the yellow on the blue view" preferredStyle:UIAlertControllerStyleAlert];
26     // 创建按钮
27     UIAlertAction *action = [UIAlertAction actionWithTitle:@"Yes i did" style:UIAlertActionStyleDefault handler:nil];
28
29     // 把按钮加到表单,把控制器权交给表单
30     [alert addAction:action];
31     [self presentViewController:alert animated:YES completion:nil];
32 }
33
34 @end